A Synchronous/Asynchronous Virtual Machine Architecture
for Unreal Engine
Mert Börü
Video Game Developer
mertboru@gmail.com
Abstract
The “Occult” virtual machine architecture is a cross-platform C++ middleware designed and implemented for Unreal Engine. The primary feature of the Occult is to deliver super-optimized AAA grade games. By adding a very thin-layer on top of Unreal Engine C++ API, the Occult provides a virtual microcomputer architecture with a synchronous/asynchronous 64-bit CPU, various task specific 32-bit coprocessors, and a modern assembly language gameplay programming ecosystem for handling real-time memory/asset management and in-game abstract object/data streaming. It can be used as a standalone solution or as a supplementary tool for existing Blueprint/C++ projects.
It is no secret that, due to nature of modern OOP guidelines, Unreal Engine C++ source code is full of “virtual functions”. It is also no secret that, calling a virtual function is inherently slower than calling a non-virtual function… So, what’s the catch?
A non-virtual call is simply a jump (JMP) to a compiled-in pointer. On the other hand, a virtual call requires at least an extra indexed dereference, and sometimes a fixup addition, which is stored in a lookup table known as Virtual Method Table (VMT). This is simply why a virtual call is always slower than a non-virtual call.
To avoid this overhead, compilers usually steer clear of VMT whenever the call can be resolved at compile time. However, due to complex nature of Inheritence based class structures used in modern game engines, using VMT is unavoidable in most cases.
Virtual Method Table (VMT)
An object’s VMT (also known as vtable) contains the addresses of the object’s dynamically bound methods. Method calls are performed by fetching the method’s address from the object’s virtual method table.
C++ compiler creates a separate VMT for each class. When an object is created, a virtual pointer (VPTR) to this table is added as a hidden member of this object. The compiler also generates hidden code in the constructors of each class to initialize new object’s VPTR to the address of its class’ virtual method table.
The virtual method table is same for all objects belonging to the same class, and is therefore typically shared between them. Objects belonging to type-compatible classes in an inheritance hierarchy will have virtual method tables with the same layout.
Tip: The C++ standards do not mandate exactly how dynamic dispatch must be implemented, but compilers generally use minor variations on the same basic model. The VMT is generally a good performance trade-off to achieve dynamic dispatch, but there are alternatives, such as Binary Tree Dispatch (BTD), with higher performance but different costs.
Speaking of hidden codes and VMTs in the constructors of each class, each C++ object should also contain additional information about its type. An object’s data type is a crucial information in terms of casting.
Run-Time Type Information (RTTI)
RTTI is a feature of the C++ programming language that exposes information about an object’s data type at runtime. It can apply to simple data types, such as integers and characters, or to generic types.
Run-Time Type Information is available only for classes that are polymorphic, which means they have at least one virtual method. In practice, this is not a limitation because base classes must have a virtual destructor to allow objects of derived classes to perform proper cleanup if they are deleted from a base pointer.
RTTI is used in three main C++ language elements:
The dynamic_cast operator: Used for conversion of polymorphic types.
The typeidoperator: Used for identifying the exact type of an object.
The type_info class: Used to hold the type information returned by the typeid operator.
In order to perform cast-related operations listed above, RTTI heavily uses VMT. For example, given an object of a polymorphic class, a type_info object can be obtained through the use of the typeid operator. In principle, this is a simple operation which involves finding the VMT, through that finding the most-derived class object of which the object is part, and then extracting a pointer to the type_info object from that object’s virtual function table (or equivalent).
In terms of performance, using the dynamic_cast operator is more expensive than type_info. Given a pointer to an object of a polymorphic class, a cast to a pointer to another base subobject of the same derived class object can be done using a dynamic_cast. In principle, this operation involves finding the VMT, through that finding the most-derived class object of which the object is part, and then using type information associated with that object to determine if the conversion (cast) is allowed, and finally performing any required adjustments of the pointer. In principle, this checking involves the traversal of a data structure describing the base classes of the most derived class. Thus, the run-time cost of a dynamic_cast may depend on the relative positions in the class hierarchy of the two classes involved.
Tip: In the original C++ design, Bjarne Stroustrup did not include RTTI, because he thought this mechanism was often misused.
Hacking VMT and RTTI Information using UE C++
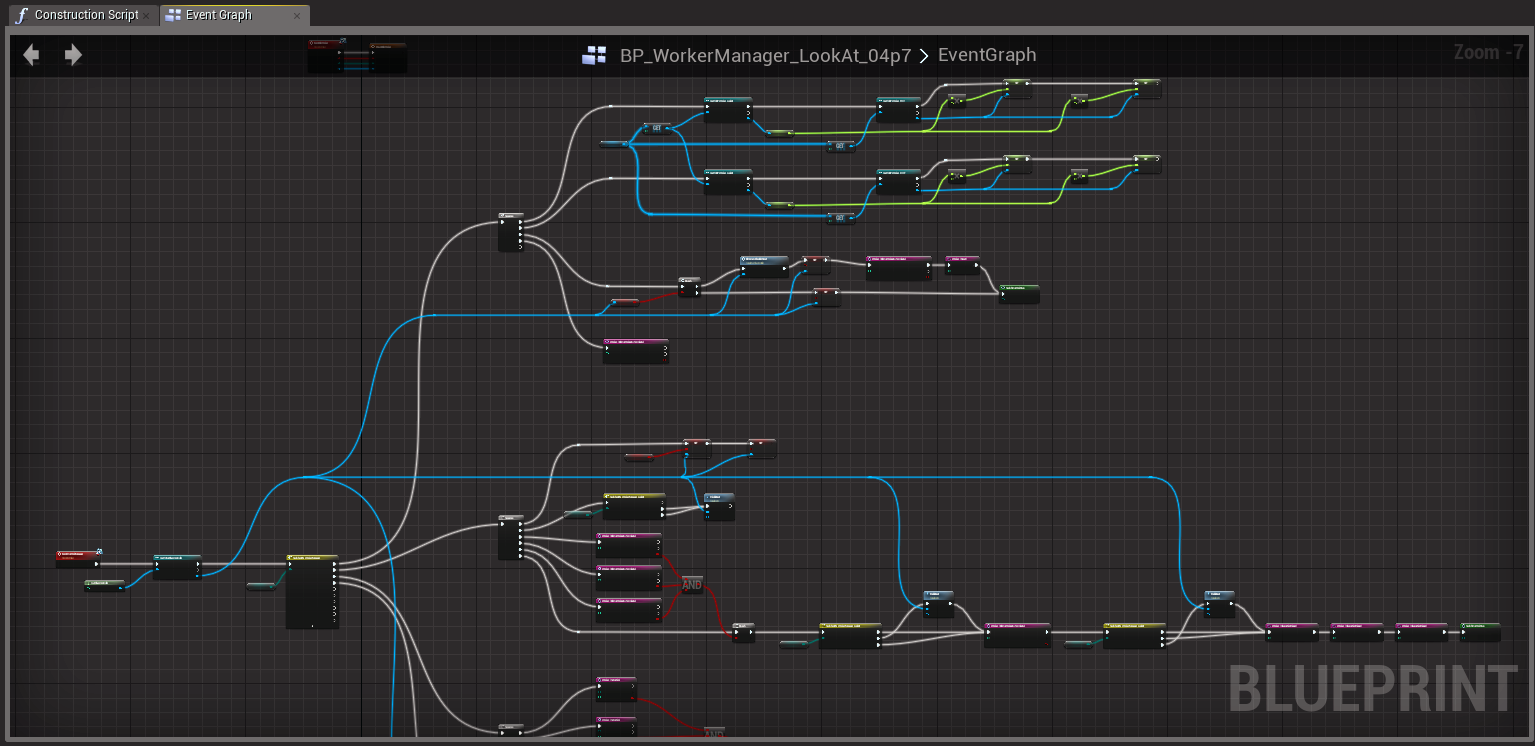
In order to gather “header” information (that contains VMT and RTTI data) in an Unreal Engine C++ class/object, I have written the following LogClassHeader() C++ function using Visual Studio 2019 version 16.3.8 for Unreal Engine version 4.23.1.
void UDebugCore::LogClassHeader(void* const pThis, size_t nSize)
{
  FString fsClassName = "NULL";
  FString fsObjectName = "NULL";
  UObject* const pCastedToUObject = (UObject*)(pThis);
  void** const pCastedToHeader = reinterpret_cast<void**>(pThis);

  if (pCastedToUObject)
  {
    fsClassName = pCastedToUObject->GetClass()->GetName();
    fsObjectName = pCastedToUObject->GetName();
  }

  if (pCastedToHeader)
  {
    for (size_t i = 0; i < nSize / sizeof(void*); i++)
    {
      MACRO_PRINTF("Pointer[%04zu] = 0x%p", i, pCastedToHeader[i])
    }
  }
}
This function has 2 input parameters:
pThis: Object to extract Class Header Info from nSize:Size of Header
Calling the function is very easy. You simply insert your call into the constructor of the class that you would like to hack. For example, the following code gathers C++ header information of <APlayerControllerThirdPerson> class.
When you run the code, all pointers that are available (and used) in the header of <APlayerControllerThirdPerson> will be listed. And, in case you need, instance name and class type is stored in fsObjectName and fsClassName variables, as a bonus.
So, what do these numbers mean? Well, all these pointers are addresses of the virtual functions, followed by some of the member variables. In order to understand which is which, we need to decipher the structure of the data set.
Here comes the tricky part! With each and every update to Visual Studio C++ compiler, the structure tends to get updated as well. In other words, the header structure of a C++ class changes with each major compiler update. Try to think of it as a “living organism”. As I’m typing this sentence now, a new update with a new C++ header structure may be on its way. So, it is up to you (!) to analyze what’s going on under the hood.
Good news is, we can gather <template> information about C++ class header structure from the official Microsoft patent documents! Although they are not up-to-date, I think it is a good practice to start the investigation using the source of information itself.
Here is some of the Microsoft patents which describe various parts of C++ implementation used in Visual Studio:
US Patent #5410705:“Method for generating an object data structure layout for a class in a compiler for an object-oriented programming language”
US Patent #5617569:“Method and system for implementing pointers to members in a compiler for an object-oriented programming language”
US Patent #5754862:“Method and system for accessing virtual base classes”
US Patent #5297284:“Method and system for implementing virtual functions and virtual base classes and setting a this pointer for an object-oriented programming language”
US Patent #5371891:“Method for object construction in a compiler for an object-oriented programming language”
US Patent #5603030:“Method and system for destruction of objects using multiple destructor functions in an object-oriented computer system”
So, what I’m offering is, good old-fashioned “reverse engineering”.
– “Is such a challenge worth it?”
– “Um, yes!… If it doesn’t break you, it can make you.”
References:
Bjarne Stroustrup, “A History of C++: 1979—1991”, p. 50 – (March 1993)
Keith Cooper & Linda Torczon, “Engineering A Compiler”, Morgan Kaufmann, 2nd Edition – (2011)
Microsoft Visual Studio Documentation, “C++ Run-Time Type Information” – (November 2016)
“Technical Report on C++ Performance”, OpenRCE.org – (September 2006)
“Reversing Microsoft Visual C++: Classes, Methods and RTTI”, OpenRCE.org – (September 2006)
When I appreciate ‘the moment’, happiness follows. Happiness is often in the little things, and year 2018 has offered me a bunch of them. Sincerely thankful and grateful for all the little things I have been given this year… Now is the time to cherish the ‘moments of joy’ by sharing a few snapshots, in no particular order.
Unreal Fest Europe 2018
A three day event designed exclusively for game creators using Unreal Engine, with speakers drawn from Epic, platform owners and some of the leading development studios in Europe took place in Berlin, April 24-27. Such a great opportunity for meeting old friends, and making new ones. – Thank you Epic!
It is no secret that Nintendo is using Unreal Engine 4 for their current and upcoming line of Switch games. As an Unreal Engine developer, I had the privilege of visiting Nintendo European Research & Development (NERD) in Paris for a 1-on-1 meeting. Due to usual Nintendo regulations, I’m not allowed to share any kind of information about the top-notch engineering stuff that I had witnessed, but that can’t prevent me from telling you how much I was impressed. All I can say is “WOW!” 😉
I have great admiration and respect for Japanese business culture, which is genuinely represented in Paris. Thank you very much for your kind hospitality!
IndieCade Europe 2018
IndieCade continues to support the development of independent games by organizing a series of international events to promote the future of indie games. This year, we had the 3rd installment of European organization, and it is getting better and bigger each year. I love the indie spirit. No matter how experienced you are, we always have new things to learn from each other.
From my perspective, the most iconic moment of the event was meeting and chatting with Japanese game developer Hidetaka Suehiro (aka “Swery65”), the designer of The Last Blade (1997) and The Last Blade 2 (1998). Both games were released by SNK for Neo Geo MVS – my all time favourite 2D console.
So, guess what we talked about… Fighting games? No… Neo Geo? No… Game design? No… Believe it or not, our main topic was “best hookah (water pipe) cafés in Istanbul”. I’m simply amazed to discover that he knows Istanbul better than me. Swery65 is full of surprises!
mini-RAAT Meetings @ MakerEvi
Try to imagine an unscheduled last-minute “members only” meeting, hosting crème de la crème IT professionals ranging from ex-Microsoft engineers to gifted video game artists, acclaimed musicians, network specialists, and many other out of this world talents, in addition to a bunch of academicians with hell of titles and degrees! So, what on earth is the common denominator that brings these gentlemen together, at least once or twice a year? Retrocomputing, for sure… Bundled with fun, laughter and joy! 🙂
Special thanks to our host, MakerEvi – a professional ‘Maker Movement Lab’ dedicated to contemporary DIY culture, fueled by the artisan spirit and kind hospitality of The Gürevins. An exceptional blend of local perspective and global presence.
Dila’s Graduation
This year, my dear daughter has graduated from Collège Sainte Pulchérie YN2000 with DELF B1 level French diploma, a compulsory certificate to follow studies in the French higher education system. Being a hardworking student, she has passed national high school entrance exam, and is currently attending Lycée Français Saint-Michel. – “I am proud of you… Bonne chance, ma chérie!”
“The bond that links your true family is not one of blood, but of respect and joy in each other’s life.”
– Richard Bach
Family is a ‘sanctuary’ for the individual. If we are blessed enough to have a loving, happy, and peaceful family, we should be grateful every day for it. It is where we learn to feel the value of being part of something greater than ourselves. Love is a powerful thing; we just have to be open to it.
Life is a Celebration
For all the moments I have enjoyed and to all my dear friends & members of my family who made those meaningful moments possible, I would like to propose a toast. Would you like to join me for a glass of absinthe, so that we keep on chasing our ‘green fairies’ together and forever? 😉
The processor’s caches are for the most part transparent to software. When enabled, instructions and data flow through these caches without the need for explicit software control. However, knowledge of the behavior of these caches may be useful in optimizing software performance. If not tamed wisely, these innocent cache mechanisms can certainly be a headache for novice C/C++ programmers.
First things first… Before I start with example C/C++ codes showing some common pitfalls and urban caching myths that lead to hard-to-trace bugs, I would like to make sure that we are all comfortable with ‘cache related terms’.
Terminology
In theory, CPU cache is a very high speed type of memory that is placed between the CPU and the main memory. (In practice, it is actually inside the processor, mostly operating at the speed of the CPU.) In order to improve latency of fetching information from the main memory, cache stores some of the information temporarily so that the next access to the same chunk of information is faster. CPU cache can store both ‘executable instructions’ and ‘raw data’.
“… from cache, instead of going back to memory.”
When the processor recognizes that an information being read from memory is cacheable, the processor reads an entire cache line into the appropriate cache slot (L1, L2, L3, or all). This operation is called a cache line fill. If the memory location containing that information is still cached when the processor attempts to access to it again, the processor can read that information from the cache instead of going back to memory. This operation is called a cache hit.
Hierarchical Cache Structure of the Intel Core i7 Processors
When the processor attempts to write an information to a cacheable area of memory, it first checks if a cache line for that memory location exists in the cache. If a valid cache line does exist, the processor (depending on the write policy currently in force) can write that information into the cache instead of writing it out to system memory. This operation is called a write hit. If a write misses the cache (that is, a valid cache line is not present for area of memory being written to), the processor performs a cache line fill, write allocation. Then it writes the information into the cache line and (depending on the write policy currently in force) can also write it out to memory. If the information is to be written out to memory, it is written first into the store buffer, and then written from the store buffer to memory when the system bus is available.
“… cached in shared state, between multiple CPUs.”
When operating in a multi-processor system, The Intel 64 and IA-32 architectures have the ability to keep their internal caches consistent both with system memory and with the caches in other processors on the bus. For example, if one processor detects that another processor intends to write to a memory location that it currently has cached in shared state, the processor in charge will invalidate its cache line forcing it to perform a cache line fill the next time it accesses the same memory location. This type of internal communication between the CPUs is called snooping.
And finally, translation lookaside buffer (TLB) is a special type of cache designed for speeding up address translation for virtual memory related operations. It is a part of the chip’s memory-management unit (MMU). TLB keeps track of where virtual pages are stored in physical memory, thus speeds up ‘virtual address to physical address’ translation by storing a lookup page-table.
So far so good… Let’s start coding, and shed some light on urban caching myths. 😉
How to Guarantee Caching in C/C++
To be honest, under normal conditions, there is absolutely no way to guarantee that the variable you defined in C/C++ will be cached. CPU cache and write buffer management are out of scope of the C/C++ language, actually.
Most programmers assume that declaring a variable as constant will automatically turn it into something cacheable!
const int nVar = 33;
As a matter of fact, doing so will tell the C/C++ compiler that it is forbidden for the rest of the code to modify the variable’s value, which may or may not lead to a cacheable case. By using a const, you simply increase the chance of getting it cached. In most cases, compiler will be able to turn it into a cache hit. However, we can never be sure about it unless we debug and trace the variable with our own eyes.
How to Guarantee No Caching in C/C++
An urban myth states that, by using volatile type qualifier, it is possible to guarantee that a variable can never be cached. In other words, this myth assumes that it might be possible to disable CPU caching features for specific C/C++ variables in your code!
volatile int nVar = 33;
Actually, defining a variable as volatile prevents compiler from optimizing it, and forces the compiler to always refetch (read once again) the value of that variable from memory. But, this may or may not prevent it from caching, as volatile has nothing to do with CPU caches and write buffers, and there is no standard support for these features in C/C++.
So, what happens if we declare the same variable without const or volatile?
int nVar = 33;
Well, in most cases, your code will be executed and cached properly. (Still not guaranteed though.) But, one thing for sure… If you write ‘weird’ code, like the following one, then you are asking for trouble!
int nVar = 33;
while (nVar == 33)
{
   . . .
}
In this case, if the optimization is enabled, C/C++ compiler may assume that nVar never changes (always set to 33) due to no reference of nVar in loop’s body, so that it can be replaced with true for the sake of optimizing while condition.
while (true)
{
   . . .
}
A simple volatile type qualifier fixes the problem, actually.
volatile int nVar = 33;
What about Pointers?
Well, handling pointers is no different than taking care of simple integers.
Case #1:
Let’s try to evaluate the while case mentioned above once again, but this time with a Pointer.
int nVar = 33;
int *pVar = (int*) &nVar;
while (*pVar)
{
   . . .
}
In this case,
nVar is declared as an integer with an initial value of 33, pVar is assigned as a Pointer to nVar, the value of nVar (33) is gathered using pointer pVar, and this value is used as a conditional statement in while loop.
On the surface there is nothing wrong with this code, but if aggressive C/C++ compiler optimizations are enabled, then we might be in trouble. – Yes, some compilers are smarter than others! 😉
Due to fact that the value of pointer variable has never been modified and/or accessed through the while loop, compiler may decide to optimize the frequently called conditional statement of the loop. Instead of fetching *pVar (value of nVar) each time from the memory, compiler might think that keeping this value in a register might be a good idea. This is known as ‘software caching’.
Now, we have two problems here:
1.) Values in registers are ‘hardware cached’. (CPU cache can store both instructions and data, remember?) If somehow, software cached value in the register goes out of sync with the original one in memory, the CPU will never be aware of this situation and will keep on caching the old value from hardware cache. – CPU cache vs software cache. What a mess!
Tip: Is that scenario really possible?! – To be honest, no. During the compilation process, the C/C++ compiler should be clever enough to foresee that problem, if-and-only-if*pVar has never been modified in loop’s body. However, as a programmer, it is our responsibility to make sure that compiler should be given ‘properly written code’ with no ambiguous logic/data treatment. So, instead of keeping our fingers crossed and expecting miracles from the compiler, we should take complete control over the direction of our code. Before making assumptions on how our code will be compiled, we should first make sure that our code is crystal clear.
2.) Since the value of nVar has never been modified, the compiler can even go one step further by assuming that the check against *pVar can be casted to a Boolean value, due to its usage as a conditional statement. As a result of this optimization, the code above might turn into this:
int nVar = 33;
int *pVar = (int*) &nVar;

if (*pVar)
{
   while (true)
   {
      . . .
   }
}
Both problems detailed above, can be fixed by using a volatile type qualifier. Doing so prevents the compiler from optimizing *pVar, and forces the compiler to always refetch the value from memory, rather than using a compiler-generated software cached version in registers.
int nVar = 33;
volatile int *pVar = (int*) &nVar;
while (*pVar)
{
   . . .
}
Case #2:
Here comes an another tricky example about Pointers.
const int nVar = 33;
int *pVar = (int*) &nVar;
*pVar = 0;
In this case,
nVar is declared as a ‘constant’ variable, pVar is assigned as a Pointer to nVar, and, pVar is trying to change the ‘constant’ value of nVar!
Under normal conditions, no C/C++ programmer would make such a mistake, but for the sake of clarity let’s assume that we did.
If aggressive optimization is enabled, due to fact that;
a.) Pointer variable points to a constant variable,
b.) Value of pointer variable has never been modified and/or accessed,
some compilers may assume that the pointer can be optimized for the sake of software caching. So, despite *pVar = 0, the value of nVarmay never change.
Is that all? Well, no… Here comes the worst part! The value of nVar is actually compiler dependent. If you compile the code above with a bunch of different C/C++ compilers, you will notice that in some of them nVar will be set to 0, and in some others set to 33 as a result of ‘ambiguous’ code compilation/execution. Why? Simply because, every compiler has its own standards when it comes to generating code for ‘constant’ variables. As a result of this inconsistent situation, even with just a single constant variable, things can easily get very complicated.
Tip: The best way to fix ‘cache oriented compiler optimization issues’, is to change the way you write code, with respect to tricky compiler specific optimizations in mind. Try to write crystal clear code. Never assume that compiler knows programming better than you. Always debug, trace, and check the output… Be prepared for the unexpected!
Fixing such brute-force compiler optimization issues is quite easy. You can get rid of const type qualifier,
const int nVar = 33;
or, replace const with volatile type qualifier,
volatile int nVar = 33;
or, use both!
const volatile int nVar = 33;
Tip: ‘const volatile’ combination is commonly used on embedded systems, where hardware registers that can be read and are updated by the hardware, cannot be altered by software. In such cases, reading hardware register’s value is never cached, always refetched from memory.
Rule of Thumb
Using volatile is absolutely necessary in any situation where compiler could make wrong assumptions about a variable keeping its value constant, just because a function does not change it itself. Not using volatile would create very complicated bugs due to the executed code that behaves as if the value did not change – (It did, indeed).
If code that works fine, somehow fails when you;
Use cross compilers, Port code to a different compiler, Enable compiler optimizations, Enable interrupts,
make sure that your compiler is NOT over-optimizing variables for the sake of software caching.
Please keep in mind that, volatile has nothing to do with CPU caches and write buffers, and there is no standard support for these features in C/C++. These are out of scope of the C/C++ language, and must be solved by directly interacting with the CPU core!
Getting Hands Dirty via Low-Level CPU Cache Control
Software driven hardware cache management is possible. There are special ‘privileged’ Assembler instructions to clean, invalidate, flush cache(s), and synchronize the write buffer. They can be directly executed from privileged modes. (User mode applications can control the cache through system calls only.) Most compilers support this through built-in/intrinsic functions or inline Assembler.
The Intel 64 and IA-32 architectures provide a variety of mechanisms for controlling the caching of data and instructions, and for controlling the ordering of reads/writes between the processor, the caches, and memory.
These mechanisms can be divided into two groups:
Cache control registers and bits: The Intel 64 and IA-32 architectures define several dedicated registers and various bits within control registers and page/directory-table entries that control the caching system memory locations in the L1, L2, and L3 caches. These mechanisms control the caching of virtual memory pages and of regions of physical memory.
Cache control and memory ordering instructions: The Intel 64 and IA-32 architectures provide several instructions that control the caching of data, the ordering of memory reads and writes, and the prefetching of data. These instructions allow software to control the caching of specific data structures, to control memory coherency for specific locations in memory, and to force strong memory ordering at specific locations in a program.
How does it work?
The Cache Control flags and Memory Type Range Registers (MTRRs) operate hierarchically for restricting caching. That is, if the CD flag of control register 0 (CR0) is set, caching is prevented globally. If the CD flag is clear, the page-level cache control flags and/or the MTRRs can be used to restrict caching.
Tip: The memory type range registers (MTRRs) provide a mechanism for associating the memory types with physical-address ranges in system memory. They allow the processor to optimize operations for different types of memory such as RAM, ROM, frame-buffer memory, and memory-mapped I/O devices. They also simplify system hardware design by eliminating the memory control pins used for this function on earlier IA-32 processors and the external logic needed to drive them.
If there is an overlap of page-level and MTRR caching controls, the mechanism that prevents caching has precedence. For example, if an MTRR makes a region of system memory uncacheable, a page-level caching control cannot be used to enable caching for a page in that region. The converse is also true; that is, if a page-level caching control designates a page as uncacheable, an MTRR cannot be used to make the page cacheable.
In cases where there is a overlap in the assignment of the write-back and write-through caching policies to a page and a region of memory, the write-through policy takes precedence. The write-combining policy -which can only be assigned through an MTRR or Page Attribute Table (PAT)– takes precedence over either write-through or write-back. The selection of memory types at the page level varies depending on whether PAT is being used to select memory types for pages.
Tip: The Page Attribute Table (PAT) extends the IA-32 architecture’s page-table format to allow memory types to be assigned to regions of physical memory based on linear address mappings. The PAT is a companion feature to the MTRRs; that is, the MTRRs allow mapping of memory types to regions of the physical address space, where the PAT allows mapping of memory types to pages within the linear address space. The MTRRs are useful for statically describing memory types for physical ranges, and are typically set up by the system BIOS. The PAT extends the functions of the PCD and PWT bits in page tables to allow all five of the memory types that can be assigned with the MTRRs (plus one additional memory type) to also be assigned dynamically to pages of the linear address space.
CPU Control Registers
Generally speaking, control registers (CR0, CR1, CR2, CR3, and CR4) determine operating mode of the processor and the characteristics of the currently executing task. These registers are 32 bits in all 32-bit modes and compatibility mode. In 64-bit mode, control registers are expanded to 64 bits.
The MOV CRn instructions are used to manipulate the register bits. These instructions can be executed only when the current privilege level is 0.
Instruction
64-bit Mode
Legacy Mode
Description
MOV r32, CR0–CR7
–
Valid
Move control register to r32.
MOV r64, CR0–CR7
Valid
–
Move extended control register to r64.
MOV r64, CR8
Valid
–
Move extended CR8 to r64.
MOV CR0–CR7, r32
–
Valid
Move r32 to control register.
MOV CR0–CR7, r64
Valid
–
Move r64 to extended control register.
MOV CR8, r64
Valid
–
Move r64 to extended CR8.
Tip: When loading control registers, programs should not attempt to change the reserved bits; that is, always set reserved bits to the value previously read. An attempt to change CR4’s reserved bits will cause a general protection fault. Reserved bits in CR0 and CR3 remain clear after any load of those registers; attempts to set them have no impact.
The Intel 64 and IA-32 architectures provide the following cache-control registers and bits for use in enabling or restricting caching to various pages or regions in memory:
CD flag (bit 30 of control register CR0): Controls caching of system memory locations. If the CD flag is clear, caching is enabled for the whole of system memory, but may be restricted for individual pages or regions of memory by other cache-control mechanisms. When the CD flag is set, caching is restricted in the processor’s caches (cache hierarchy) for the P6 and more recent processor families. With the CD flag set, however, the caches will still respond to snoop traffic. Caches should be explicitly flushed to insure memory coherency. For highest processor performance, both the CD and the NW flags in control register CR0 should be cleared. To insure memory coherency after the CD flag is set, the caches should be explicitly flushed. (Setting the CD flag for the P6 and more recent processor families modify cache line fill and update behaviour. Also, setting the CD flag on these processors do not force strict ordering of memory accesses unless the MTRRs are disabled and/or all memory is referenced as uncached.)
NW flag (bit 29 of control register CR0): Controls the write policy for system memory locations. If the NW and CD flags are clear, write-back is enabled for the whole of system memory, but may be restricted for individual pages or regions of memory by other cache-control mechanisms.
PCD and PWT flags (in paging-structure entries): Control the memory type used to access paging structures and pages.
PCD and PWT flags (in control register CR3): Control the memory type used to access the first paging structure of the current paging-structure hierarchy.
G (global) flag in the page-directory and page-table entries: Controls the flushing of TLB entries for individual pages.
PGE (page global enable) flag in control register CR4: Enables the establishment of global pages with the G flag.
Memory type range registers (MTRRs): Control the type of caching used in specific regions of physical memory.
Page Attribute Table (PAT) MSR: Extends the memory typing capabilities of the processor to permit memory types to be assigned on a page-by-page basis.
3rd Level Cache Disable flag (bit 6 of IA32_MISC_ENABLE MSR): Allows the L3 cache to be disabled and enabled, independently of the L1 and L2 caches. (Available only in processors based on Intel NetBurst microarchitecture)
KEN# and WB/WT# pins (Pentium processor): Allow external hardware to control the caching method used for specific areas of memory. They perform similar (but not identical) functions to the MTRRs in the P6 family processors.
PCD and PWT pins (Pentium processor): These pins (which are associated with the PCD and PWT flags in control register CR3 and in the page-directory and page-table entries) permit caching in an external L2 cache to be controlled on a page-by-page basis, consistent with the control exercised on the L1 cache of these processors. (The P6 and more recent processor families do not provide these pins because the L2 cache is embedded in the chip package.)
How to Manage CPU Cache using Assembly Language
The Intel 64 and IA-32 architectures provide several instructions for managing the L1, L2, and L3 caches. The INVD and WBINVD instructions are privileged instructions and operate on the L1, L2 and L3 caches as a whole. The PREFETCHh, CLFLUSH and CLFLUSHOPT instructions and the non-temporal move instructions (MOVNTI, MOVNTQ, MOVNTDQ, MOVNTPS, and MOVNTPD) offer more granular control over caching, and are available to all privileged levels.
The INVD and WBINVD instructions are used to invalidate the contents of the L1, L2, and L3 caches. The INVD instruction invalidates all internal cache entries, then generates a special-function bus cycle that indicates that external caches also should be invalidated. The INVD instruction should be used with care. It does not force a write-back of modified cache lines; therefore, data stored in the caches and not written back to system memory will be lost. Unless there is a specific requirement or benefit to invalidating the caches without writing back the modified lines (such as, during testing or fault recovery where cache coherency with main memory is not a concern), software should use the WBINVD instruction.
In theory, WBINVD instruction performs the following steps:
The WBINVD instruction first writes back any modified lines in all the internal caches, then invalidates the contents of both the L1, L2, and L3 caches. It ensures that cache coherency with main memory is maintained regardless of the write policy in effect (that is, write-through or write-back). Following this operation, the WBINVD instruction generates one (P6 family processors) or two (Pentium and Intel486 processors) special-function bus cycles to indicate to external cache controllers that write-back of modified data followed by invalidation of external caches should occur. The amount of time or cycles for WBINVD to complete will vary due to the size of different cache hierarchies and other factors. As a consequence, the use of the WBINVD instruction can have an impact on interrupt/event response time.
The PREFETCHh instructions allow a program to suggest to the processor that a cache line from a specified location in system memory be prefetched into the cache hierarchy.
The CLFLUSH and CLFLUSHOPT instructions allow selected cache lines to be flushed from memory. These instructions give a program the ability to explicitly free up cache space, when it is known that cached section of system memory will not be accessed in the near future.
The non-temporal move instructions (MOVNTI, MOVNTQ, MOVNTDQ, MOVNTPS, and MOVNTPD) allow data to be moved from the processor’s registers directly into system memory without being also written into the L1, L2, and/or L3 caches. These instructions can be used to prevent cache pollution when operating on data that is going to be modified only once before being stored back into system memory. These instructions operate on data in the general-purpose, MMX, and XMM registers.
How to Disable Hardware Caching
To disable the L1, L2, and L3 caches after they have been enabled and have received cache fills, perform the following steps:
1.) Enter the no-fill cache mode. (Set the CD flag in control register CR0 to 1 and the NW flag to 0.
2.) Flush all caches using the WBINVD instruction.
3.) Disable the MTRRs and set the default memory type to uncached or set all MTRRs for the uncached memory type.
The caches must be flushed (step 2) after the CD flag is set to insure system memory coherency. If the caches are not flushed, cache hits on readswill still occur and data will be read from valid cache lines.
The intent of the three separate steps listed above address three distinct requirements:
a.) Discontinue new data replacing existing data in the cache,
b.) Ensure data already in the cache are evicted to memory,
c.) Ensure subsequent memory references observe UC memory type semantics. Different processor implementation of caching control hardware may allow some variation of software implementation of these three requirements.
Setting the CD flag in control register CR0 modifies the processor’s caching behaviour as indicated, but setting the CD flag alone may not be sufficient across all processor families to force the effective memory type for all physical memory to be UC nor does it force strict memory ordering, due to hardware implementation variations across different processor families. To force the UC memory type and strict memory ordering on all of physical memory, it is sufficient to either program the MTRRs for all physical memory to be UC memory type or disable all MTRRs.
Tip: For the Pentium 4 and Intel Xeon processors, after the sequence of steps given above has been executed, the cache lines containing the code between the end of the WBINVD instruction and before the MTRRS have actually been disabled may be retained in the cache hierarchy. Here, to remove code from the cache completely, a second WBINVD instruction must be executed after the MTRRs have been disabled.
References:
Richard Blum, “Professional Assembly Language”, Wrox Publishing – (2005)
Keith Cooper & Linda Torczon, “Engineering A Compiler”, Morgan Kaufmann, 2nd Edition – (2011)
The Knights Templar, or to give them their full title, The Poor Fellow-Soldiers of Christ and of the Temple of Solomon, were a military monastic order founded in 1120 by the French nobleman, Sir Hugues de Payens, ostensibly to protect Christian pilgrims on their journey to Jerusalem.
The Order flourished during the 12th and 13th centuries, spreading across Western Europe and The British Isles, where they established Templar houses at various key locations, including at Balantradoch in Midlothian, close by Rosslyn, on a substantial portion of land granted to Sir Hugues de Payens by King David I of Scotland in 1128.
The Knights Templar Order commanded great wealth and power for almost two centuries. Throughout these years, they received massive donations of money, manors, churches, even villages and the revenues thereof, from Kings and European nobles interested in helping with the fight for the Holy Land. The Templars, by order of the Pope, were exempt from all taxes, tolls and tithes, their houses and churches were given the right to asylum and were exempt from feudal obligations. They were answerable only to the Pope. The Templars’ political connections and awareness of the essentially urban and commercial nature of the Holy Land naturally led the Order to a position of significant power!
French Connection
On Friday 13th October 1307, King Philip IV of France (a.k.a. Philippe le Bel) -deeply in dept to the Order who had helped fund his wars against England- instigated the eventual demise of the Knights Templar. He ordered the arrest of the Order’s grand master, Jacques de Molay, and the mass arrest of scores of other Templars. Many of the members were tried for heresy by the Inquisition, tortured and burned at the stake for sexual misconduct and alleged initiation ceremonies. Historians would say either it was greed that drove King Philip IV, the quest for all the money and goods the Templars had accumulated in the previous two centuries; or a product of his fanatical catholic beliefs, his conviction that the Templars had become heretical, given to lascivious and dissolute practices involving homosexual sex, partying, and a luxurious life style.
Meanwhile in the British Isles…
King Edward II of England, initially reluctant to act against the Templars, ordered their arrests following pressure from Pope Clement and King Philip IV of France, on 20 December 1307. Only handfuls of Templars were taken into custody. However, the trials did not commence until 22 October 1309, lasting until June 1310. Unlike the trial in France, where the Templars were tortured into confessing to unspeakable activities, in the British Isles there were no burnings and only three confessions after torture. Several Templars went missing, most of whom later reappeared.
Two Templar brothers at Balantradoch, near Rosslyn, were arrested and brought to trail. They were the Englishmen Walter de Clifton and William de Middleton. The trial was presided over by William Lamberton Bishop of St Andrews, and Master John of Solerius, a papal clerk.
The first group of witnesses were various Franciscan and Dominican friars, as well as the abbots and several monks from Newbattle, Dunfermline and Holyrood Abbey. In all there were 25 men from this category, the first to give evidence being Lord Hugo, the Abbot of Dunfermline, who had nothing essentially condemnatory to say about the Templars. The subsequent clerical witnesses all concurred with this testimony.
Then followed a parade of lay witnesses, the first being Sir Henry Sinclair of Rosslyn. In his statement he said that ‘he had seen the commander of the Temple on his deathbed, receiving the Eucharist very devoutly, so far as onlookers could judge’. His neighbour Hugh of Rydale also gave favourable testimony, as did Fergus Marischal and William Bisset.
It is important to note that in medieval hearings the inquisitors really had only two types of evidence they could use to convict: confessions, or the corroborating testimony of two witnesses.
What is very clear in this case is that the papal inquisitor could not find two men to speak against the Templars, and that each witness corroborated and supported the statement of all the others to some degree. In view of the fact that King Edward II had never even wanted to bring charges, it seems fair to say that this was very much a show trial. It could be justly said to both the Pope and King Philip IV of France that an inquisition had taken place, and that no verdict against them could be made from the evidence given.
Asking for an Official Apology
According to The Times article “The Last Crusade of the Templars” by Ruth Gledhill published on 29 November 2004, one modern group in Hertfordshire claims that although the medieval order officially ceased to exist in the early 14th century, that the majority of the organisation survived underground. The article states that the group has written to the Vatican, asking for an official apology for the medieval persecution of the Templars. In Rome in 2004, a Vatican spokesman said that the demand for an apology would be given “serious consideration”. However, Vatican insiders said that Pope John Paul II, 84 at the time, was under pressure from conservative cardinals to “stop saying sorry” for the errors of the past, after a series of papal apologies for the Crusades, the Inquisition, Christian anti-Semitism and the persecution of scientists and “heretics” such as Galileo.
700-year-old Vatican records
3 years later, on 25 October 2007, Vatican officials have presented Secret Vatican City archive documents detailing the heresy trials of the Knights Templar are to be sold for the first time. ‘Trial Against the Templars’, an expensive limited edition of the proceedings of the 1307-1312 papal trial of the mysterious medieval crusading order of warrior-monks who were accused of heresy, tells in mediaeval Latin how the legendary Crusader Knights were tried for heresy by the Inquisition and found not guilty.
Medieval expert Franco Cardini shows the 300-page volume “Processus Contra Templarios” (Latin for “Trial against the Templars”) – (c)2007, Plinio Lepri, The Associated Press
Presenting the new volume in the old Synod Hall in the Vatican, officials stressed the historical significance of the volume and made clear there are no new documents. The Prefect of the Vatican’s Secret Archive, Monsignor Sergio Pagano, said there are no discoveries, all the documents were already known. The original artifact, he said, was discovered in the Vatican’s secret archives in 2001 after it had been improperly catalogued for more than 300 years!
An Italian paleographer at the Vatican Secret Archives, Barbara Frale, said that the documents allow for a better interpretation of the trial. She said the parchment shows that Pope Clement V initially absolved the Templar leaders of heresy, but pressured by French King Philip IV he later reversed his decision and suppressed the order.
Only human, after all…
All boundaries, whether national or religious, are man made. So were the decisions of French inquisitors, who seems to have been more of a witch hunt than an actual trial.
Through building his architectural masterpiece, Rosslyn Chapel, Earl William St. Clair was certainly writing a story in stone, and yet there is only one quotation inscribed in the whole building. It is on one of the lintels in the South aisle. It reads:
“Forte est vinu, fortior est Rex, fortiores sunt mulieres, sup om vincit veritas”
“Wine is strong, a king is stronger, women are stronger still, but truth conquers all.”
References:
Gerald Sinclair and Rondo B B Me, “The Enigmatic Sinclairs Vol.1: A Definitive Guide to the Sinclairs in Scotland”, St. Clair Publications (2015)
C. G. Addison, “The Knights Templar And The Temple Church”, Kessinger Publishing (2007), p.488
H. J. Nicholson, “The Knights Templar on Trial: The trials of the Templars in the British Isles”, 1308-11, New York: The History Press (2011), p.238-239
Helen J. Nicholson, “The Knights Templar on Trial”, The History Press (2011)
Barbara Frale, “The Templars: The Secret History Revealed”, Arcade Publishing (2011)
Michael Haag, “The Tragedy of the Templars”, Profile Books Limited (2014)
On the 30th of October at 08:15, the courtyard of Conservatoire National des Arts et Métiers (CNAM) was softly lit by a heart-warming morning sun, occluded by grey Parisien clouds. Just like a cool Morrissey tune; no rain, no cold, no rush. Pure tranquility… At the womb of Art and Science, I somehow felt at home.
As I was wandering around the registration tent and looking at the statues of worldwide known scientists, I bumped into an elderly British gentleman, who was also wandering around alone. We looked at each other for a moment. With a gentle smile, I said “Good morning Mr. Livingstone. Such a great pleasure meeting you, again, Sir!”. As I reminded him who I was, we instantly started talking about the good-old days at Core Design (Derby), and the heydays of 8/16-bit video game development in UK for sure. – What a privilege! For a moment, I thought time stood still.
As the chit-chat and laughter started to peak, I have noticed that we were surrounded by a bunch of young game developers, carefully listening to Mr. Ian Livingstone… Well, it’s quite normal. One does not simply bump into ‘a living legend’ everyday!
Révérence!
Sir Ian Livingstone –yes, he has been knighted once or twice!– is one of the founding fathers of the UK games industry. He is the co-creator of Dungeons & Dragons RPG franchise, author of Fighting Fantasy RPG books, game designer and board member of Domark, co-founder and chairman of Eidos (the company that acquired Core Design and started the Lara Croft:Tomb Raider franchise), and winner of a BAFTA Special Award! In the Wired 100 list for 2012, he was ranked the 16th most influential person in the UK’s digital economy… Now, you know what I mean by ‘a living legend’.
When he asked what I had been doing nowadays, I replied with a witty smile: “Nothing new. Same video game development thing for the last 32 years, Sir!”. We all laughed. He pointed at me and said “Look, we have a newcomer here!”. We all laughed, again… As he kindly looked into my eyes, I knew he was going to switch to something serious: “You know what, after all those years it’s time to start your own company, Mert!”. I gently bowed, and replied “One day I certainly will. Thank you, Sir! For now, I would like to keep on freelancing as much as I can”. He kindly nodded and smiled, as no one in the video game business knows the meaning of ‘freedom’ better than him. I thanked him again for his kind advice and understanding.
When the conversion was over, I felt like I was blessed by the God of video game business. I was relieved to see everything I have done in 3 decades was approved with a gentle nod. That means a lot to me. Relieved, by all means. – (Now, what would you call that; coincidence or destiny?)
The funny thing is, right after the conversation, I realized how young developers were strangely looking at me while whispering to each other: “Well then, who the hell is this long-haired mortal punk chit-chatting with the almighty Sir Livingstone?!” 🙂
Keynotes and Performances
Featuring two days of talks around creative industries, community support, and tools & technologies, there was something for everyone, from experienced designers and veteran artists to folks just getting started.
For me, the highlights of the meetings were;
“Life is a Game” – Ian Livingstone “How Not To Kill Your Art Director” – Vincent Gault “How Not to Go Bankrupt” – Cliff Harris “The Late Game” – Brie Code
All meetings were held at the authentic Conservatoire National des Arts et Métiers (CNAM) amphitheatres, the largest of which can accomodate an audience of 750. These amphitheatres are still heavily used today, as CNAM offers a doctoral degree-granting higher education establishment and Grande école in engineering, operated by the French government, dedicated to providing education and conducting research for the promotion of science and industry. It is a continuing education school for adults seeking engineering (multidisciplinary scientific program) and business degrees, proposing evening classes in a variety of topics.
Show & Tell Demo Area
It was certainly worth visiting each and every indie game developer at the demo area. Bringing young talents and industry veterans together is a step forward for developing better games. We learn from each other. No matter how experienced you are in the global game development industry, there is (and will always be) more to learn. It is in the nature of video game development business.
On the Way Home…
After 2 days full of playing games, meeting game developers and attending various game related events, it was time to go home – yep, for game development! The thing is, I wasn’t aware of the surprise waiting for me at Paris Charles de Gaulle Airport.
Even more games!!! 🙂
In case you wonder, here is the full list of locations you can play Sony PlayStation 4 games -free of charge- at Paris CDG Airport.
Terminal 1: Satellites 1, 3, 4, 5, 6 and 7 Terminal 2: Gates A39, C85, D40 and D66 Terminal 2E: Hall K Gates K36, K43 and K49 Terminal 2E: Hall L Gates L22, L25 and L45 Terminal 2E: Hall M Gates M25 and M45 Terminal 2F: Gates F22 and F46 Terminal 3: International boarding lounge
During our recent summer holiday in Paris, my beloved wife and daughter decided to take a day off and go out for shopping without me. – What a gift! I felt very privileged to have been given back the opportunity of being a ‘freeman’, despite the fact that it was only for a few hours 😉
Against ticking clock, I decided to feed the never ever growing up child within me, and dedicate the whole day to visiting all official LEGO shops in Paris. – Sounds crazy? Well, if you are a LEGO addict like me, then you know what I mean…
When I googled for LEGO shops, I’ve realized that most of the information available online is either misleading or outdated. After a couple of trial and errors, plus many hours wasted on road, I have managed to visit all 3 official LEGO stores in Paris.
The LEGO Store – Les Halles
The LEGO Store – So Ouest
The LEGO Store – Disneyland
During the metro trip back to hotel, I promised myself to write a clear blog post about all the information that I had gathered, so that it could be useful to other LEGO fans visiting Paris.
So, here we go!
The LEGO Store – Les Halles
This is a brand new 400 m² LEGO store established in April 2016. It is located at the center of Forum des Halles shopping mall.
The main entrance of official LEGO store ‘Les Halles’ in Paris
Directions: Take Metro Line 4 (light purple), and stop at ‘Les Halles’ station. There are more than one exits at this station. No worries! Use whichever you like. Using the stairs and escalators, you will either find yourself in a huge underground shopping mall, or in the middle of a crowded street. In both cases, you are at the heart of the Forum des Halles shopping mall. The LEGO store is at street level (Level 0), on the left-hand side of the main entrance. It is the largest shop on this level. – (Link:Google Maps)
My daughter, Dila, is amazed by the beauty of mega Notre-Dame Cathedral construction built in LEGO bricks!
Les Halles LEGO store has a breathtaking showcase. On the left, the store welcomes you with a huge French kitchen set built in LEGO bricks. While looking at the cook, oven, pots, colourful cupcakes, and many other well-thought-out details, it is quite easy to be bewildered while dreaming in front of the showcase. When you walk to the right hand side, you’ll notice two more mega LEGO constructions; The Notre-Dame Cathedral and The Arc de Triomphe. Though both sets demonstrate top-notch brick architecture wizardry, the cathedral construction is a truly remarkable piece of art. The amount of detail –and even humour– that goes into making this set is unreal; tiny goblins and knights walking at the roof speak for themselves 😉
When you go into the store, the first thing you’ll notice is the wall-to-wall layout of shelves. They are clearly categorized with hundreds of boxed LEGO products on them. When you are at the entrance (facing the point of sales), the Duplo products (for babies) are on the left, and the Technic series (for teenagers and adults) are on the right, which is a panoramic categorization from left to right based on age. Simple and effective.
One thing that I really loved is the location of the point of sale. An ellipse shaped desk (with many cash registers on it) is right in the middle of the store! No matter how crowded the shop is, you can always find a shortcut to reach the cashiers.
* This was a real lifesaver during my second visit to this store. I brought my wife and daughter with me on a Saturday afternoon, and the store was so crowded that we couldn’t walk without bumping each other. That day, I really appreciated the wise decision of locating the point of sales in the hotspot of the store.
Last but not least, here comes the jewel in the crown: The staff members. They are simply amazing! Unlike typical salespeople, they are 100% enthusiastic about what they are selling, and specialized in various product categories. These young ladies/gentlemen are always smiling, willing to assist, and very polite.
* And, did I mention that all the French staff members are fluent in English? – Oh, yes!
I have to mention one staff member in particular; Mademoiselle Samantha. For almost half an hour, she patiently answered all my technical questions, visited the storage room (behind the store) a few times, checked the availability of hard-to-find items on my shopping list, made a phone call to one of the other official LEGO stores (So Ouest), reserved the missing items for me, and finally wrote down the directions to make sure that I’ll find my way to that shop safe and secure… Thank you very much, indeed!
The LEGO Store – So Ouest
This is a 300 m² LEGO store established in October 2012. It is located at So Ouest shopping mall in Levallois-Perret, a commune in the northwestern suburbs of Paris. Unlike the previous LEGO store, this one is not at the center of Paris. However, if you follow my directions below, it will take approximately half an hour to get there. It’s not really far away…
So, is this store really worth visiting? Absolutely! This is a fantastic LEGO store in every way. Make sure that it is on your list.
The showcase of official LEGO store ‘So Ouest’ in Levallois-Perret, Paris
Directions: Take Metro Line 14 (dark purple), and stop at ‘Saint Lazare’ station. Following ‘Île-de-France’ (Parisian region) directions and ‘SNCF Transilien’ (suburban train) icons on the signs, walk to the ‘Gare Saint Lazare’ railway station. Don’t worry, it will take 3-4 minutes to get there. Once you are at the main railway station, go up to the 2nd floor and find the ‘Île-de-France’ ticket office. Buy a ticket for line L. (Since this is a suburban line, there will be no seat numbers on your ticket). Go to the main hall, and check for the next train from the split-flap departure display. Your destination is ‘Clichy-Levallois’ – (line L, remember?). After leaving ‘Gare Saint Lazare’, it is the 2nd station on this line. It will take approximately 10 minutes to get there. When you stop at the ‘Gare de Clichy-Levallois’ station, follow the ‘Centrum’ signs. You will find yourself at the entrance of the train station. Now, your destination is So Ouest shopping mall! In order to get there, follow the ‘Rue Jean-Jaurès’ way for a minute, turn left to ‘Rue Victor Hugo’, walk for 3 minutes, and finally turn right to ‘Rue d’Alsace’. You’ll notice a huge shopping mall at the right-hand side of the street. That is So Ouest. Go in there, take the escalator down to B1, and Voilà! – (Link:Google Maps)
Compared to previous one, So Ouest LEGO store has a less-than-moderate showcase. No mega constructions to speak of, actually. However, the warm demonstration of recently introduced LEGO sets at the showcase instantly grabs your attention, and humbly welcomes you inside… A classy way of making you feel “Let’s see what they have here!” 😉
The “Pick-a-Brick Wall” at LEGO store ‘So Ouest’ in Levallois-Perret, Paris
Contrary to the humble first impression of the store, the product range is simply premium. Don’t let the size and modest atmosphere of the shop fool you; they have everything here for you. All products are sorted by themes. Even on your first visit to this store, it is very easy to find what you are looking for. Everything is self-explanatory.
The staff members are superb! They are very polite, always ready to assist you, and willing to speak about the products that you are interested in. Somehow, you feel that you are being taken care of, and it makes you feel comfortable. From a customer point of view, this is something truly beyond the dated customer relationship lessons taught in business schools. It’s really nice to know that someone is keeping an eye on you.
Speaking of the staff members, please allow me to share my amazing experience with you… As I was gazing at the recently released Porsche 911 GT3 RS Technic set, I humbly came closer to one of the staff members, picked up a list from my pocket, and asked him if any of the hard-to-find items on my list was available, by any chance. The gentleman cheerfully looked at me, and said: “Oh, you must be the guy from Turkey! We were expecting you… Mademoiselle Samantha (from Les Halles store) phoned an hour ago, and told me about the items you are looking for. Your orders are ready, Sir!”
After the initial shock, I stuttered: “Well… Thank you!”
Thanks to Monsieur Damien, every item on my list was already collected from the inventory room, and packed. Besides being a very professional staff member, he was also a nice gentleman to talk with. His English was better than mine. For almost half an hour, we geeked out over the discontinued products, second hand LEGO market in France, and latest additions to my daughter’s LEGO train set collection. – A truly exceptional experience. Merci!
The LEGO Store – Disneyland
This is a huge LEGO store established in 2014. The name speaks for itself, the store is in the heart of Disneyland, Paris. Believe it or not, this is the most crowded LEGO shop I’ve ever visited in my life. Thanks to Disneyland’s reputation, this must be one of the most popular LEGO shops in Europe.
The main entrance of official LEGO store ‘Disneyland’, Paris
Directions: Take RER Line A (red), and stop at the last station, ‘Marne-la-Vallée’. This station is also known as ‘Parcs Disneyland’. (Both names are used on signs, in addition to a cute Mickey Mouse symbol.) When you leave the train, use the escalators, and go upstairs. If you have your train ticket with you, pass through the turnstiles. (If you don’t have any tickets, you are stuck! No ticket offices available around. You must find the ticket collector, and ask for help.) Leave the station, go out, and make a U-turn to left. Your destination is ‘The Village’ -aka ‘Disney Village’- a small virtual town where you can shop & dine. You don’t need a Disneyland ticket to get there. It’s free, and the LEGO Store is ahead of you. – (Link:Google Maps)
My daughter, Dila, so cheerful in front of the LEGO store ‘Disneyland’, Paris
When you look from the outside, this store looks like an ordinary LEGO shop. The showcase is quite good, with a huge LEGO logo and a few 2.5D canvas paintings built in bricks. At first sight, it looks like there is nothing special in here…
However, when go in there, you realize how big the store is and immediately forget about the lacking showcase. The mega LEGO structures simply knock your socks off. They are everywhere! Pete’s Dragon hanging from the ceiling, an authentic life-size reproduction of R2-D2, a magnificent The Sorcerer’s Apprentice visual composition from “Fantasia” with Mickey wearing the blue wizard hat… These are spectacular items. Frankly, even better than the ones at ‘Les Halles’ store!
The product range is superb, just like the other stores I have mentioned. However, stock availability is a serious problem here. I was unable to find quite a number of products which were available in the other LEGO stores, such as pencil box, eraser, pen set, a bunch of recently released Technic sets, and almost all Power Functions products! When I asked the reason for missing items, staff members complained about ‘customer circulation vs lack of space’. I am not quite sure if this is an acceptable excuse.
Speaking of the staff members at LEGO Disneyland store, I have to say that they are simply the weakest link here. They are not smiling, not enjoying what they do, and keep themselves away from the customers. Somehow, they chat with each other by the exit. Nobody cares about you. Yep, I know that it is very difficult to manage such a huge store with such a large number of customers in it, but what I’m complaining about is more than that. When you ask a few questions, all you get is nothing more than “Yes”, “No”, or “I don’t know”. Being aware of the fact that Disneyland is a place most people visit once (and never come back again at least for a few years), I don’t think that you are welcomed as ‘loyal customers’ here. If these staff members think that people come and go, and more will come tomorrow no matter how they treat customers, I’m afraid that is a serious threat to LEGO’s reputation. As a lifetime loyal LEGO fan, I’m truly disappointed.
Conclusion
I love Paris! This was my second visit to the romantic city, and I’m planning to do it again and again, more frequently. For my next visit, I have 2 official LEGO stores on my list that I would love to revisit; ‘Les Halles’ and ‘So Ouest’. Great shopping experience in both cases. Strongly recommended.
Developing video games is a way of life for me. The day I saw River Raid at a local arcade saloon, I knew I was going to spend rest of my life PUSHing and POPing pixels.
If you have ever wondered how people used to develop games during the 80s, please keep on reading this article. I am proud to present you Les Mémoires of a . . . [ehem] . . . [cough!] – OK, I admit it. As far as 3 decades of game development is concerned, “dinosaur” will be the most appropriate word 🙂
Retro is in the air!
It’s quite easy to bump into retro video gaming nowadays. Thanks to the current trend, I have noticed several books, articles and interviews that my former colleagues showed up. I am really very happy to see that researchers finally started shedding some light on the history of video game development. You can read and learn a lot about who the early game developers were, how they started writing games, which company they worked for, how much money they earned, and even where they used to hang around…
With respect to recently published materials, I have different things to tell you. Humbly being a part of the history both as a gamer and a developer, I have witnessed the glory and gore of game development scene in UK. Without falling into the trap of telling cliché technobabble that readers (you) would like to hear, I will assess pluses and minuses of the industry from a very personal point of view. I’ll concentrate on the essential elements of game development workflow from a retro perspective, and try to give specific examples by showing you original works (including both released and previously unreleased materials) that I produced almost 3 decades ago.
Through exposing my personal workflow, exclusive tips & tricks, and particular game development assets, you’ll hopefully get a glimpse of what it meant to be a game developer in those days, and notice that some things never change even after so many years of technological evolution.
PART I
“Game Design”
Out of nothing
To be honest, game design was the most underrated aspect of video game development during the early 80s. It was the golden age of coding wizardry. In order to come up with new game ideas, developers had to concentrate on squeezing each and every bit of CPU performance by using clever programming tricks. It was a time-consuming process full of trial and errors. Due to limited time and resources, small development teams/companies were naturally more interested in programming, rather than game design. Considering the circumstances, lack of interest in game design was quite acceptable for such an immature industry.
Well-managed video game developers/publishers with good cash flow/sales ratio, like Ultimate, Elite and Ocean (inc. Imagine), were the true pioneers of artwork oriented game design workflow. These companies raised the bar for the entire industry by investing in artwork design. Title screens, menu frames, character designs, level maps and various technical sketches became a part of the production pipeline. These companies proved that spending time/money in game design had more things to offer in return, in addition to multiplied profits;
Well defined story, characters and puzzles
Error-proof production chain
Cost-effective workflow
Reusable artwork for advertising & promotion
Regarding the efforts mentioned above, I literally witnessed the birth of game design in 1985. As a freelancer working for some of the best game development companies in UK, I had the chance of being a part of “the change”. It was inevitable, and somehow very slow. It almost took a few years for the contractors to get rid of asking for quick and dirty jobs. At the end of the transition period, in-house expectations were higher than average. In order to serve and survive, I was forced to sharpen my skills, and supposed to deliver more planned, precise and polished works. In terms of self improvement, it was a turning point in my life!
“For 16-bit game development, game design was more than essential.”
In 1987, the trial and error days of game development were gone. As we shifted from bedroom coding sessions to collaborative teamwork meetings, we were also making a transition from 8-bit to 16-bit. The release of Amiga 500 and Atari ST heralded more complex computer architectures, offering faster CPUs, larger RAMs, and custom chips dedicated to specific tasks. In order to develop better games, we had to take advantage of these custom components. At that point, we realized that programming such complex devices required a more systematic approach, which emphasized the necessity of proper game design and documentation. For 16-bit game development, game design was more than essential.
Simple, but effective!
We used to design games using conventional tools; Pen & Paper. Until modern methods emerged during the mid 90s, 2D/3D computer aided design was not a part of game design process at all. Everything was designed manually.
Due to homebrew spirit of early game development era, teams were limited with only 2-3 developers, excluding hired musicians. As a result of the “minimalist” human resource capacity, either the programmer or one of the graphic artists had to take the responsibility of game design process. Most of the time, the guy with adequate artwork skills was the best candidate for the job.
In the heyday of 8/16-bit game development, I served mostly as an Assembly Language programmer. Besides programming, I used to do game design as well, thanks to my less than average technical drawings skills. It was better than nothing, actually. As a multidisciplinary game developer, I had the luxury of conceptualizing a scene in my mind, then sketching it on a piece of paper, and finally coding it. Regarding productivity and efficiency, it was an uninterrupted workflow. – Frankly speaking, being a “one-man-army” has always been fruitful in terms of creativity, as well as payment.
Pen & Paper
Let’s have a look at how we used to design games using pen & paper only. Here comes some of my drawings from the late 80s…
These are the sketches of a physics puzzle for an unreleased Amiga action adventure game that never saw the light of day. It was Spring 1989, when Elite asked me to design & code a puzzle mechanism similar to the one in the opening scene of “Raiders of the Lost Ark” movie. Nothing original in terms of puzzle design, actually. In order to overcome the lack of originality, I decided to concentrate on ‘gameplay mechanics’, and that is simply how I sketched the blueprints below.
Sketch: “Corridor Puzzle” (1989) – A pseudo 3D representation of temple corridor, with moving wall/floor stones in focus.
Sketch “Puzzle Detail” (1989) – A 2D representation of the moving floor stone. Upper graph indicates the idle position, and the lower one shows what happens when you step on it.
Sketch “Puzzle Overview” (1989) – The big picture, including Sketch 2. Stepping on the floor stone triggers a huge rolling stone ball.
By today’s standards, these drawings obviously look childish. However, considering lack of proper game design documentation routine of the 80s, the amount of detail given to such a simple puzzle is quite high. Appraising the mid/late 80s as a transition period for game development industry – (for leaving egocentric habits of homebrew 8-bit game development period behind, and moving on to team based corporate 16-bit projects) – these sketches clearly illustrate the importance that Elite had given to quality & professionalism in game design process during that time.
Since this was the preview of the design, I kept the rough copies in Turkish for myself, and delivered the final version in English to Elite. I no longer have the latest version. – The game was cancelled due to budget shortfall. Something so natural in those days. 😉
Game design goes hand in hand with artwork design. Two different disciplines so close, so related to each other. As a game designer, it was inevitable for me to do artwork as well…
PART II
“Artwork”
Back to the 8-bit days
In the early 80s, I used to draw on semi-transparent graph papers using colour pencils. Working on these glossy, oily and super-smooth graph papers had many advantages.
Assuming each tiny box on the graph paper is a pixel, the workflow was quite creative and self-intuitive. Contrary to sitting in front of a TV set and trying to a paint a pixel on a blurry screen while squeezing my eyes,– (yep, we had no monitors in those days, computers were connected to regular TV sets!) –drawing on a piece paper was more natural for me.
Thanks to semi-transparency of graph papers, it was very easy to copy the image underneath. If the original image had the same size of a graph paper, it was super easy. If not, the original image had to be scaled to graph paper size. As I had no luxury of using a xerox machine in the early 80s, I had to do it manually. It was a painstaking process.
I can clearly recall the day when my dad advised me to use an ancient photography technique… As I was drawing faint reference lines on the original image and manually scaling the image on to the graph paper, he looked at me and said; “Why don’t you place the original image at a distance where you can look at it through the graph paper?” – He helped me building 2 wooden frames with adjustable paper clippers on them, and it worked like a charm! I used this technique for most of the artwork I did for Ocean and Coktel Vision. A few years later, I had a clear conception of the principle; it was camera obscura 🙂
The downside of using graph papers was time consuming paper-to-computer transfer process. I had to paint each pixel one by one. As you can imagine, counting painted boxes on a piece of graph paper and painting the same amount pixels on to the screen of a humble Sinclair ZX Spectrum was quite tough.
This time consuming process was quite simplified when I switched to an attribute (colour) clash free Amstrad CPC 464. I wrote a very simple tool capable of moving a crosshair (cursor) on screen using cursor keys, painting a pixel by pressing Space, and switching to the next colour by pressing Enter. – Simple, but effective.
“Life is really simple, but we insist on making it complicated.” – (Confucius)
Worth a thousand words
In order to capture the essence of the era, let’s have a look at some of my 8-bit sketches from the mid 80s.
All sketches are drawn on graph papers. In order to simplify the copy/scale method that I mentioned above, I have used black for outlines and various colours as fillers. It was –and still is– a very common technique used by anime artists.
Sketch: “Title Screen Frame” (1985) – Outsourcing generic artwork to freelancers was a time/cost effective method for most game development companies. This is one of my “template” Sinclair ZX Spectrum title screen/menu frames that I designed for Ocean. I did it in a modular way, so that it can be precisely divided into 4 quadrants. Without saving the whole image, it can be easily regenerated from a single quadrant by flipping and copying in both x/y axis. A good example of memory efficient menu frame design.
Sketch: “Top Gun” (1986) – The very first sketch of Top Gun logo and title screen. It was used as is on Ocean’s “Top Gun” release for Sinclair ZX Spectrum and Amstrad CPC. Below the logo, you can clearly see how I started sketching Tom Cruise using a very limited number of colour pencils for better Amstrad colour palette compatibility. The final version illustrating the famous Kelly McGillis and Tom Cruise pose was hand-delivered to Ocean. Greetings to Mr. Ronnie Fowles for his great multicolour Mode 0 conversion on Amstrad CPC loader screen.
Sketch: “Wec Le Mans” (1986) – Speaking of car racing games, switching to a new colour palette and changing the billboards along the highway was a proven method for creating “new level” illusion! In order to simplify the process of developing rapid level/scene variations, I designed many generic billboards similar to this one, including a 4 colour Ocean billboard later used in “Wec Le Mans”. For conversion requirements, I was asked to design the Pepsi billboard to be compatible with both Sinclair ZX Spectrum and Amstrad CPC. – Apologies for the bad condition of this sketch. I am afraid, some parts of it has been eaten by Kiti, my guinea pig 😉
Sketch: “Lucky Luke” (1986) – This is the Amstrad CPC title screen that I designed for “Lucky Luke – Nitroglycerine”. Halfway through the development schedule, Coktel Vision decided to convert the game from Mode 1 to Mode 0. Due to time constraints, I preferred sketching 3 more Lucky Luke images from scratch, instead of converting this one. All published, except this one.
Beyond 8-bit
When I switched from 8-bit to 16-bit, using Deluxe Paint on an Amiga was a larger-than-life experience; something similar to driving a Rolls Royce maybe. Plenty of colours, crop tools, adjustable brush sizes, cycling colours, and no graph papers. More than a dream!
Today, I have the luxury of using a colour calibrated multi-touch Wacom Cintiq tablet. It is absolutely a “what you see/draw is what you get” experience. Truly way beyond painting pixels on a 4 MHz Amstrad CPC, but quite similar to Deluxe Paint when using it with Adobe Photoshop. – Well, at least for me.
No matter what kind of equipment I use, still stick to the 8-bit spirit within me. It’s not what you’ve got, it’s how you use it.
PART III
“Programming”
A subjective definition
Programming is black magic. It is the use of computational “powers” for selfish game development purposes. By definition, more close to heresy than engineering 😉
Joking apart, programming is the melting pot of game development. Just like cooking, it is more than mixing ingredients. Programming amalgamates different types of assets and makes them look as “one”, so that the game will be greater than the sum of its parts.
First things first
During the early 80s, we used to code a proof of concept (a working copy of game with dummy graphics) before doing anything else. Coding a working prototype was at the top of our to-do list. Even the game design phase was one step behind it. I know, it sounds bizarre today, but it was actually a way of ensuring gameplay quality and testing technical limitations at the very beginning of the project. We used to sit in front of the TV set for days, play with the proof of concept, add/remove features, and make it more modular so that we can come up with tweakable ideas here and there. Due to technical limitations of 8-bit home computers, we had to guarantee a smooth gameplay experience right at the beginning of the project.
“Theory without practice is unacceptable.”
Nowadays, this is considered wrong! Regarding huge development companies releasing AAA games with budgets soaring to multiple hundreds of millions of dollars, programmers meet and argue for weeks without writing a single line of code. They don’t start coding until everything is clearly written down on the game design document. Yes, this method certainly makes sense for some projects. However, no matter how many weeks you spend for writing a game design document, if your proposal doesn’t make sense in terms of programming, I’m afraid you have a big problem. I have seen many promising projects that looked super great on paper, but didn’t work at all. Speaking of video game development, theory without practice is unacceptable.
Double Trouble
Back in the good old days, we used to chase two goals for achieving a great gameplay experience:
Fun factor
Playability
Games with both factors maximized were considered “successful”. If you pay attention to 8-bit classics, such as Donkey Kong, Manic Miner, and Knight Lore, you’ll notice that there is something more than what you see on the screen. They’re addictive. Despite the aged chunky graphics, there is something special that makes us hooked on these games!
Yes, it is the precise combination of fun and playability.
“Above all, video games are meant to just be one thing: Fun for everyone.” – (Satoru Iwata, Nintendo CEO)
Even today, I stick to this formula. I try to design and produce games with these factors in mind. Sometimes, I’m criticized for making too much of these factors, which I really don’t mind at all. I know that it works all the time 😉
Nobody taught me how to write games. So, how am I so sure about these two relic success parameters?! What makes me think that this formula works even after 3 decades?
Well, let me tell you the whole story then…
The Age of Innocence
I started programming on a Sinclair ZX81. I knew that I had to go beyond BASIC, and start programming in assembly language. After realizing the fact that loading an assembler editor to a computer with 1K of RAM was almost impossible without a memory expansion pack, I switched to Sinclair ZX Spectrum with 48K of RAM. HiSoft Devpac assembler was my Swiss Army knife. I was finally able to write more larger and complex codes. After developing a few business utilities for TEPUM, the local distributor of Sinclair in Turkey, I deliberately decided to write games.
Due to lack of engineering and programming books in Turkey, I started disassembling games. Through reverse engineering, I learned that developing a great game required more than proficiency in Assembly language. I became aware of unorthodox programming methods for the sake of code size/speed optimization, and started developing awkward solutions to generic debugging problems, such as using a second Sinclair ZX Spectrum for instant disassembly, full memory dumping to ZX Microdrive cartridges, and disabling ROM page for more low-level control and free space.
The Power of the Dark Side
As I was very comfortable with reverse engineering games, some of my friends started asking me if I could crack this-and-that game, and add a trainer mode (with infinite lives) to it. It was a challenging request. I knew that it was immoral, as well as illegal, but couldn’t resist feeding my hunger for more information. Cracking speed loaders of Sinclair ZX Spectrum games could have been an opportunity for sharpening my skills. So, I said “Yes!”.
It was precisely the Spring of 1985 that I realized I was developing games as a day job, and cracking some other games as a night job – typical Dr. Jekyll and Mr. Hyde case!
Through cracking speed loaders of the original releases, I gathered invaluable information about low-level programming. Then, I started implementing custom loaders for my cracked ZX Spectrum releases. In order to build a good reputation in the warez scene, I wrote various less than 2K intros, and embedded them into my custom loaders. These were mostly tiny technical demonstrations showing off limited capabilities of the Z80 CPU, such as real-time game logo rotators, and silky smooth text message scrollers at 50Hz.
My Amstrad (left) and Amiga (right) assembly language programming notebooks
In less than a year, in addition to cracking ZX Spectrum games, I started distributing them as well. It was an opportunity for buying and cracking more games in return. The more I cracked, the better I coded. It was a true vicious circle! The best part of this mind jogging lifestyle was playing games. As a cracker, I had hundreds of games in my library. Inevitably, I used to play for hours and hours. I played so many games that I started taking down notes about my gameplay experience and keeping a list of the things that I liked/hated. In a way, it was DOs and DON’Ts of game design and development. Priceless information! – In addition to these notes, I also wrote down my reusable subroutines and generic piece of codes. A personal database, if I may say so. I still keep those notebooks for nostalgic purposes 😉
[ Although keeping a notebook may sound a bit old school today, actually I still stick to doing so. Instead of working in front of the computer for many hours, I do most of the work on paper, as I sit back at a café and enjoy the sun! ]
Goodfellas…
When I switched to Amstrad CPC 464, one of the first things that I did was buying a Romantic Robot Multiface II. Regarding the extra 8K of memory on this device, it was possible to load the dissassembler to Multiface II and get a total of 64K free memory on the computer! This was the opportunity that I was looking for since the days I had used Sinclair ZX81. As a developer, I was finally able to dedicate the whole memory to my games. So, I started using various techniques for developing better games, such as switching 16K banks, off-screen scrolling, and double buffering. Although Multiface II was designed to be a game copier device, I preferred using it as a debugging tool.
[ Despite the general consensus, you weren’t allowed to run dumped copies with anyone else’s machine. Multiface II was copy protected! ]
Speaking of the dark side, I kept on cracking and distributing games; this time for the Amstrad CPC scene! I wrote various checksum protected custom loaders for my cracked Amstrad releases. Lamers couldn’t crack them, naturally. They simply tape-to-tape copied and released them as they were, including my new intros. In a way, they spread the word for me. Through modifying Amstrad games by adding trainer modes and embedding intros, I became so popular that consumers started asking if the game had [cracked by matahari] logo on the game, before buying it. A seal of approval!
This is the original font that I designed for the logo. It became more and more popular with each release that I cracked and distributed, as it finally turned into my trademark. – OMG, it’s totally unleashed now 😉
The Summer of 1988 turned out to be the peak of my underground career. With the help of a true friend, we dominated the whole local Amstrad CPC game distribution channel. As a result of this fruitful collaboration, my cracked releases were everywhere!
[ Don’t worry, I’ll go into details of that period in an another article ]
So, what the fuss?!
Even after all those years, I can justify the benefits of “disassembling”. To be honest, I wouldn’t be who I am today if I hadn’t cracked games. Today, reverse engineering is a proven method for sharpening programming skills. A piece of cracked code can offer more hidden gems than a technical reference book. – Give it a try, you’ll not be disappointed.
However, a game is more than bits and bytes. Developing a good game requires more expertise than coding subroutines and pushing pixels on to the screen. Many people can show you the technical aspects of developing games, but no one can teach you how to write a great game. I’m afraid, you have to do it by yourself! Play as many games as you can. Concentrate on the gameplay, feel the tension, and analyze the experience you had. Keep a notebook, and take down notes about these analyses. Frequently, review you notes. The more you do this, the more you develop a sense of good and bad. And, that is what I did over the years. – Oh, does that make me a great game developer? Do I really know everything about writing GREAT games? Absolutely not!
I simply know what not to do.
“To know what you know and what you do not know, that is true knowledge.” – (Confucius)
Privacy is everything
During the 80s, I was a humble programmer. With the exception of my family and a bunch of colleagues, nobody was aware of the things that I had been doing for the British game development industry. Unless necessary, I have never exhibited my talent. Even today, I still take advantage of privacy. No publicity, less headaches, more freedom 😉
“The Wise Man chooses to be last, and so becomes the first of all; Denying self, he too is saved.” – (Lao Tzu)
It is also worth mentioning that, I have never been a member of a cracker/scener group. I worked alone. Due to contradictory condition of being both a member of the game development industry and the warez scene, I took a vow of silence and kept things to myself.
What about today?
I stopped all my warez activity in 1990. Since then, I don’t do illegal stuff anymore. No more cracking, no more illegal game distribution… Period.
Alas, still programming video games! I have so many things to learn, and to do. As a programmer addicted to game development, this is a never-ending journey. No time for retirement.
Closing words for Programming
After 30+ years of programming, my perspective towards coding has evolved in a very positive way. For me, programming has become more than engineering; something more close to art!
In case you wonder, let me tell you why…
Independent of programming languages used, programmer creates mathematical patterns using a set of pre-defined building blocks; commands, keywords, opcodes, etc. When we decompose a video game, we can see that it is made up of various complex patterns.
The interesting thing is, all programmers use the same commands, keywords, opcodes, and somehow come up with uniquecode patterns. Just like poetry, literature, music, painting… you name it, where the artist uses a limited number of elements (words, notes, strokes, etc.), and comes up with unique patterns for expressing emotions.
Khayyám, Wordsworth, Pynchon, and Hemingway have one thing in common; they all have an understanding of life through art. What makes these people so great is, not because they are genius in mathematics, but because they are capable of expressing emotions using mathematical patterns in a way that common people can understand and appreciate both.
From my point of view, a good game developer should be doing the same thing! – Well, if a video game is all about creating an emotional experience through various mathematical patterns, am I asking too much?
“A mathematician, like a painter or poet, is a maker of patterns. I am interested in Mathematics only as a creative art.” – (Godfrey Harold Hardy, mathematician, University of Cambridge)
All right… ALL RIGHT!
I’ll cut the crap, and go back to the 80s as promised. 😉
PART IV
“Audio / Sound FX”
More than Chiptune
There are thousands of webpages dedicated to chiptunes produced on 8-bit home computers. If you are interested in retro computer music, I’m sure you have already visited some of these websites, listened to your favourite game tunes, and most probably downloaded them as well. Catchy tunes, earth shattering C64 basses, creepy Spectrum buzzings… I think, we all agree that 8-bit era audio was made up of 3-channel tracker music using “eerie blips-and-blops”.
– “So, 8-bit audio simply means chiptune, right?”
– “Partly true, sir!”
During the early 80s, besides simple waveform generating chips that started chiptune craze, we had sample playback technology as well. Not mentioning the holy-mighty-worthy SID and enormous variants of AY/YM chips, even the humble buzzer of Sinclair ZX Spectrum was capable of playing samples. And yet, sample playback technology was the most underrated aspect of 8-bit audio. Yes, it wasn’t up to today’s standards for sure, but it was better than having nothing!
In terms of gaming experience, it’s worth mentioning that “Ghostbusters” (Activision), “Impossible Mission” (Epyx), “A View To a Kill – James Bond” (Domark), and almost all CodeMasters releases made a real difference thanks to surprising samples embedded within them. “Robocop” (Ocean) and “Jail Break” (Konami) raised the bar so high that, sample playback technology justified itself being restrictively available for 128K versions of games. – Pride of an underrated technology!
Under the Hood
So, how did these companies sample those speeches? You need a piece of hardware that samples your analogue voice and converts to digital using n-bits, right? Simple!
Here comes the tricky part… Do you know any Analogue-to-Digital Converter (ADC) expansion device (similar to Cheetah Sound Sampler released in 1986) for Sinclair ZX Spectrum or Commodore 64 available in 1982?
I am afraid, there was no such device. – So, how did they do it?
Well, most of the time, huge game development companies of the early 8-bit era (Imagine, Melbourne House) used inhouse designed proprietary hardware. These were simple Analogue-to-Digital converter boards inserted into expansion ports of 8-bit home computers. Due to complexity and immature nature, only a few number of employees were allowed to use these special devices.
The 2nd option was getting in contact with ESS Technology, a multimedia company offering electronic speech systems. It was founded in 1984. Same year, both “Ghostbusters” (Activision) and “Impossible Mission” (Epyx) successfully demonstrated that Commodore 64 can actually speak, thanks to an expensive license agreement with ESS Technology.
Last but not least, there was an easier –and cheaper– way of dumping samples into an 8-bit home computer, that many people weren’t aware of… Connecting a ZX Interface 1 fitted underneath a 48K Sinclair ZX Spectrum to a professional audio sampler through the 9 way D type RS-232 serial port connector. – (Huh?!)
During the early 80s, professional audio samplers were widely available in high-end music studios in UK. E-mu Emulator (1981), Fairlight CMI (1979) and Synclavier (1977) were the kings of 8-bit sample era. It was quite easy to hire these VERY expensive devices for a few hours. All you had to do was; ask for a rendez-vous, bring your computer to the studio, sample your speech/music via mighty sampler, connect your computer to the serial port of that sampler, set the baud rate, dump raw 8-bit data within minutes, save it to a disk/cassette, and pay a few £££ for each hour you’ve been there. – Well, that was the easiest part!
When you’re back home, you had to handle the task of squeezing 8-bit sample data to a much lower quality. – (You’re not going to use the whole 64K of memory for a few seconds of speech, right?) – Depending on the number of volume envelope steps available on the sound chip, decimating the sample rate from 17 kHz to 4.7 kHz, and reducing the bit depth from 8-bit to 5-bit would be OK… But how?
Well, that’s the tricky part. You had to know how to downsample, and write a piece of downsampling code in Assembly Language for the humble Z80 CPU. – (Remember, we’re in 1982. No sample editing tools available, yet.) – And, that was simply what I used to do for pocket money during the early 80s. I was in touch with a few game development companies that would literally give an arm for that piece of code. 🙂
“Scientia potentia est – [Knowledge is power]” – (Sir Francis Bacon)
In-Game Usage
Using samples in games wasn’t limited to speech, for sure. It was possible to use musical instrument sounds as well; mostly drum samples. Although a few games tried to use kick (bass drum) samples on menu/title songs, using this trick during gameplay was technically an expensive approach on 8-bit computers. CPU had to take care of the meticulous process. Computer was literally halted until the playback was over. In other words, gameplay had to freeze during the sample playback. – Impractical? Well, not for “The 5th Axis” (Loriciels) programmers! This game certainly demonstrates a clever way of sample playback usage during gameplay.
This limitation was naturally history, when multi-tasking Amiga came up with DMA (Direct Memory Access) driven custom sound chip; Paula. In regards to making sound sample playback without CPU intervention possible, Amiga opened the gates of 4 channel 8-bit sample playback era. It was finally possible to play any sound sample you like during the gameplay, with no hiccups at all.
With the introduction of Amiga 500 in 1987, using sound samples in games became an industry standard. The days of chiptune blips-and-blops were gone. Game developers became more interested in visiting music studios and using pro-audio equipment. It was a next-gen game development era full of hunger for new tools. In other words, a new opportunity for multidisciplinary video game developers, like me.
Regarding the announcement of Sound Blaster audio cards for PCs in 1989, sample playback technology became more than essential for game development. Thinking of the advanced specs, such as 23kHz sample playback, AdLib-compatibility, and MIDI, these were quite affordable cards. – Oh yes, I bought one!
In 1991, I decided to upgrade my modest audio tools to a higher level, for the sake of Core Design projects that I was involved in. I sold my noisy Sky Sound Sampler that I used during the development of “Paradise Lost”, and bought 2 brand new samplers for my Amiga:
In addition to these samplers, I bought simply one of the best synthesizers ever produced – a Roland JD-800. It was –and still is– an extremely programmable and a great sounding digital synth with incredible flexibility and control, not mentioning the hefty price! – (A few years later, I bought the rackmount version as well, Roland JD-990. Still regularly using both in my studio.)
As expected, combining high-tech gadgets with old school game development techniques led me to new Amiga and PC game projects. Can you imagine what you could do with an Amiga fully loaded with two samplers, and a PC expanded with a Sound Blaster card that is MIDIed to a Roland JD-800 synthesizer, in 1991?
Many people believe that video game developers earn millions, live in Hawaii, drive a Ferrari, and date Victoria’s Secret supermodels. Well, maybe some of my colleagues do… Not me, for sure.
“Hey, where are the supermodels ?!”
Contrary to popular belief, career in video game development is full of challenges. Besides dealing with coding hurdles and release date stress, where time is your enemy in both cases, you need to handle egocentric teamwork meetings while keeping an eye on the tight budget. If that is not enough, you need to refine your skills forever and ever to make sure that you are keeping up with the latest technological achievements, even before they are released. – “Hey, where are the supermodels?!”
Despite all challenges, a game developer’s life is actually more upbeat than speculated. Forget about all the challenges for a minute; the best part is the necessity of refining skills. When you keep on sharpening your technical/artistic skills, you’ll have a chance of tweaking industry standard workflows. With every tweak, you’ll add a bit of haute couture touch both to the project you’re working on, and to your signature development methods. The more you sculpt a unique style, the more you stand out from the rest. And, that makes a real difference, by all means.
Education necessary?
Most preferably yes, but not essential. I studied both Science and Arts, but have always considered myself an autodidact– a self-taught person. Nobody taught me how to develop video games! Through rewarding self-discipline skills, studying various topics in Mathematics, Physics, Architecture, Sculpture and Philosophy helped me to increase self-knowledge and unleash my creative potential. I’m an advocate of the mantra, “never stop learning.”
Regarding the opportunity for learning new tricks, a new video game project still makes my heart beat like a butterfly, even after 30+ years of active coding. – I keep the spirit alive!
“Self-education is, I firmly believe, the only kind of education there is.” – (Isaac Asimov)
Manners Maketh Man
Video game development is challenging, sore and tough. Doing video game business is worse!
Because of cheap and dirty business tricks that you are not familiar with yet, your heart can be easily broken. You may lose self confidence by getting discouraged, no matter how talented you are. Misery plagues creativity! When days turn into nights, melancholy takes over. Then, your talent starts to fade away. At the final phase, you start asking yourself “What have I done to deserve this?”, and the more you question your manners the more you lose self confidence. A perfect vicious circle! – Yep,I’ve been there. I know what I’m talking about.
No worries! It’s not your fault.
Unlike typical businessmen -underestimating your skills in a hot meeting, while puffing the fume of an expensive cigar right into your eyes- game developers are artists. I’m afraid, raw capitalist tricks work on us, simply because we are fragile.
Here is the cure… Act by the book! Follow the unwritten rules and guidelines of professionalism, and be happy 😉
Develop a thick skin.
Be prepared for the worst.
Settle with “less”. – Less is more.
In case of failure; get angry, not sad. Stand up and fight!
In case of criticism; embrace it. It is a chance for sharpening your skills.
Be good at what you are doing, not the best! Best kills creativity, and feeds pride.
You better be really good at what you are doing!
For starters, spend some time with experienced game developers. Speak less, listen more, show respect, and be gentle. Pay attention to how they tolerate mistakes. It is mistakes, that makes an artist a better one. Good artists are well aware of it, most probably you are not. That makes a difference!
“Creativity is allowing yourself to make mistakes. Art is knowing which ones to keep.” – (Scott Adams)
Knighthood served as a “Free Man”
I have always been a freelancer; a “free man” with no chains tied to a game development company/publisher. I had the chance of picking the projects I wanted, working with people I liked, and always preferred creativity over materialism – Free as a bird!
Sounds too good?
Actually, it is a state of nirvana, that comes with a few costs!
Expect to work harder than full-time developers – You are a marathon runner, not a nine-to-fiver. Be prepared to work more than 10 hours a day.
“There is no substitute for hard work.” – (Thomas A. Edison)
Invest in yourself – Besides work, make some time for reading something “new”. Never underestimate the advantage of using latest technologies. Keep sharpening your skills regularly, and be ahead of full-timers.
“Give me six hours to chop down a tree and I will spend the first four sharpening the axe.” – (Abraham Lincoln)
Expect no respect from full-time developers – They are going to hate you! Simply because, you have already become what they want to be. – You have achieved the goals of becoming a “free” game developer. You are no more afraid of taking risks. You have right to say “No!”. Your talent is appreciated. And, you are well paid… Enough number of reasons to attract hatred. So, be a professional by getting prepared for a bunch of miserable/jealous full-timers gathered around a meeting table. Do not let the meeting room turn into a battlefield. Take control of the conversation by tolerance. Make sure they understand that you could have simply become one of them, if you hadn’t taken the risks!
“Go up close to your friend, but do not go over to him! We should also respect the enemy in our friend.” – (Friedrich Nietzsche)
Expect no credits – None at all. If you are well paid and your work is appreciated, this is all you’ll get for a long time. Within years, you’ll start getting credits for your work, for sure. However, you better accept the bitter truth that you’ll never get the same “fame factor” that full-timers do. Full-time dedication to a single developer/publisher is always rewarded with full credits. I am afraid, this is how it works… As a result of your anonymous contributions; you will not be famous, you will not be invited to release parties, and you will be purposely excluded from development team photos. Most embarrassingly, your existence will be denied while your work will always be remembered! – It’s easy to deal with this case; don’t confuse fame with success. For me, success is happiness.
“Fame is the thirst of youth.” – (Lord Byron)
Expect no money – At least for now! You’ll make plenty of money, soon, but this shouldn’t be the ultimate motivation of your career. Game development is all about “passion”. A passion for coding challenges, artwork challenges, teamwork challenges, and even more challenges that you do not expect at all. Keep in mind that you are solving technical problems for the sake of art. It is 100% fun! – In return, you’ll get paid for it, sooner or later.
“A wise man should have money in his head, but not in his heart.” – (Jonathan Swift)
Despite all psychological threats above, working in video game industry as a freelancer is the best way to serve and survive. Swimming with sharks in a pool will keep you prepared for anything. Contrary to full-time workers, take advantage of your freelance position; free your mind, be creative & productive, and dominate the pool. – In case you need Plan B, enjoy the luxury of switching to an another pool 😉
Beyond Barriers
Many people assume that living in Istanbul (Turkey) as a freelance game developer and doing business with international game developers/publishers would be the hardest thing to do. I hear, “But, you’ve got to be there!” kind of buzz all the time. – Actually, not at all. In addition to overcoming cultural complexities, living in Istanbul as a freelancer and doing business with international game developers/publishers has always been the smoothest part in my workflow.
Even back in 1984, it was a no-brainer process. Before our local post office had a fax machine for hire, I used to contact people by writing business letters and sending them my codes/artwork on cassette tapes. Yes, it used to take 2 months to get a reply from UK, but that was the way how business was done in those days! – Worth waiting every minute for, actually. Each and every day I used to ask mom if the postman had delivered something for me; an acceptance letter, a cassette tape with my next project specifications on it, a new release with my code/artwork in it, or a paycheck preferably.
When I started working in UK, things changed entirely. Peaceful days were gone. Never-ending meetings, heavy ego traffic, more chat, less work, and unsuccessful management tricks adding insult to injury by causing more stress as we get close to the release day! Yep, usual game development company stuff, same even today. 😉
Take my word for it! Get rid of unnecessary distractors. If you are self-disciplined and well-organized, nothing compares to working at home as a freelancer. Today, we have e-mail, video conference and more than anything we need at our fingertips. Easier and faster than ever. Never mind the distance, focus on the business! Sharpen your skills. If you are really talented at something, there is simply no barrier for doing business globally.
The barriers are not erected which can say to aspiring talents and industry, “Thus far and no farther.” – (Ludwig van Beethoven)
One final word, young man… Keep in touch!
A lot of things have changed and evolved during the last 3 decades of game development, except one thing; the necessity of keeping in touch with your contacts! If you’re in entertainment business, keeping your relations alive is everything. – Sounds easy, but is actually hard to do.
Speaking of my latest video game development project, yet an another milestone achieved. – Quite a tough one, indeed!
But first, please allow me to focus on some of the very basic mathematical logic definitions heavily used in software engineering, so that we can clearly understand what’s going on under the hood of a decent game development process.
Don’t worry, it’s not rocket science 😉
Some theory
All video games have gameplay mechanics based on logic. A game is “a set of story driven goals to achieve” from a programmer’s perspective.
When you open a chest, solve a puzzle or kill an enemy, you are actually triggering a logic unit that is predefined within the game code. Depending on game’s technical requirements and gameplay complexity, there can be thousands of these units forming a web of logic units.
Game programmers tend to use graph theory for defining and coding logic units. Each unit is symbolized with a simple geometric shape. A box, a circle, anything… And these units are connected to each other with links.
“Logic units” (nodes) represent tasks that the player will perform.
“Links” (lines) represent the relationship between the logic units.
Behaviour Analysis
A node graph architecture is almost identical to an electronic circuit. When you start executing a node graph code, you are actually branching from one component (node, in our case) to an another by the rules you’ve set for the logic units, just like electric current flowing from a resistor to a capacitor. And, as you can guess, this type of signal flow is 100% linear.
When the player accomplishes a task, the node related to that event will be “expired”. In other words, it will be dead. Expired nodes cannot be resurrected. Once they’re done, they will be ignored (skipped) during code execution, forever. – Which is unlikely in electronics! An electronic component, such as a resistor, a diode, etc. cannot be conditionally turned on/off.
Back to 2002 for a “classic” implementation: Flagger
During the “Culpa Innata” development sessions, we precisely knew that we needed a node graph architecture for handling game’s complex execution flow. Many discussions were held on the method of implementation. All members of the core management & development team were expert electric/electronics engineers with no experience in video game production [Reference], but me! As a video game programmer, my perspective towards node graph theory was naturally very different, contrary to their classical approaches. I wasn’t thinking in terms of voltage, current, etc., but focused on just one thing: optimized code execution.
Thanks to my Zilog Z80 and Motorola 68000 assembly language programming background, I offered the term “Flag” for the base logic unit (node), and teamed up with Mr. Mete Balcı for 3 weeks. In December 2002, we developed a tool called “Flagger”.
Pros and Cons
Flagger was a C++ code generator with a very handy visual interface similar to UE4’s current Blueprint approach. Using Flagger, we were able to add nodes, connect them to each other, program the logic behind the nodes/links, and even take printout of the whole node graph scenario. When the visual logic design process was over, it was just a matter of selecting “Generate C++ code” from the menu, and source code was generated within minutes.
Over the following years, Flagger evolved into a more sophisticated development tool capable of handling various scenarios. Although it was a very handy tool and saved many hours during “Culpa Innata” sessions, there were a few problems with the classical node graph theory that the implementation was based on;
Flags were single threaded. Only one node was allowed to execute at a time. No multi-threading.
Flags were expirable. When a task was done, related flag (node) was marked as “expired”, not deleted for the sake of logic integrity.
Flags were not reusable. Once they were expired, there was no way of resurrecting them. – Inefficient memory usage, thanks to hundreds of expired nodes.
Flags were heavily loaded with variables. Too many dialogue related “customized” variables were defined for special cases (exceptions). – Inefficient memory usage, once again.
Flag execution flow wasn’t well optimized because of node-tree search algorithm. The more nodes we had, the longer it took to accomplish the search.
Flag execution was linear. When a node was expired, the graph code was first searching for related nodes and then retriggering the whole diagram from the beginning, like an electronic circuit simulator. – Well, that was ideal for modeling a circuit, not for developing a video game!
A Modern Approach: 3-bit Worker!
13 years later, I have once again found an opportunity to dive into node graph theory, and just completed implementing a new architecture for my latest video game development project. Unlike Flagger, it is something extraordinary! It is very… atypical, unconventional, unorthodox… Well, whatever… You got it 😉
First of all, it has nothing to do with classical electric/electronic circuit theory. This time, I’m on my own, and approaching the problem as a software engineer. Everything I designed/coded is based on game requirement specifications. In other words, it is implemented with “practical usage” in mind.
I have defined the basic logic unit (node), as a “worker”. – (Due to functional similarities, I simply borrowed this term from Web Workers.)
A worker is a background task with adjustable priority settings. It performs/responds like a hardware interrupt.
Each worker is multi-threaded.
Depending on conditional requirements, a worker can expire and/or live forever. If expired, it can be resurrected and/or reinitialized, while preserving its previous state. So, a worker is a 100% reusable node.
Each worker uses only 3-bits! No additional variables, no references, nothing else. – (If necessary, a worker offers flexible architecture for additional variables. However, I find it totally unnecessary. 3-bits are more than enough!)
Inherited workers don’t need additional logic variables. All child workers share the same 3-bit information that they inherited from their parents!
Each worker has a time dependent linear workflow. Just like a reel-to-reel tape recorder, it can be played, paused, slowed down, accelerated, fast forwarded, rewinded, and stopped.
Workers can be non-linearly linked to other Workers! Which means, node-tree search algorithms are no more necessary. There is no “main loop” for executing nodes! Code execution is pre-cached for optimum performance.
Workers are optimized for event driven methodology. No matter how many concurrent active workers (threads) you have in the scene, there is practically no CPU overhead. Ideal for mobile scenarios.
Workers are managed by “Managers”. A Manager is inherited from base Worker node. So, any worker can be assigned as a Manager.
Workers can communicate with each other and access shared variables via Managers.
Whole architecture is 100% platform independent. For a showcase, I’ve implemented it for Unreal Engine 4 using C++ and Blueprints. It can easily be ported to other game engines; such as Unity, CryEngine, etc.
And, most important of all, everything is meticulously tested. – It’s working as of today 🙂
Any drawbacks?
Sure… Due to complexity of comprehending “a set of non-linearly linked time dependent linear nodes”, debugging can be a nightmare. As always, designing simplified and organized logic sets reduces potential problems. – I keep my logic sets neat and tidy 😉
So, what’s next?
Well, to be honest, since all theoretical stuff is done, I’ll switch to game content development. I am quite sure that I’ll keep on adding/removing things to my 3-bit node graph architecture. I will keep on improving it while preserving its simplicity, for sure.
“It is vain to do with more what can be done with less.” – (William of Ockham)
The Blog of Mert Börü: Selected Works, Ongoing Projects, and Memories


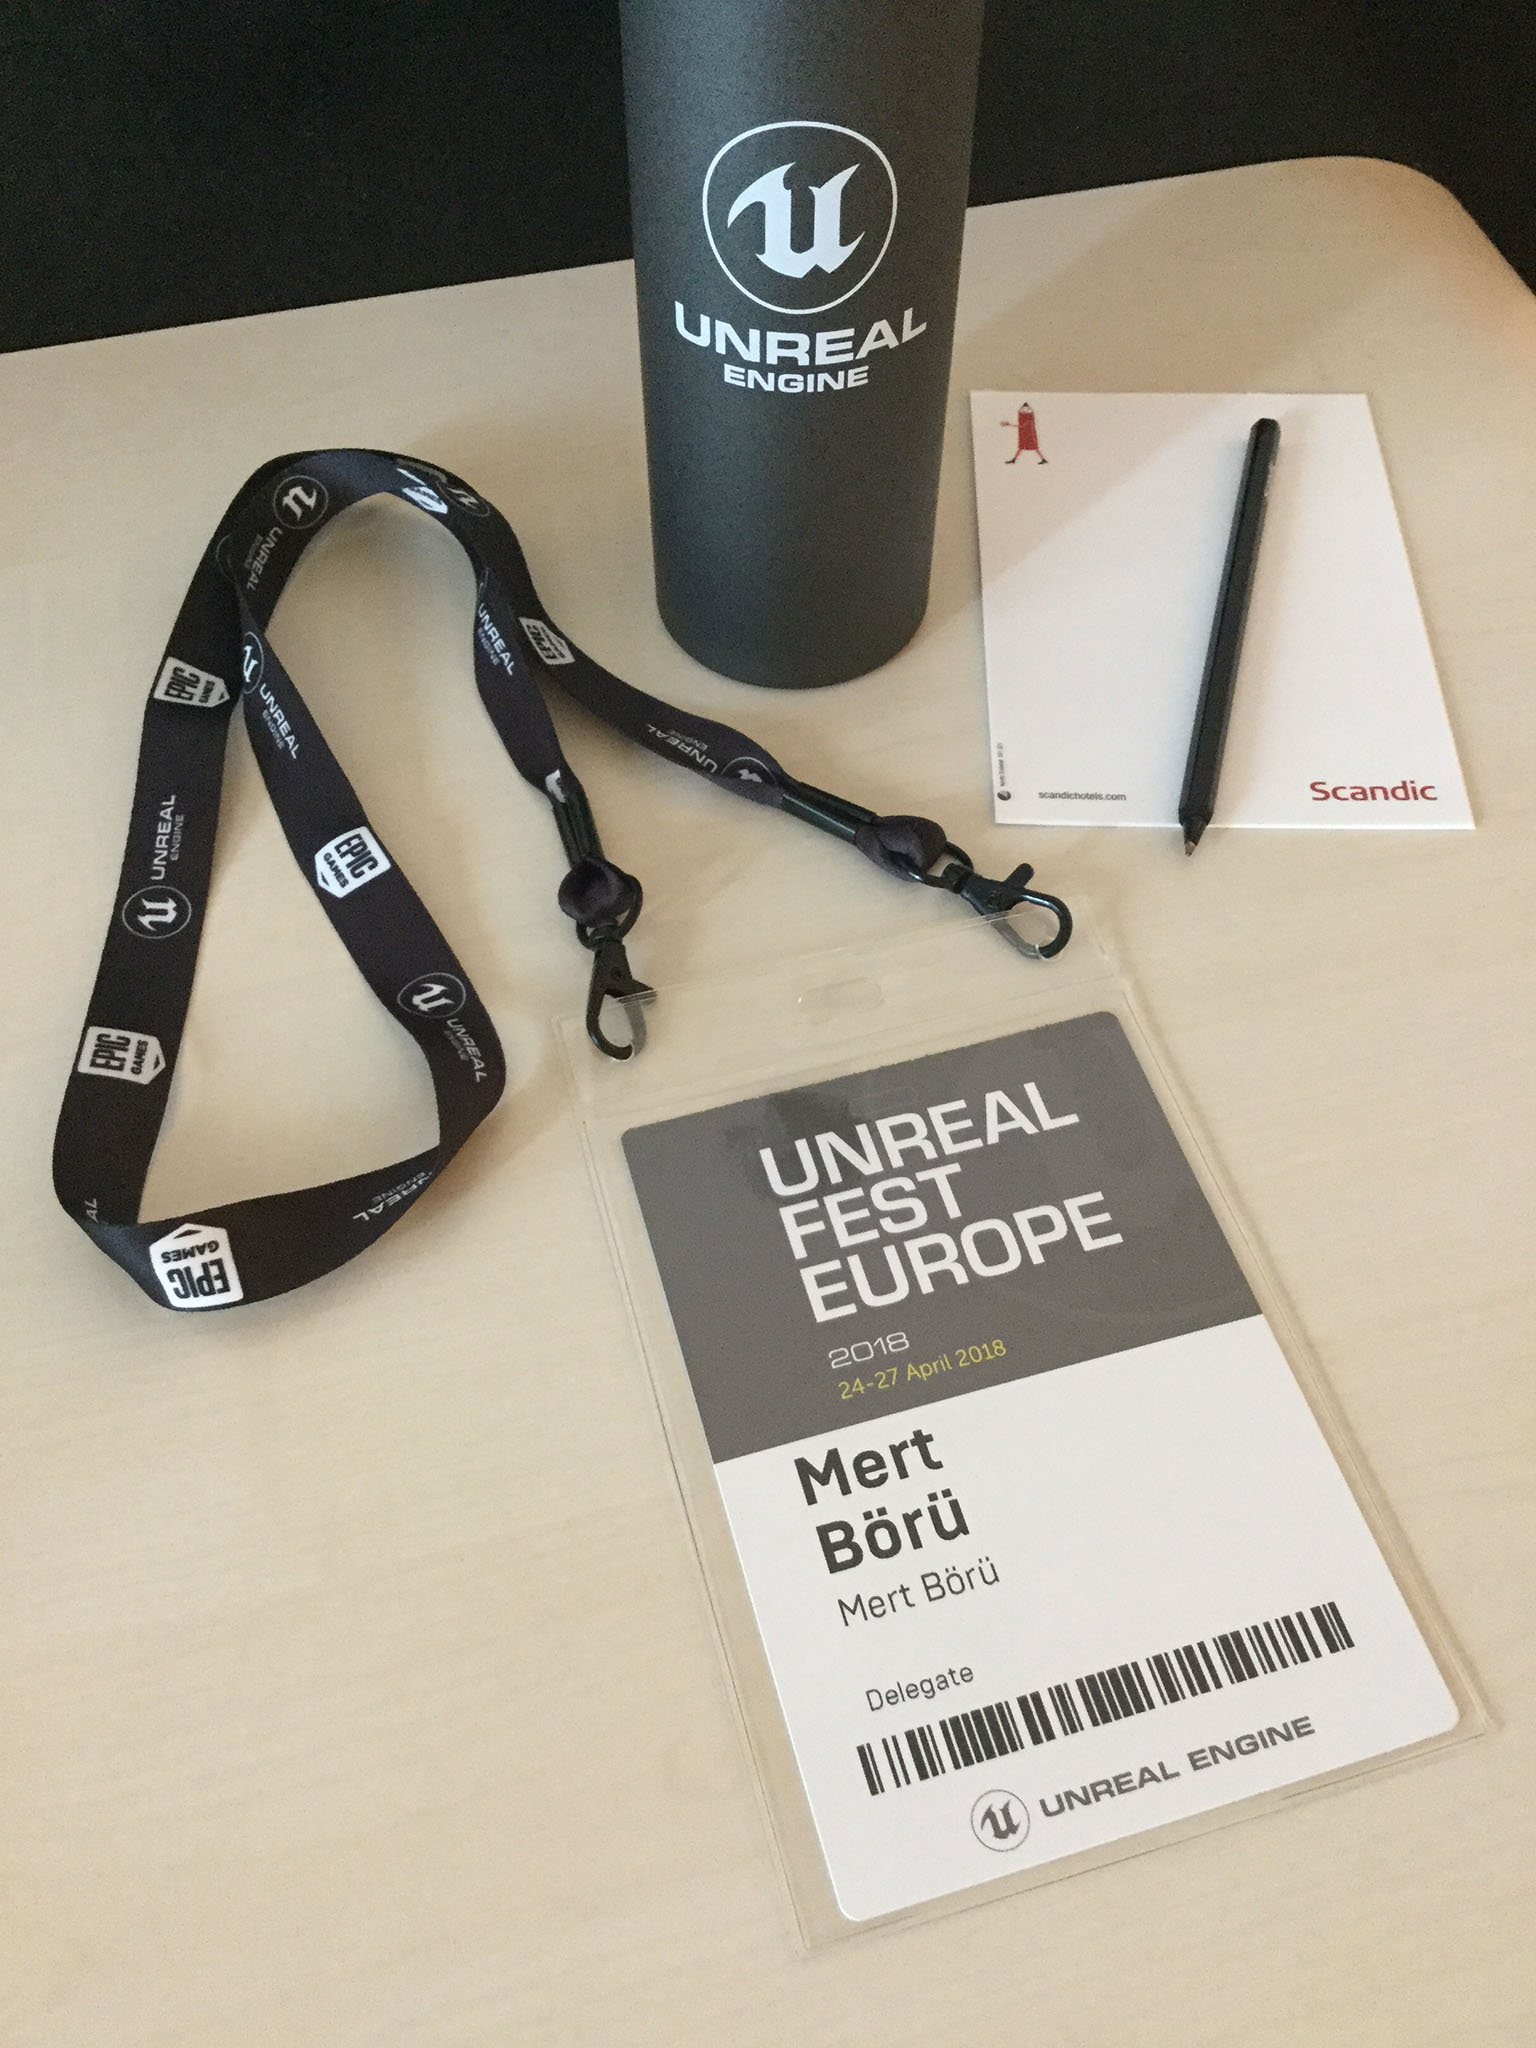


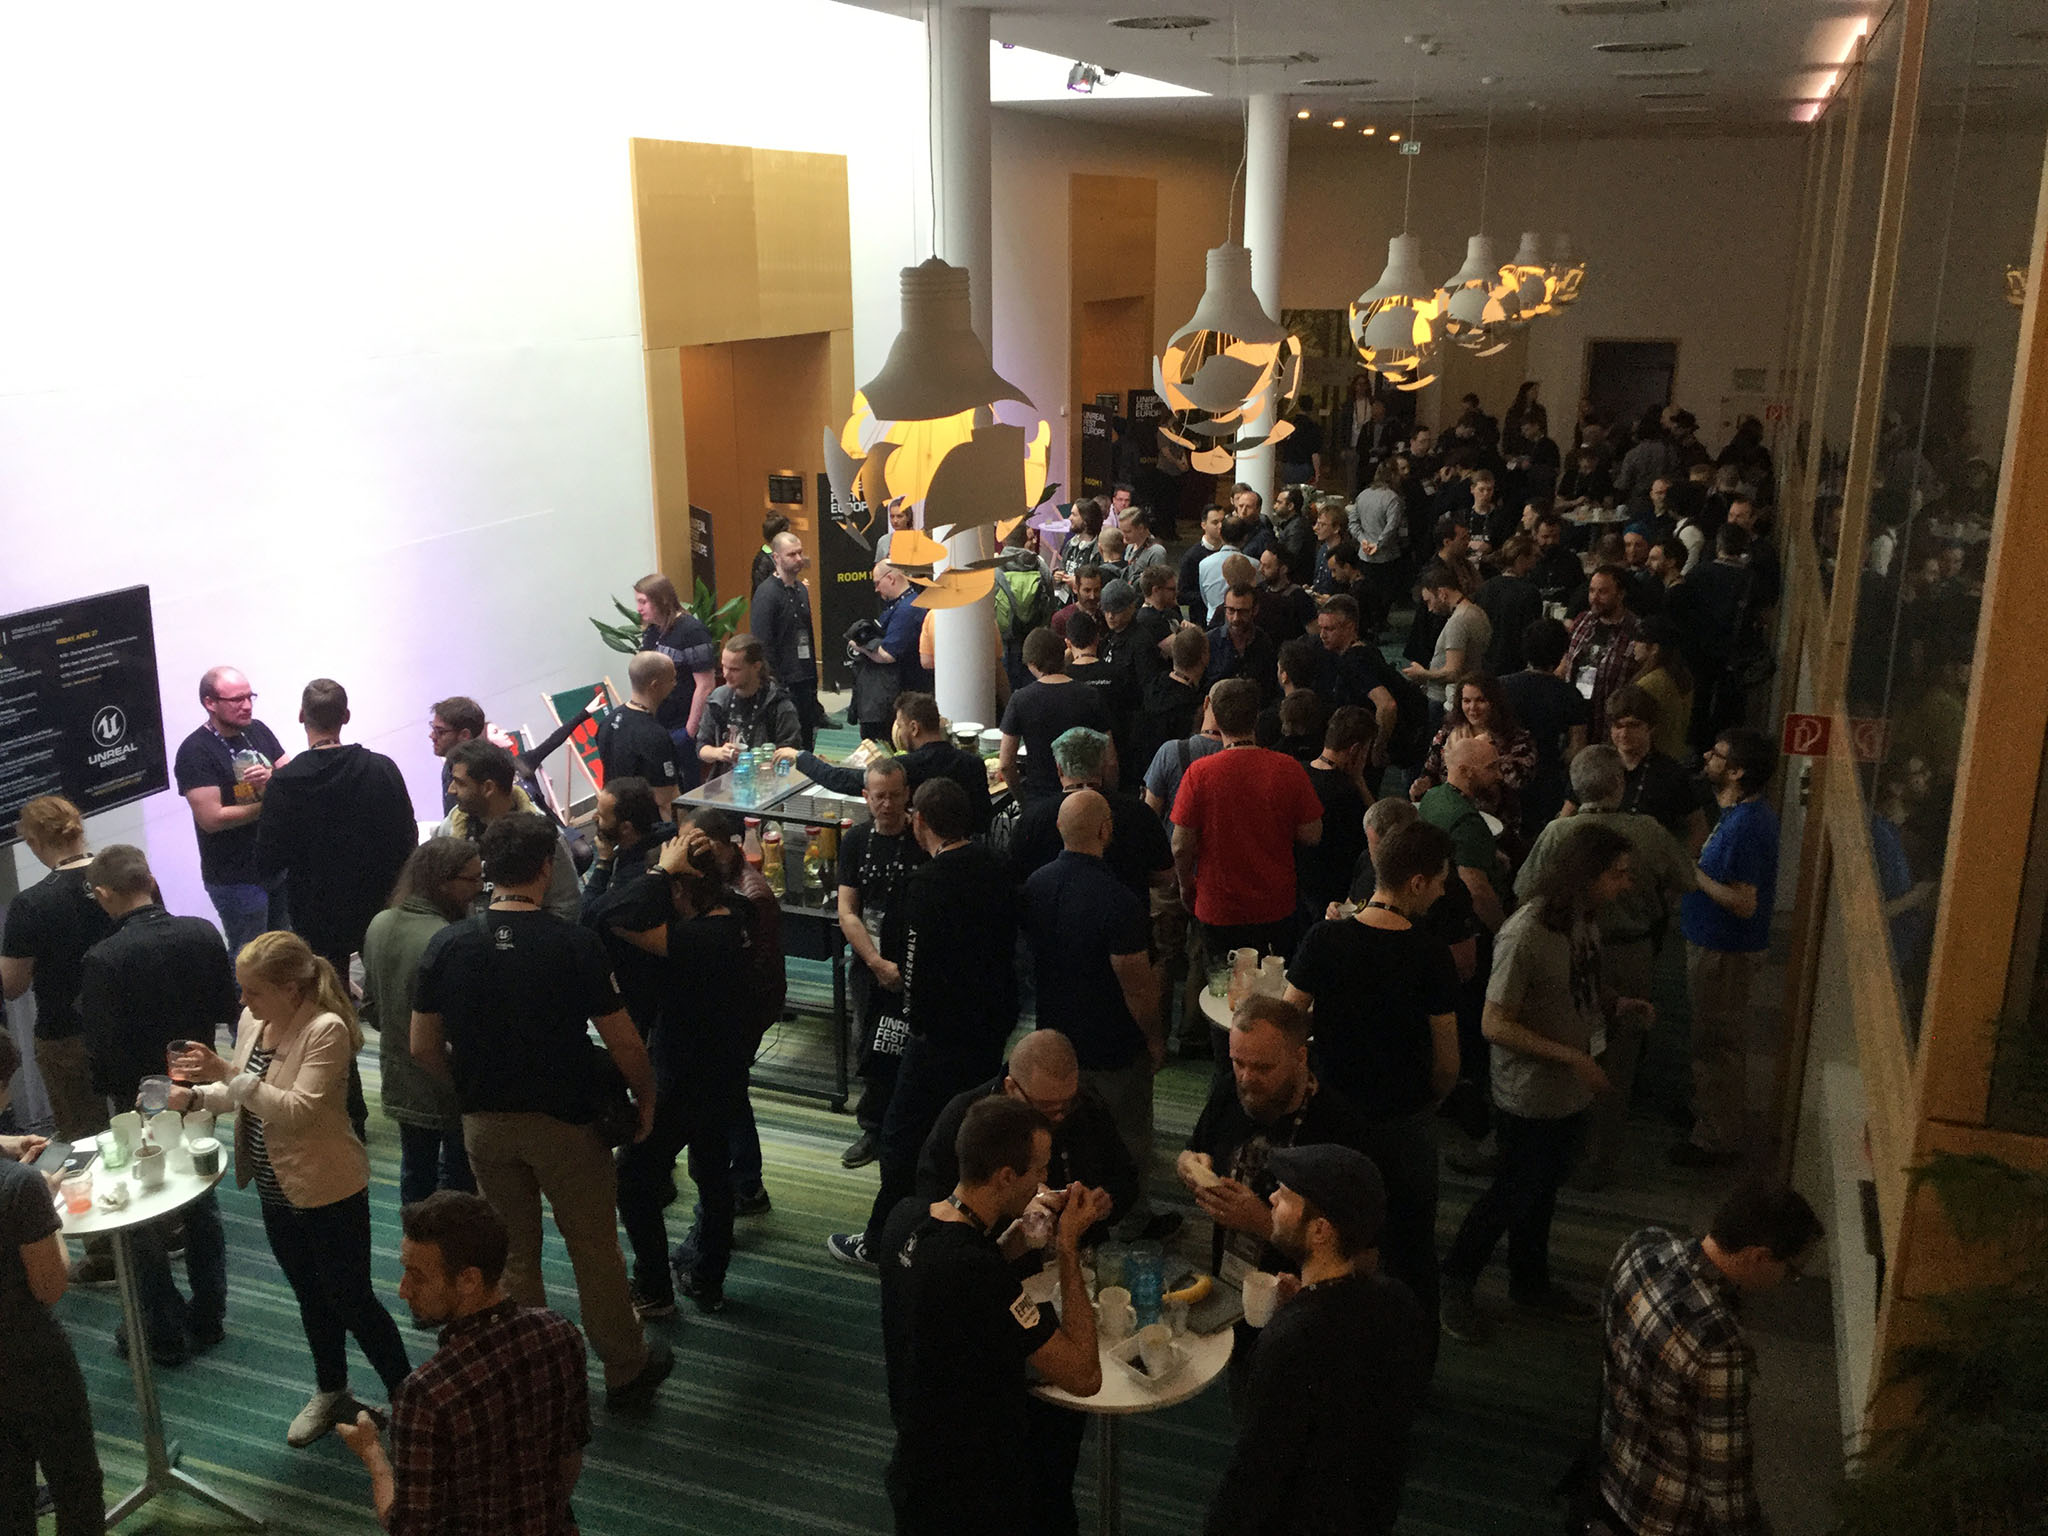


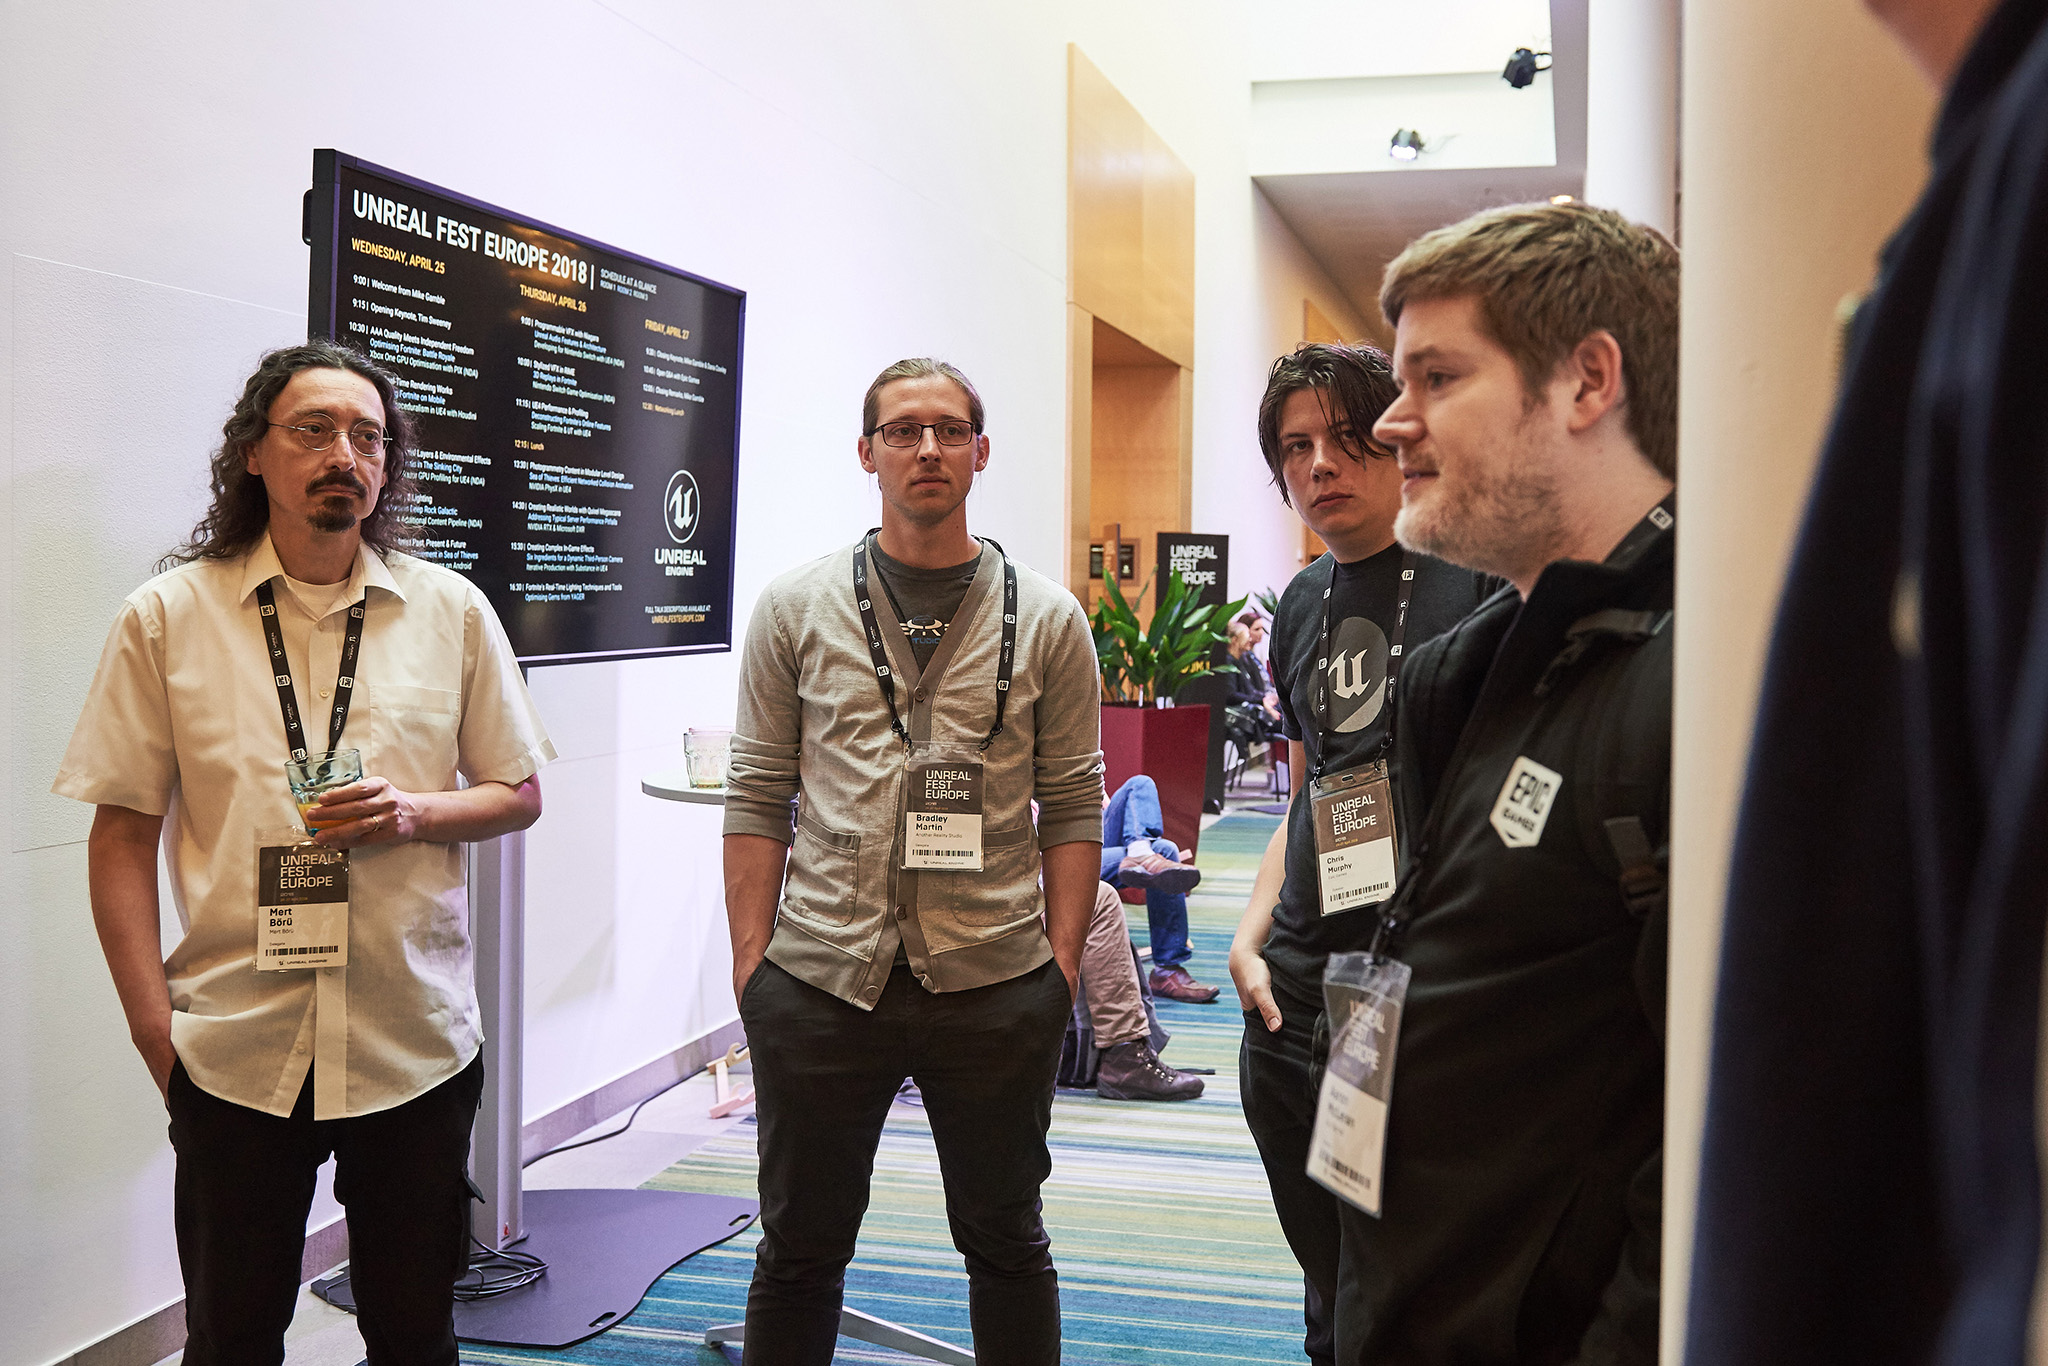
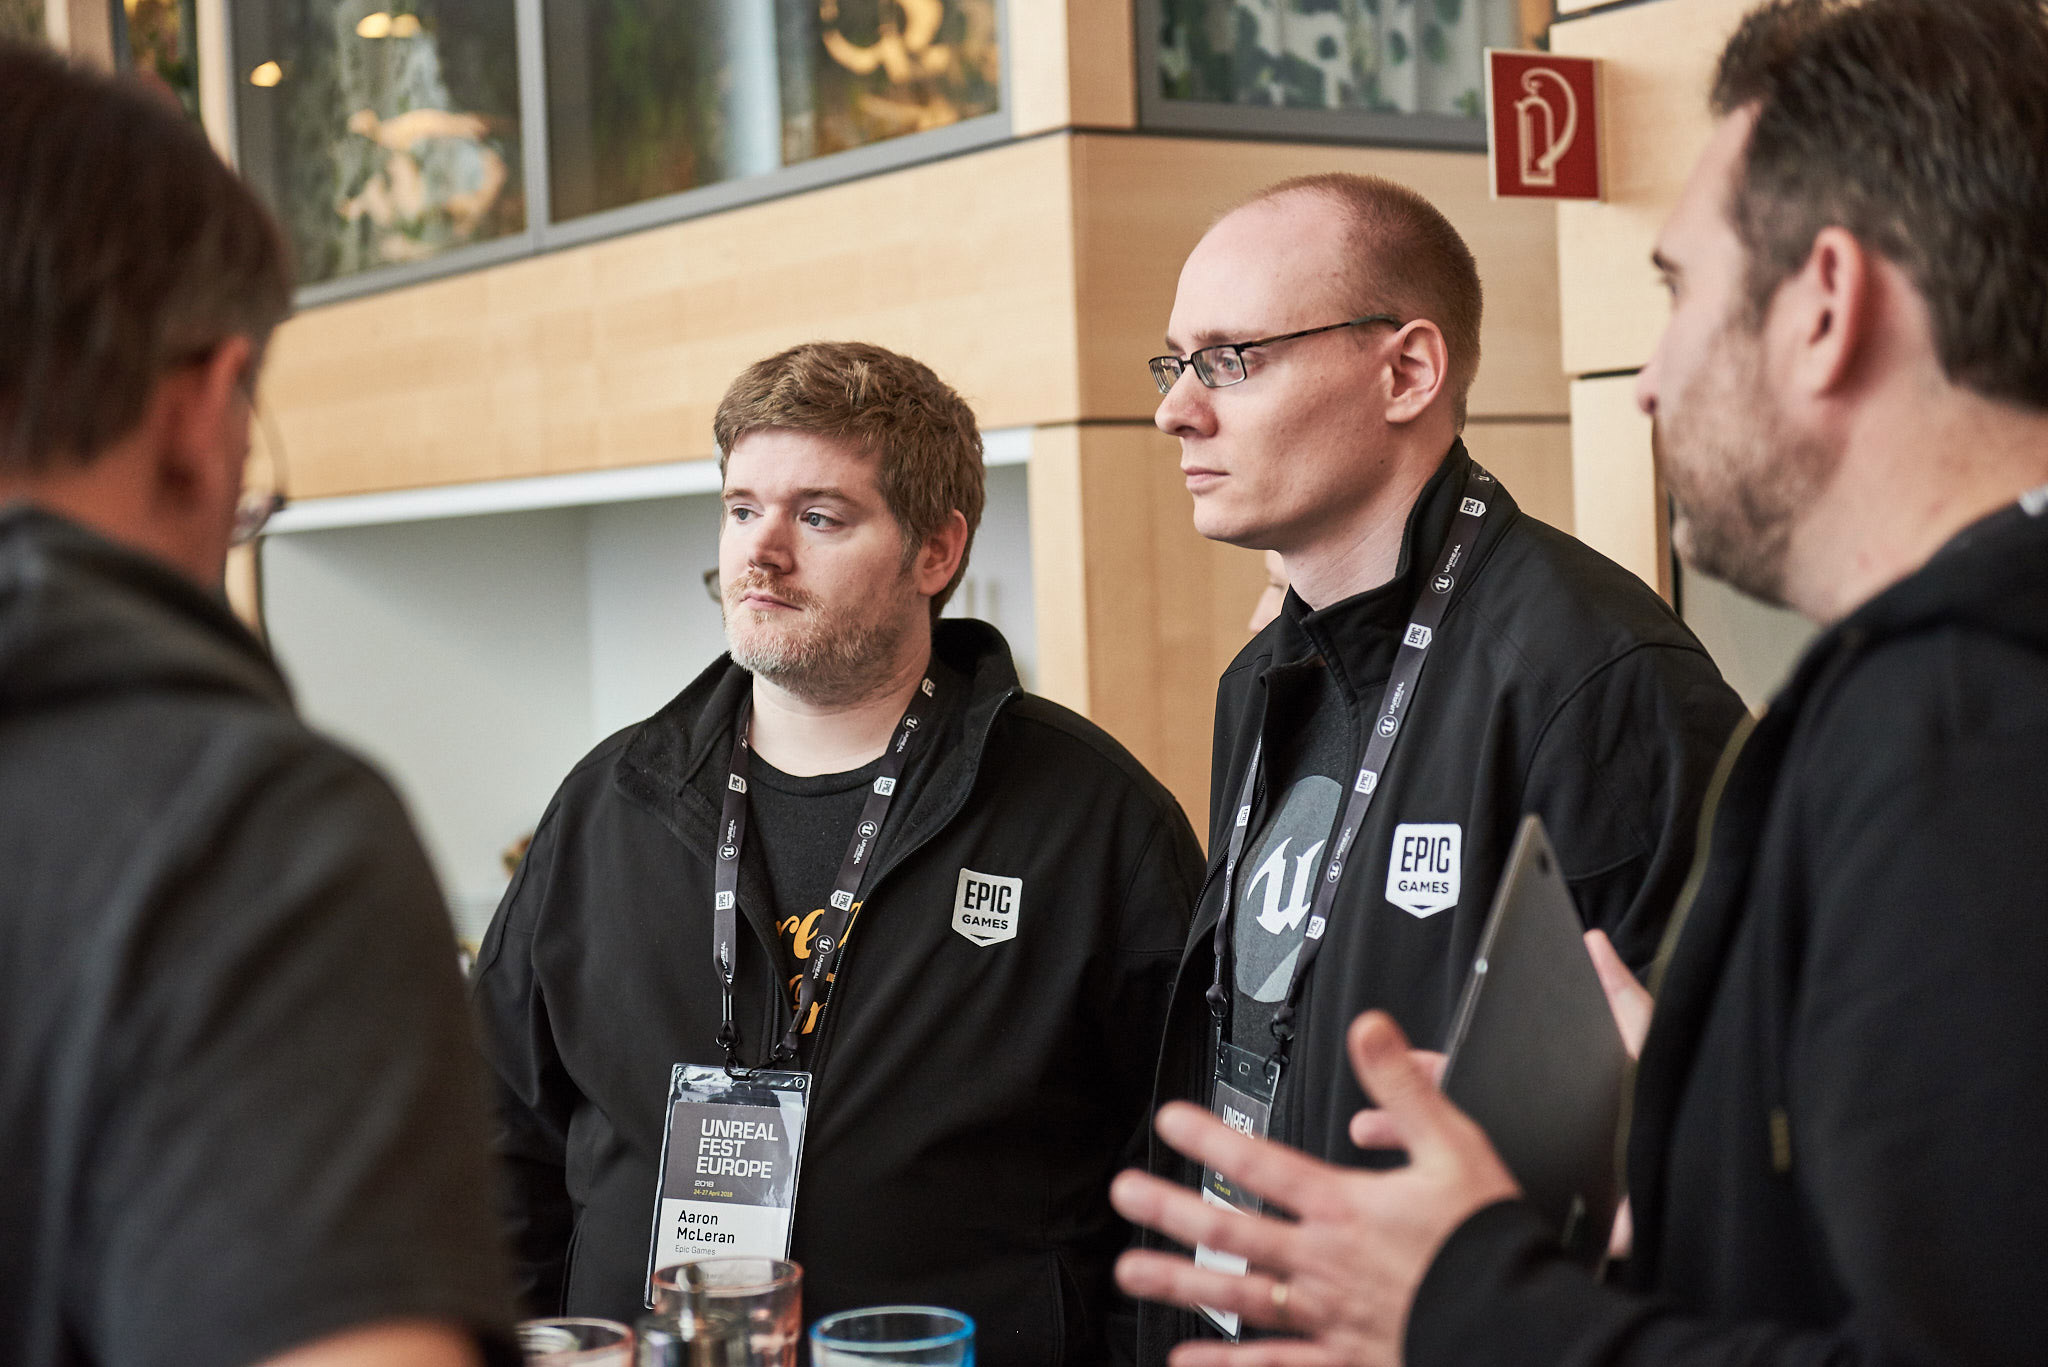


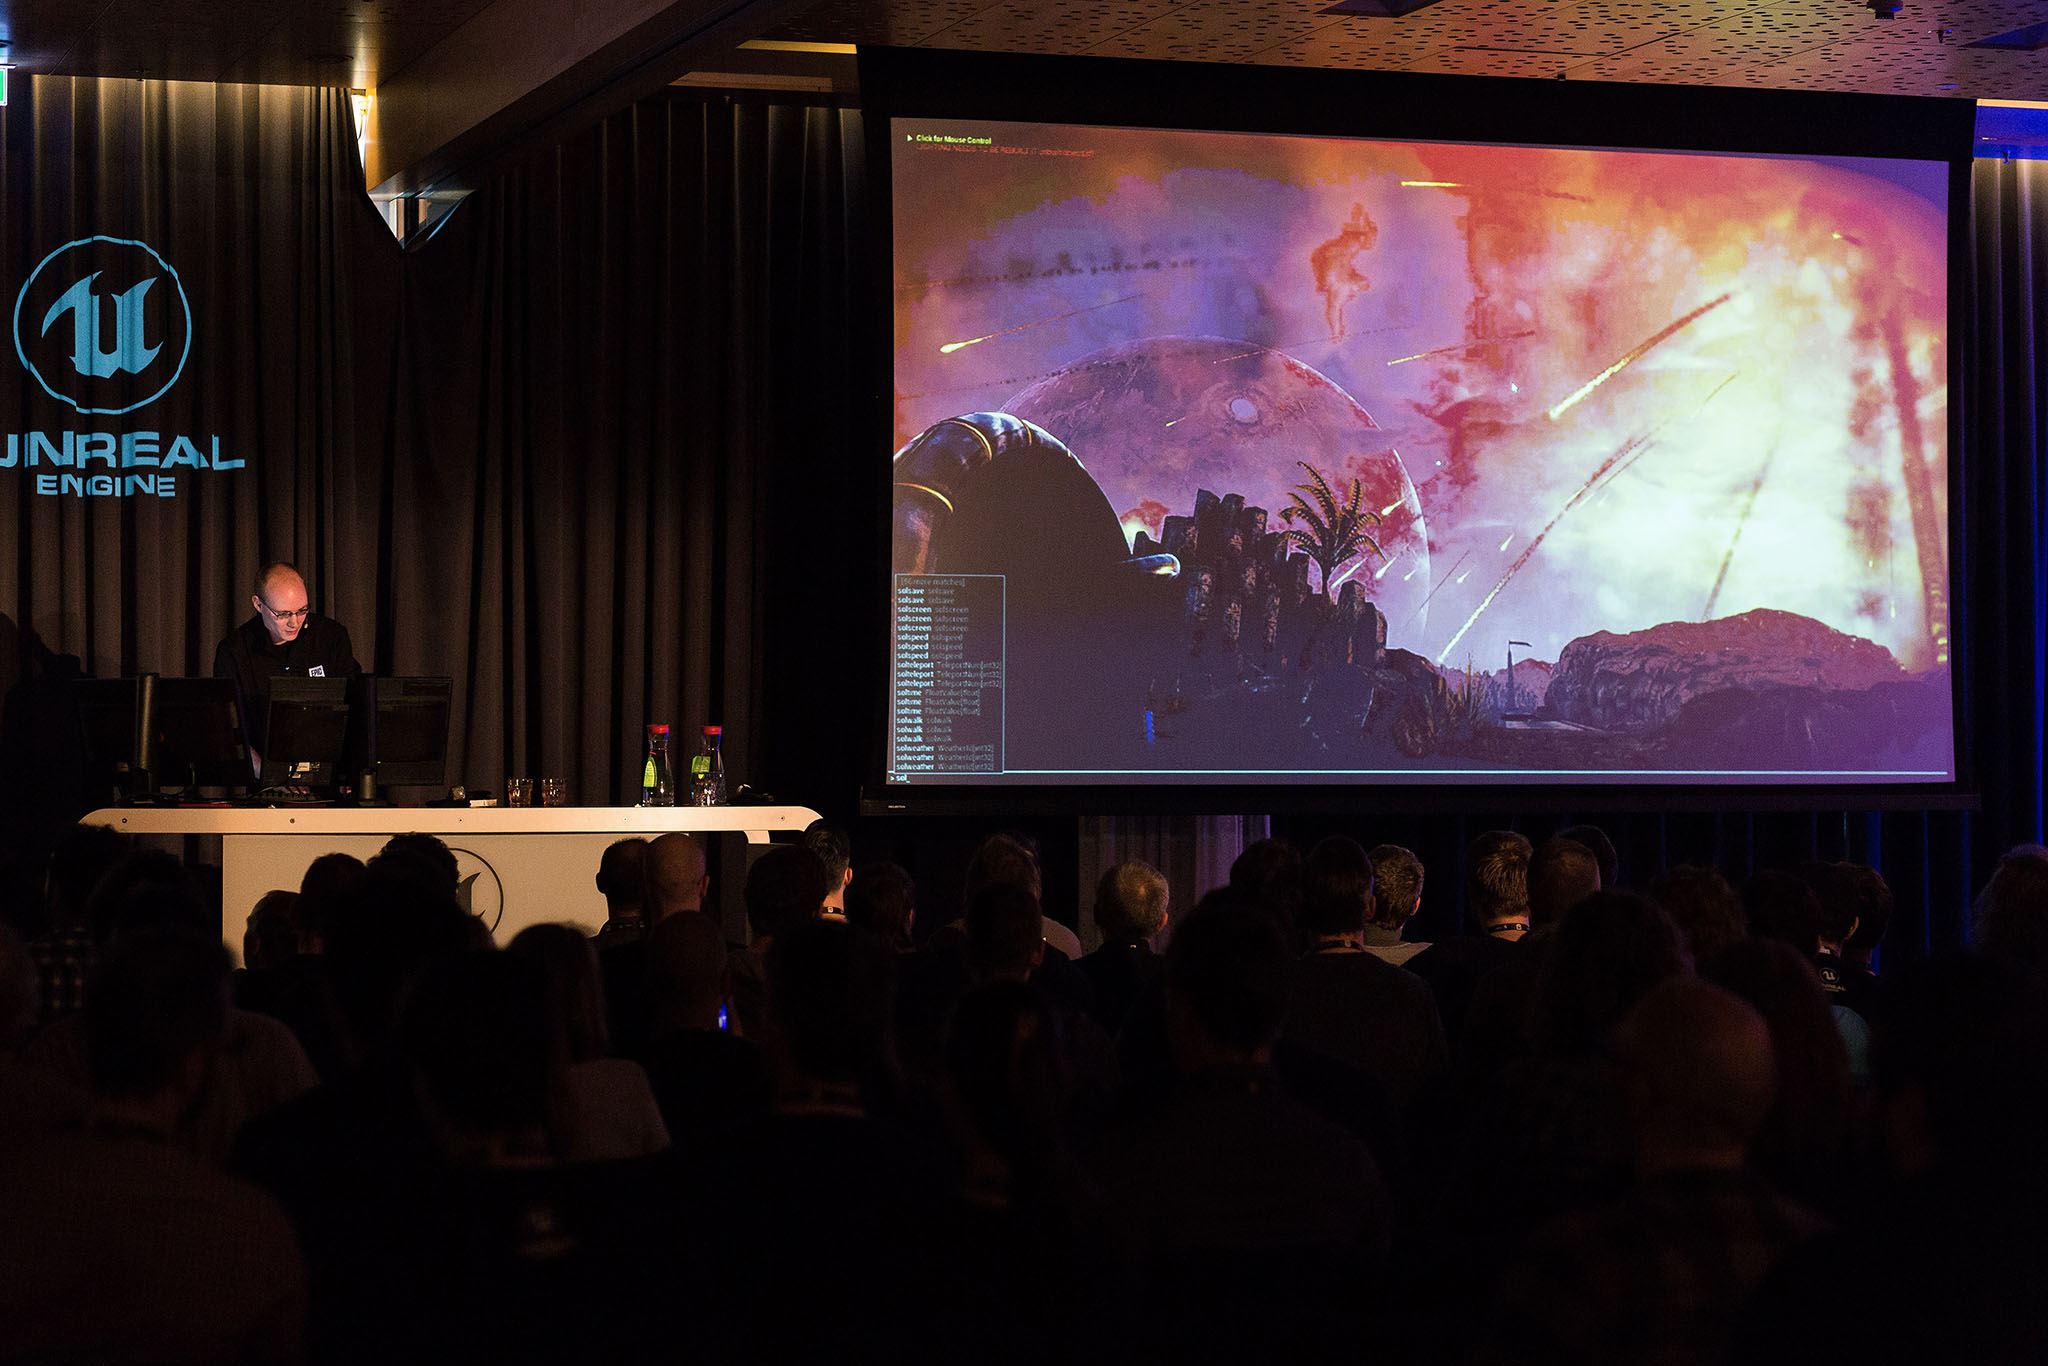
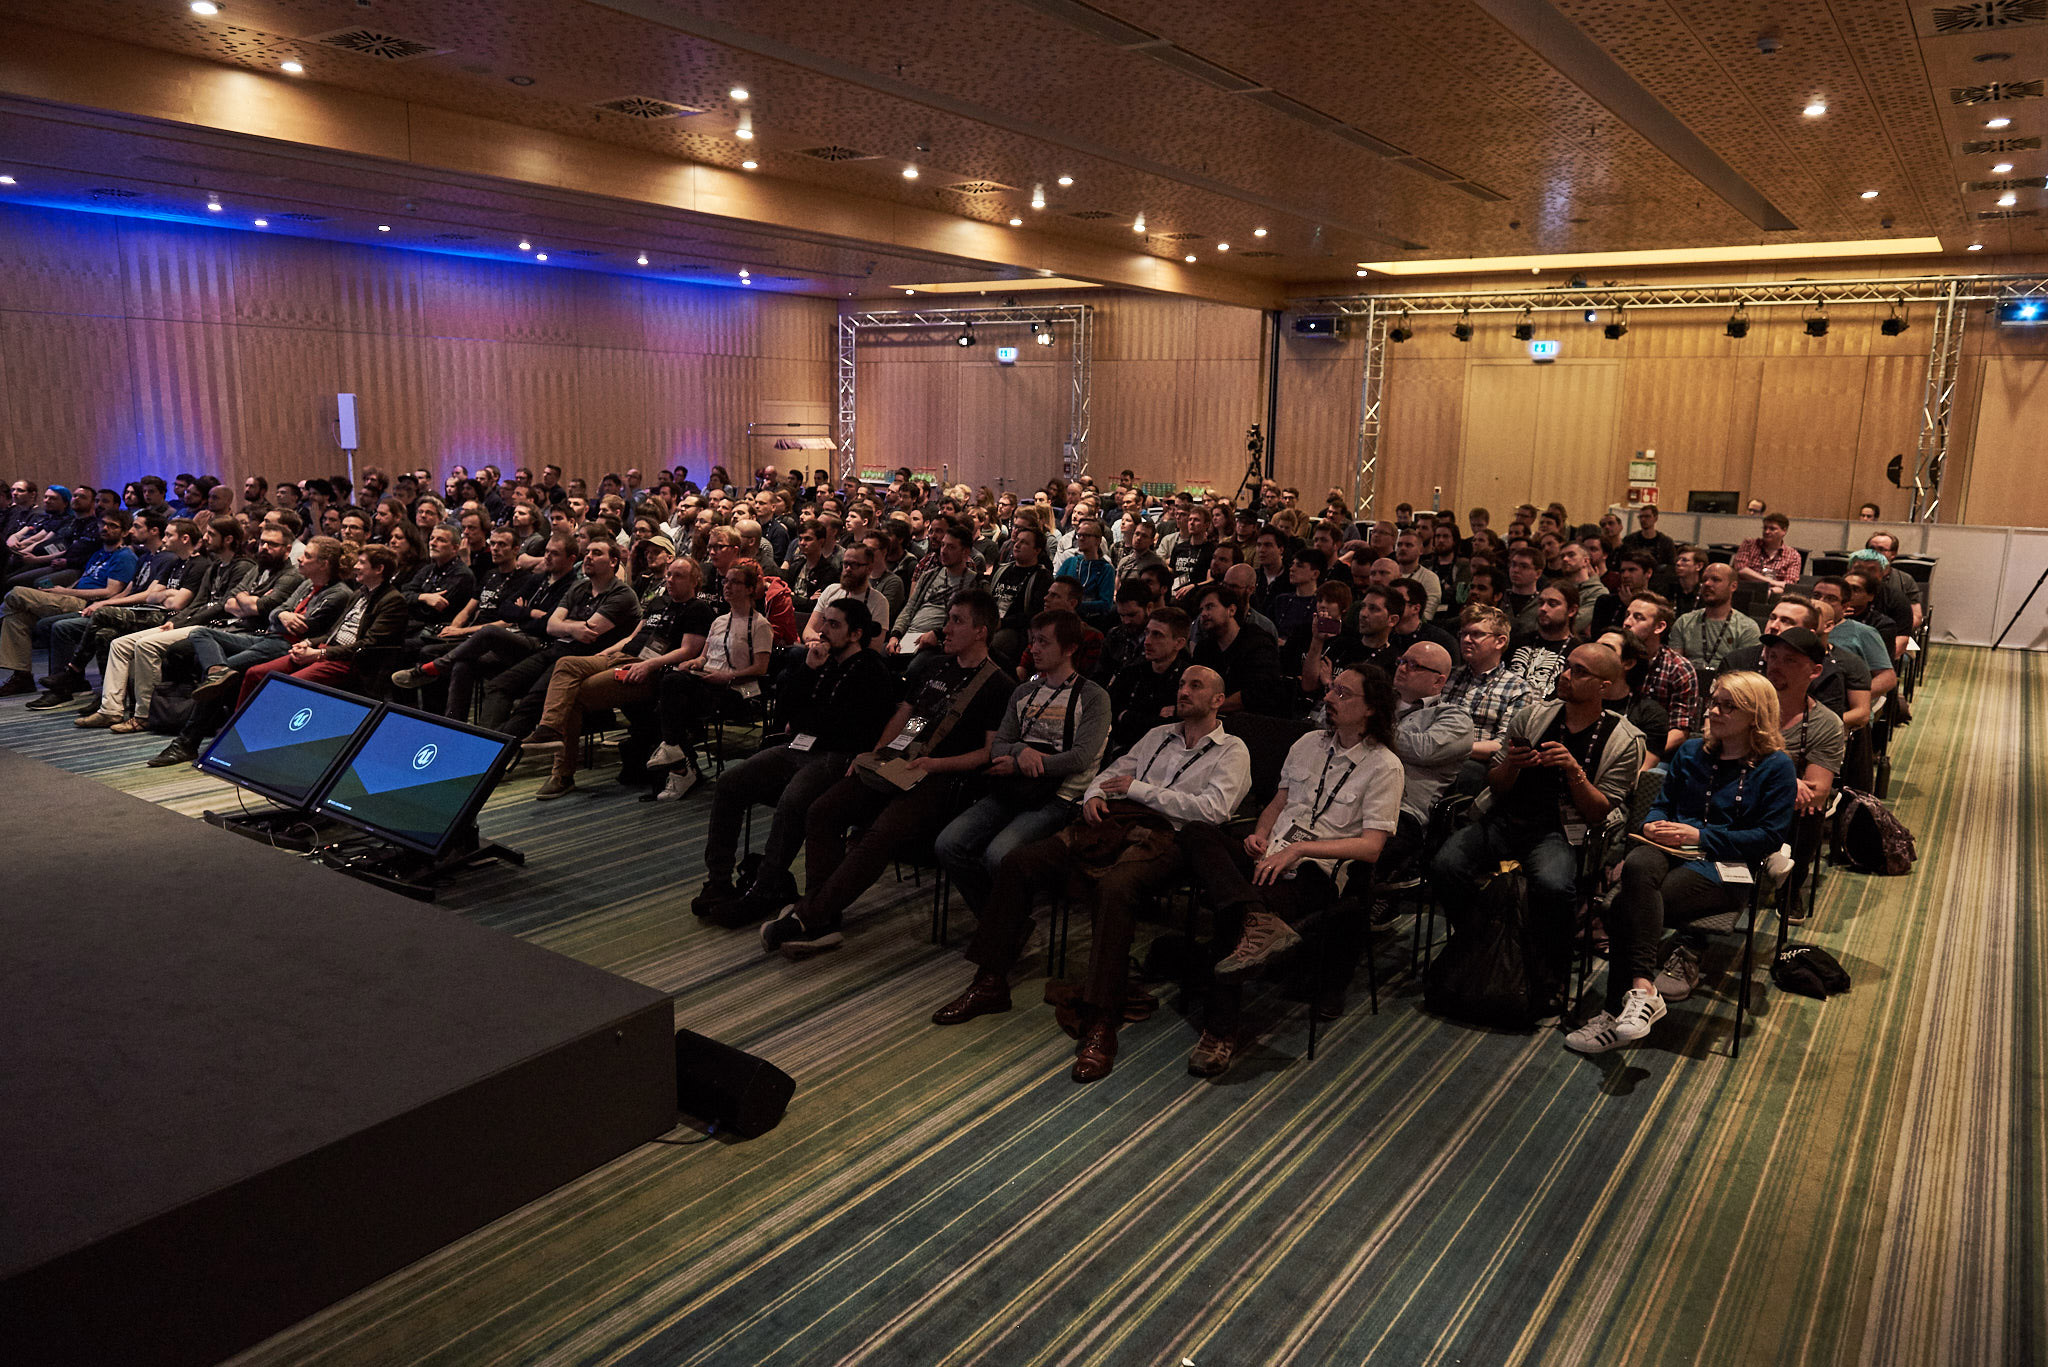
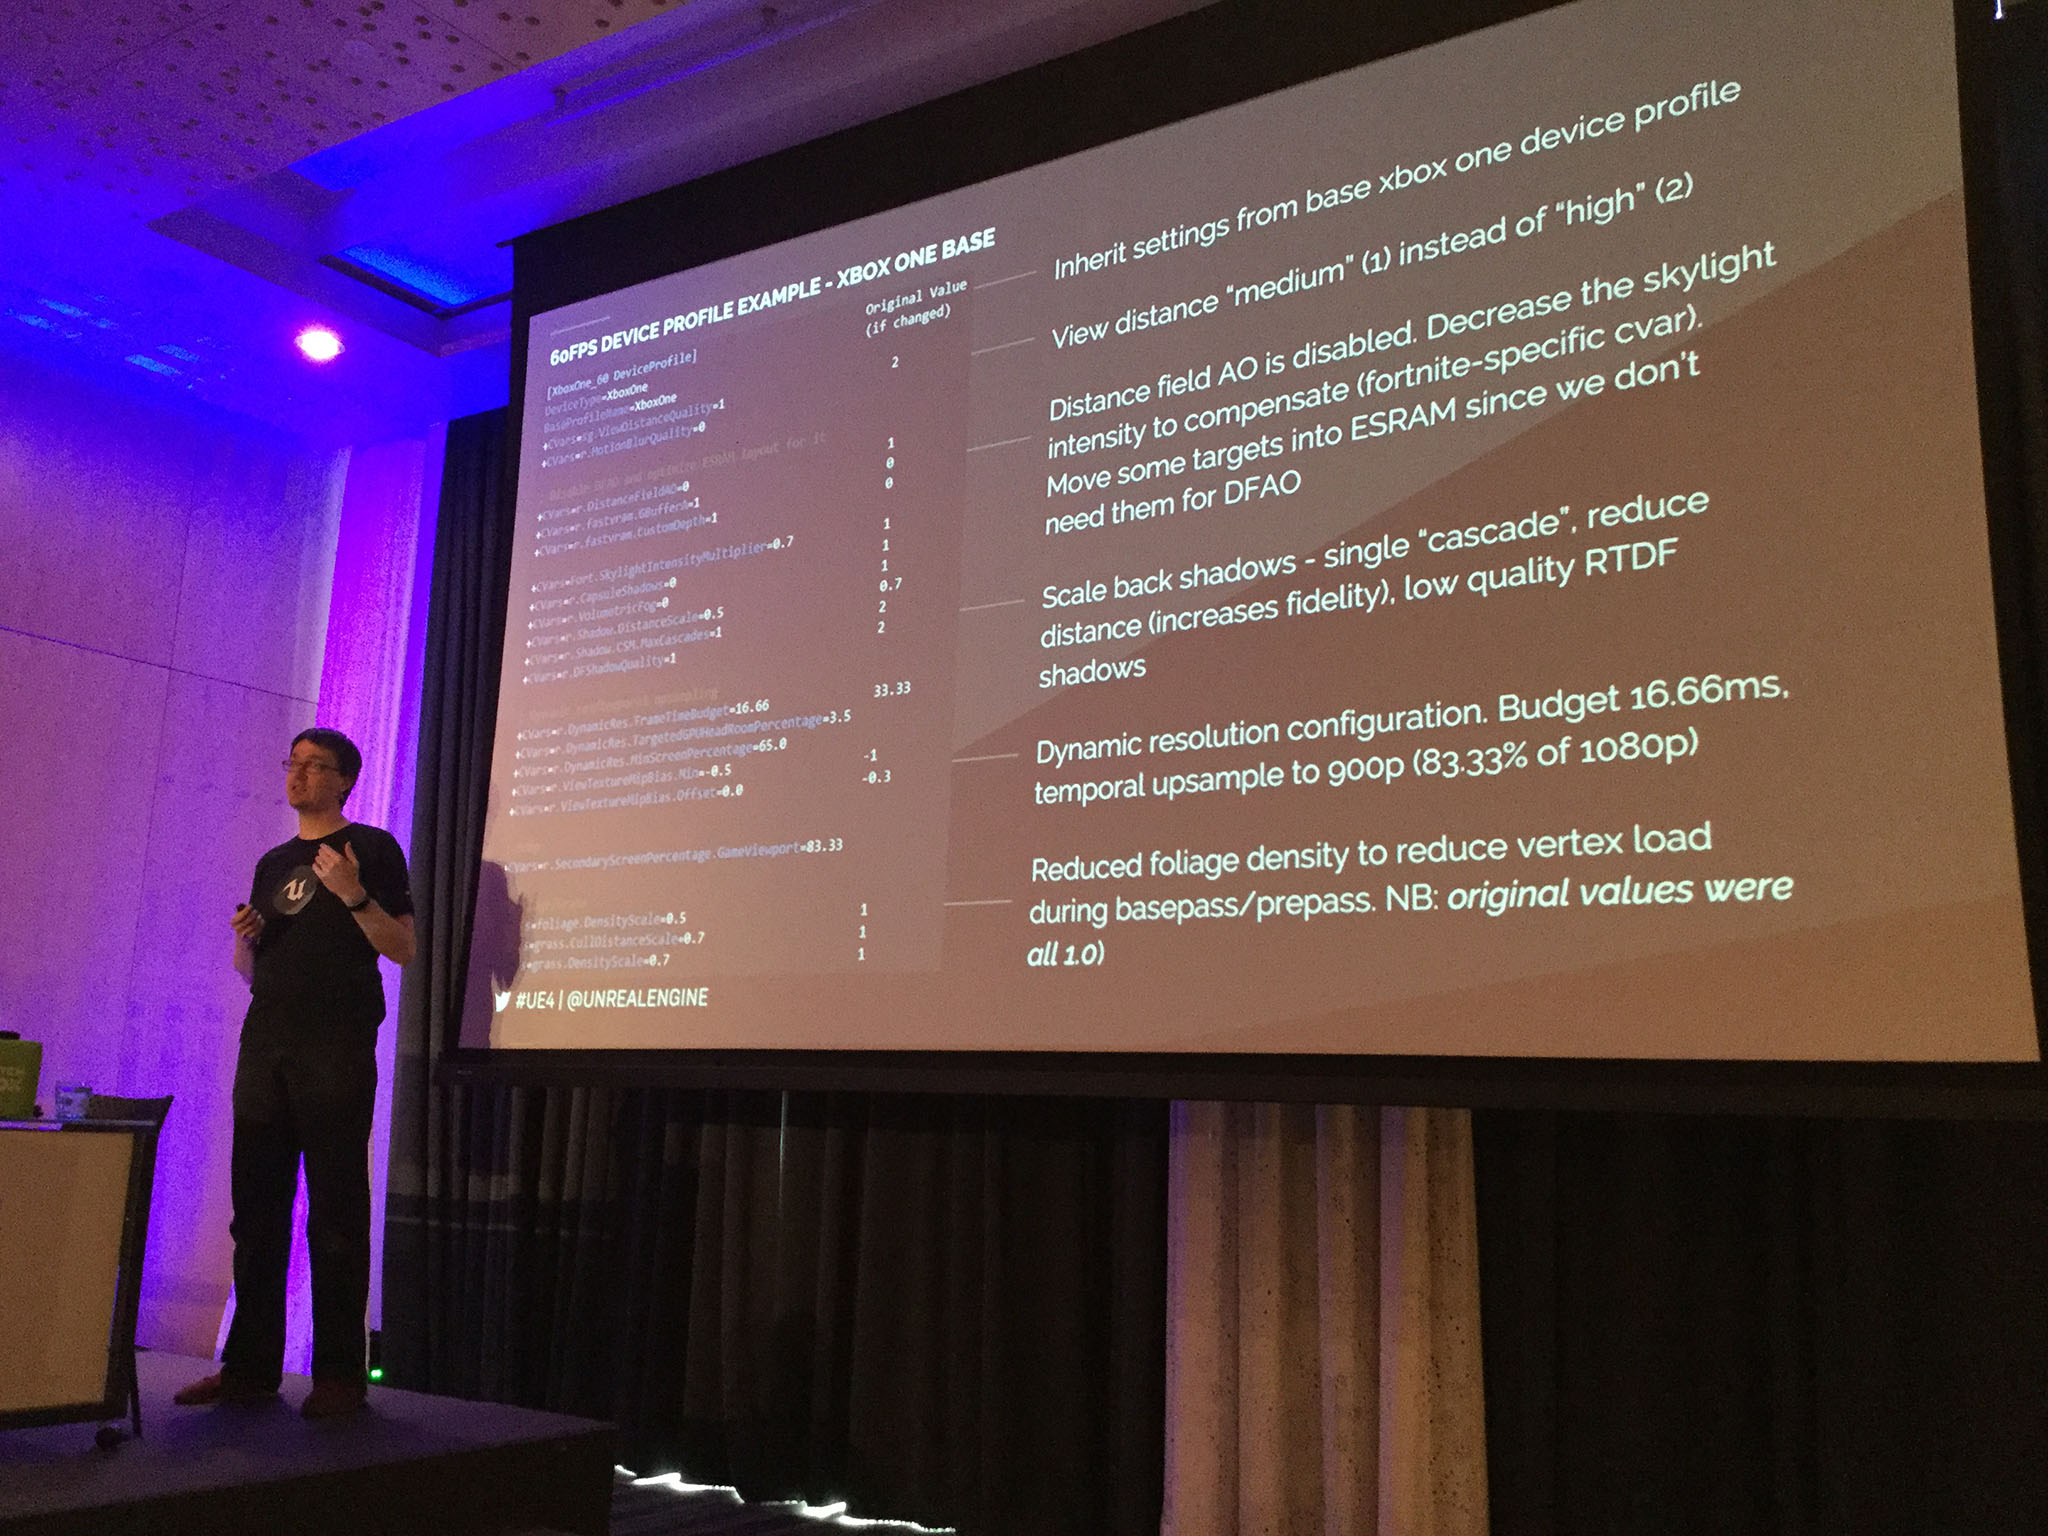


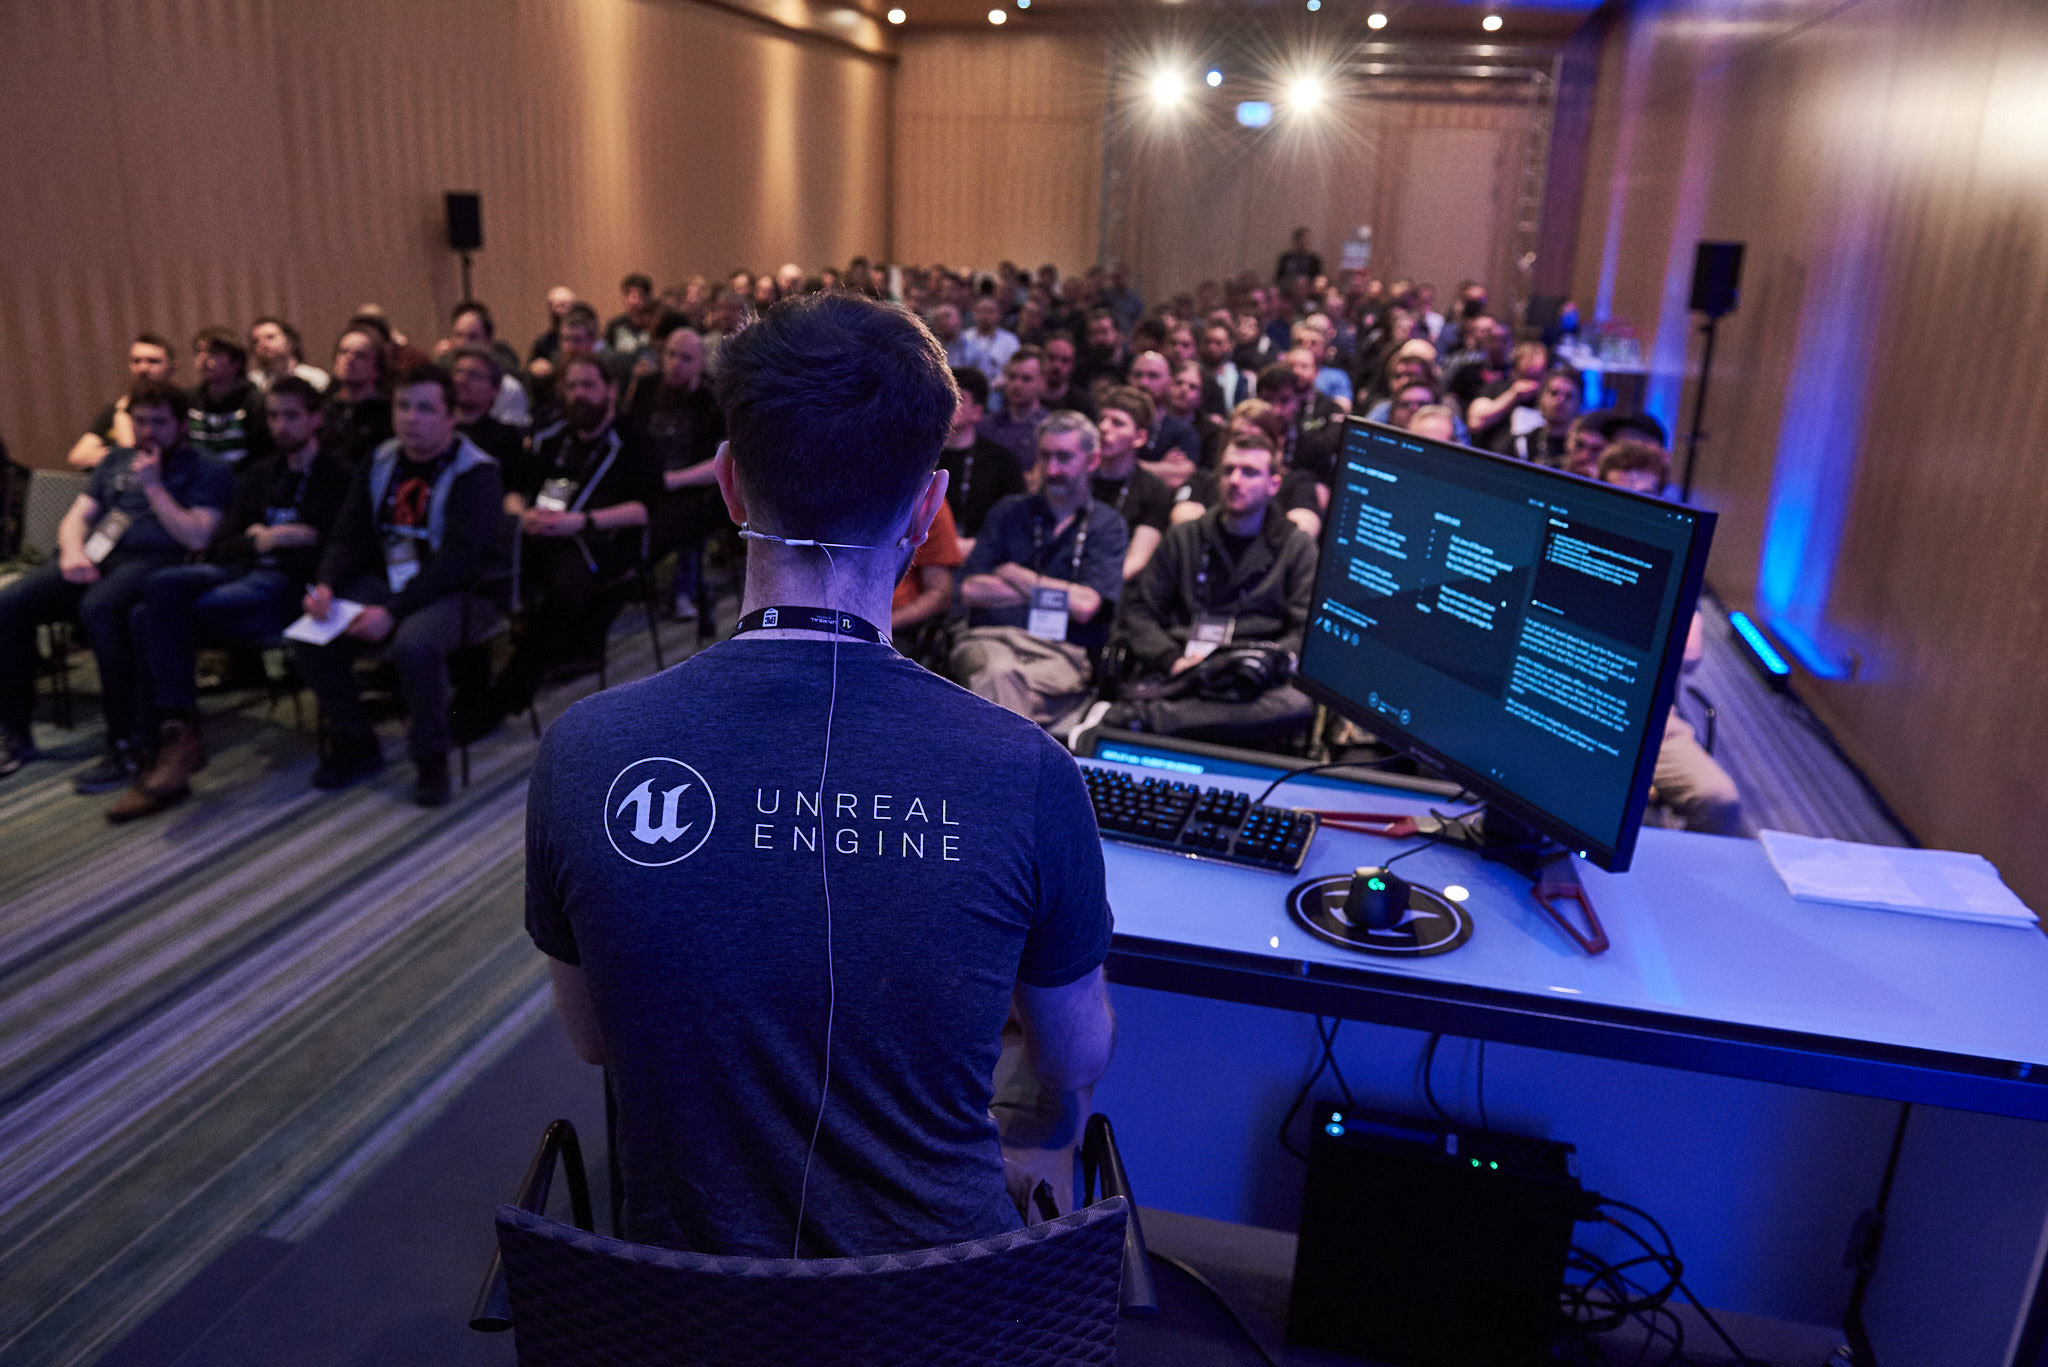
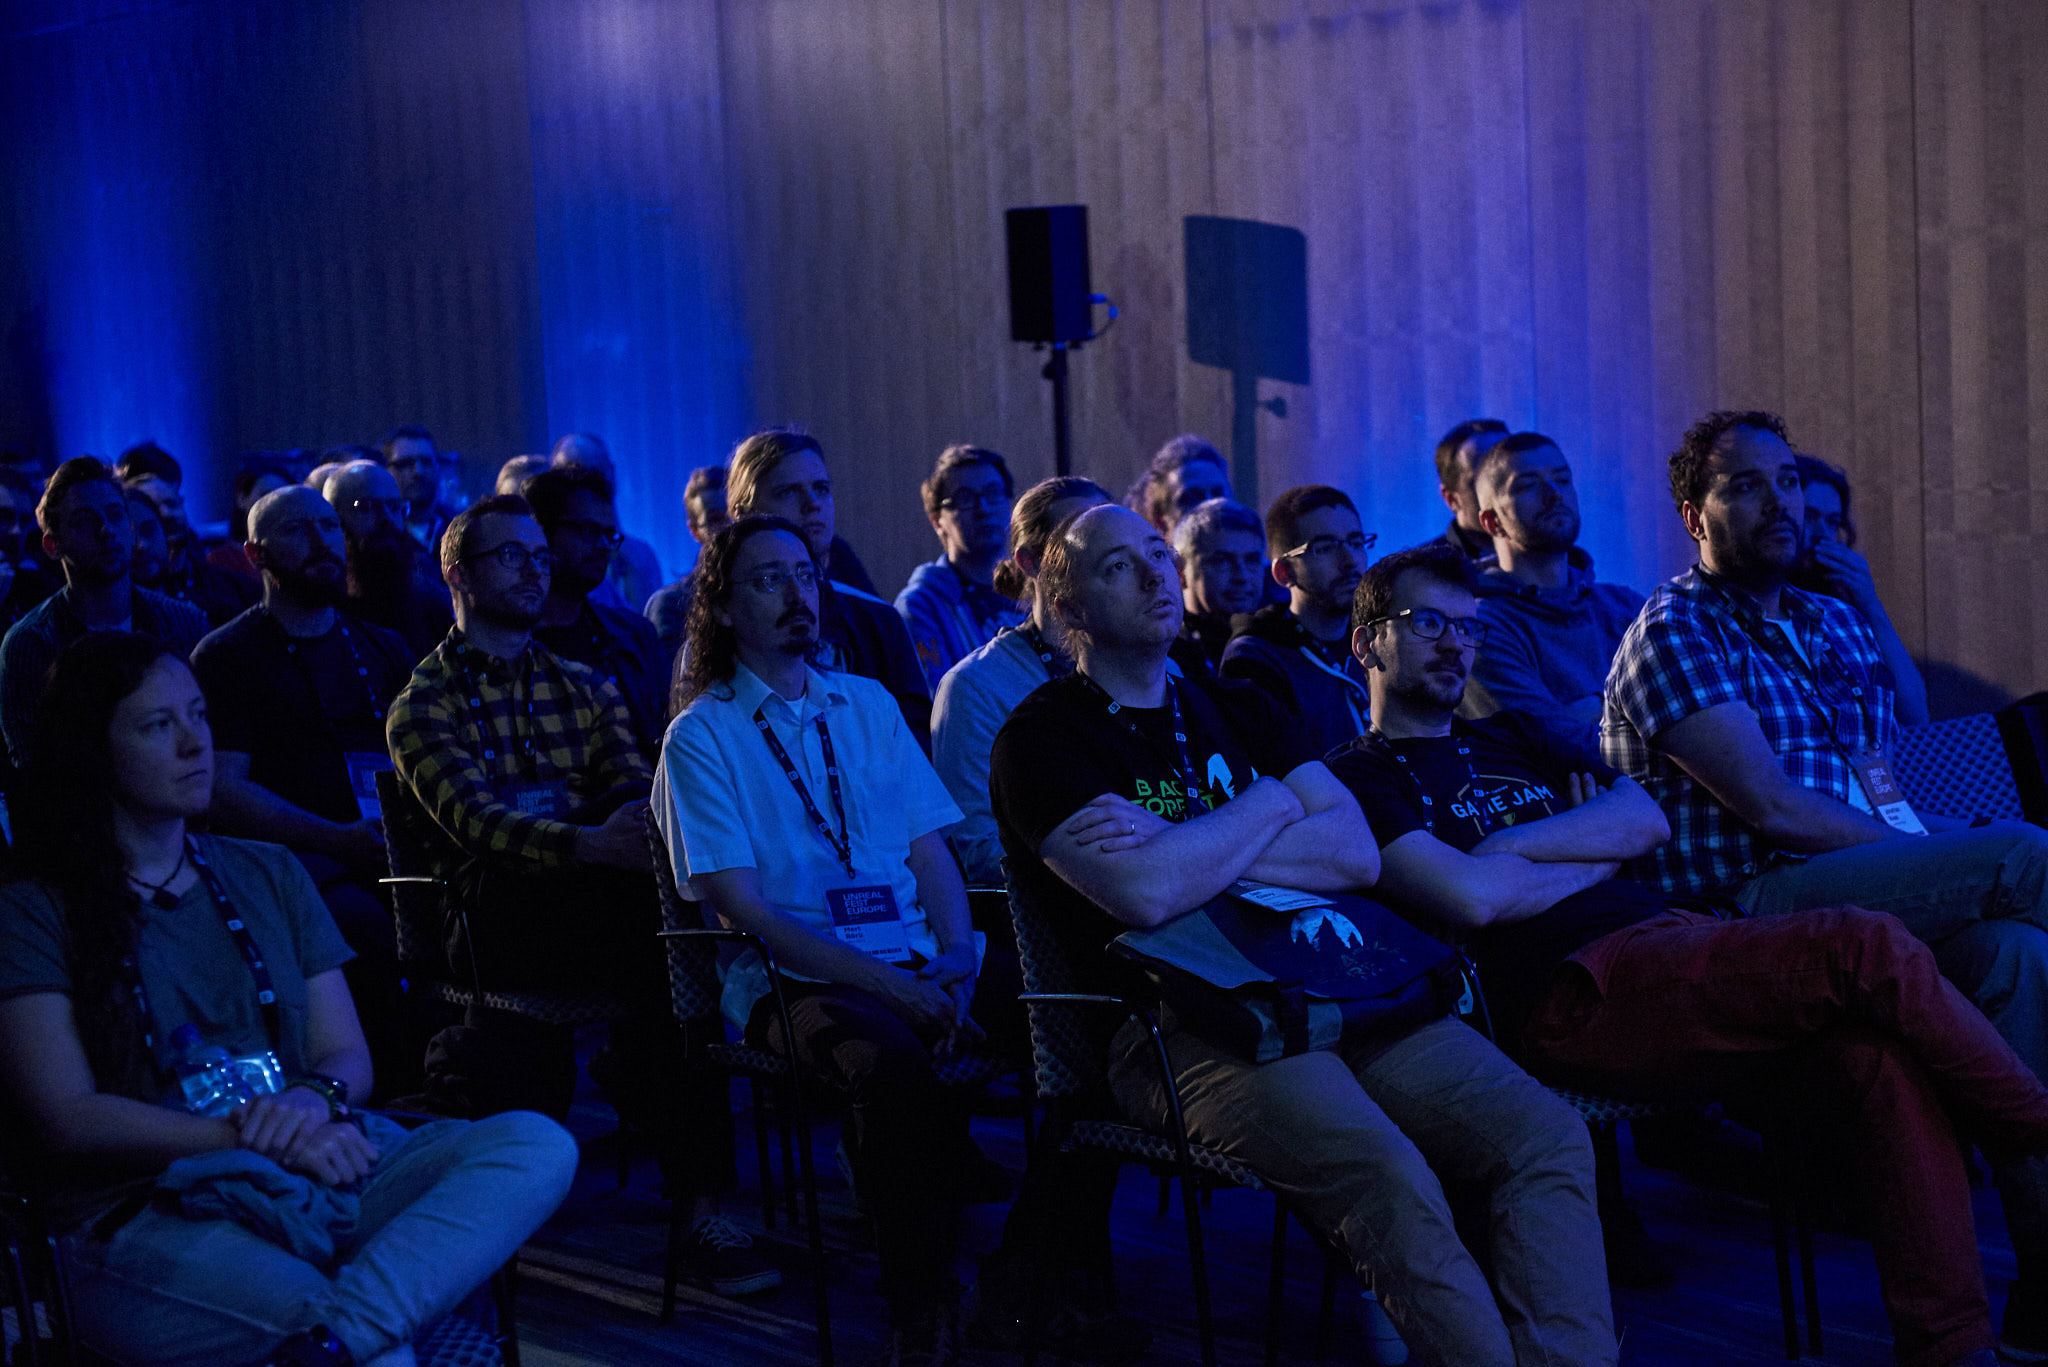
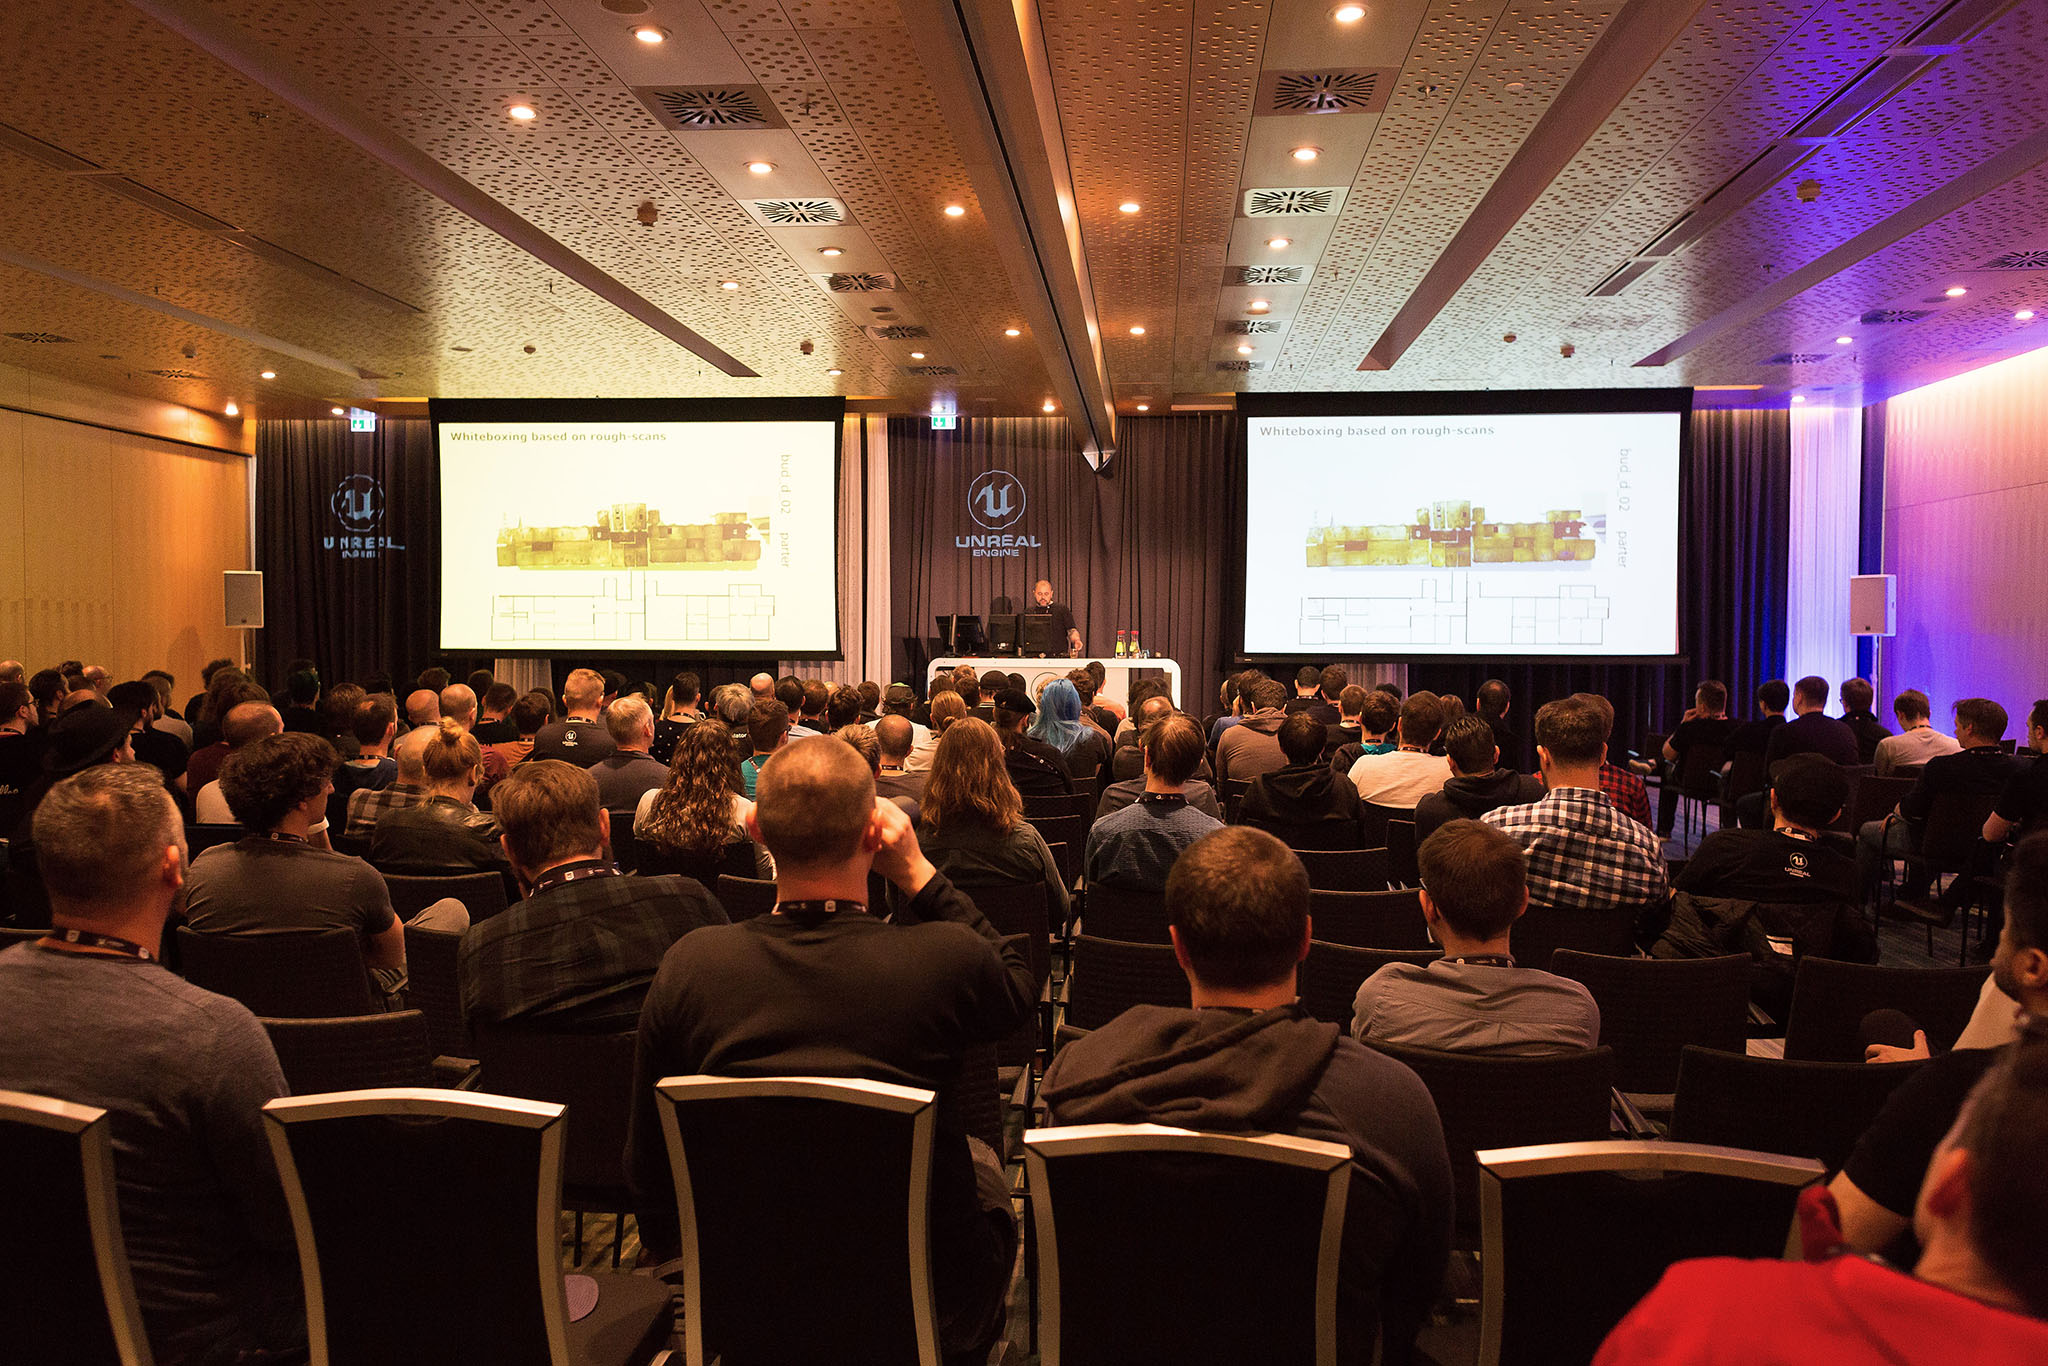
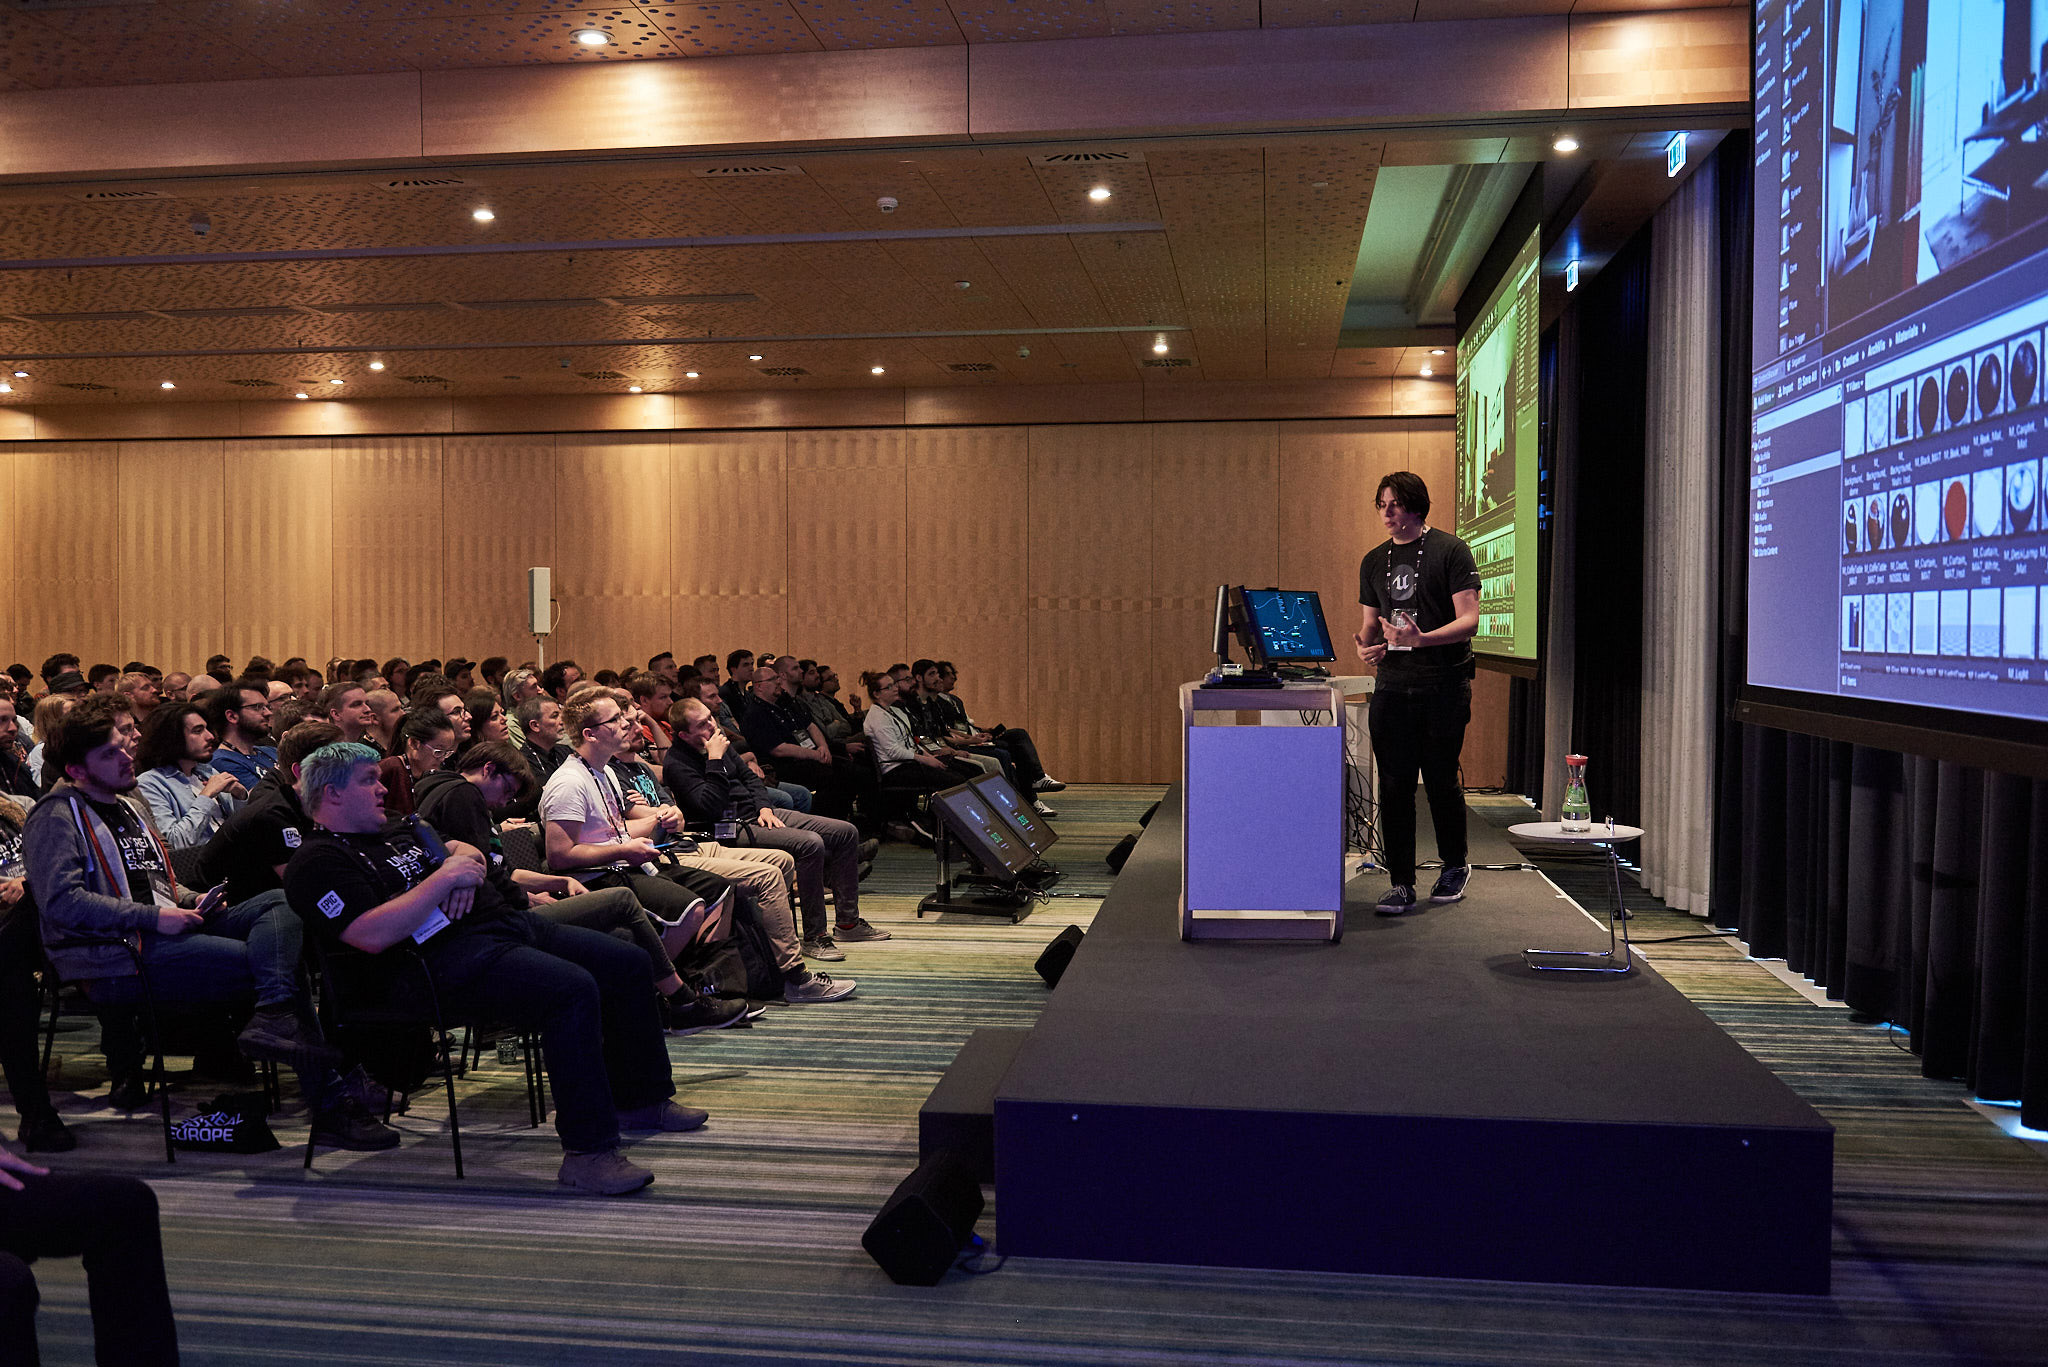
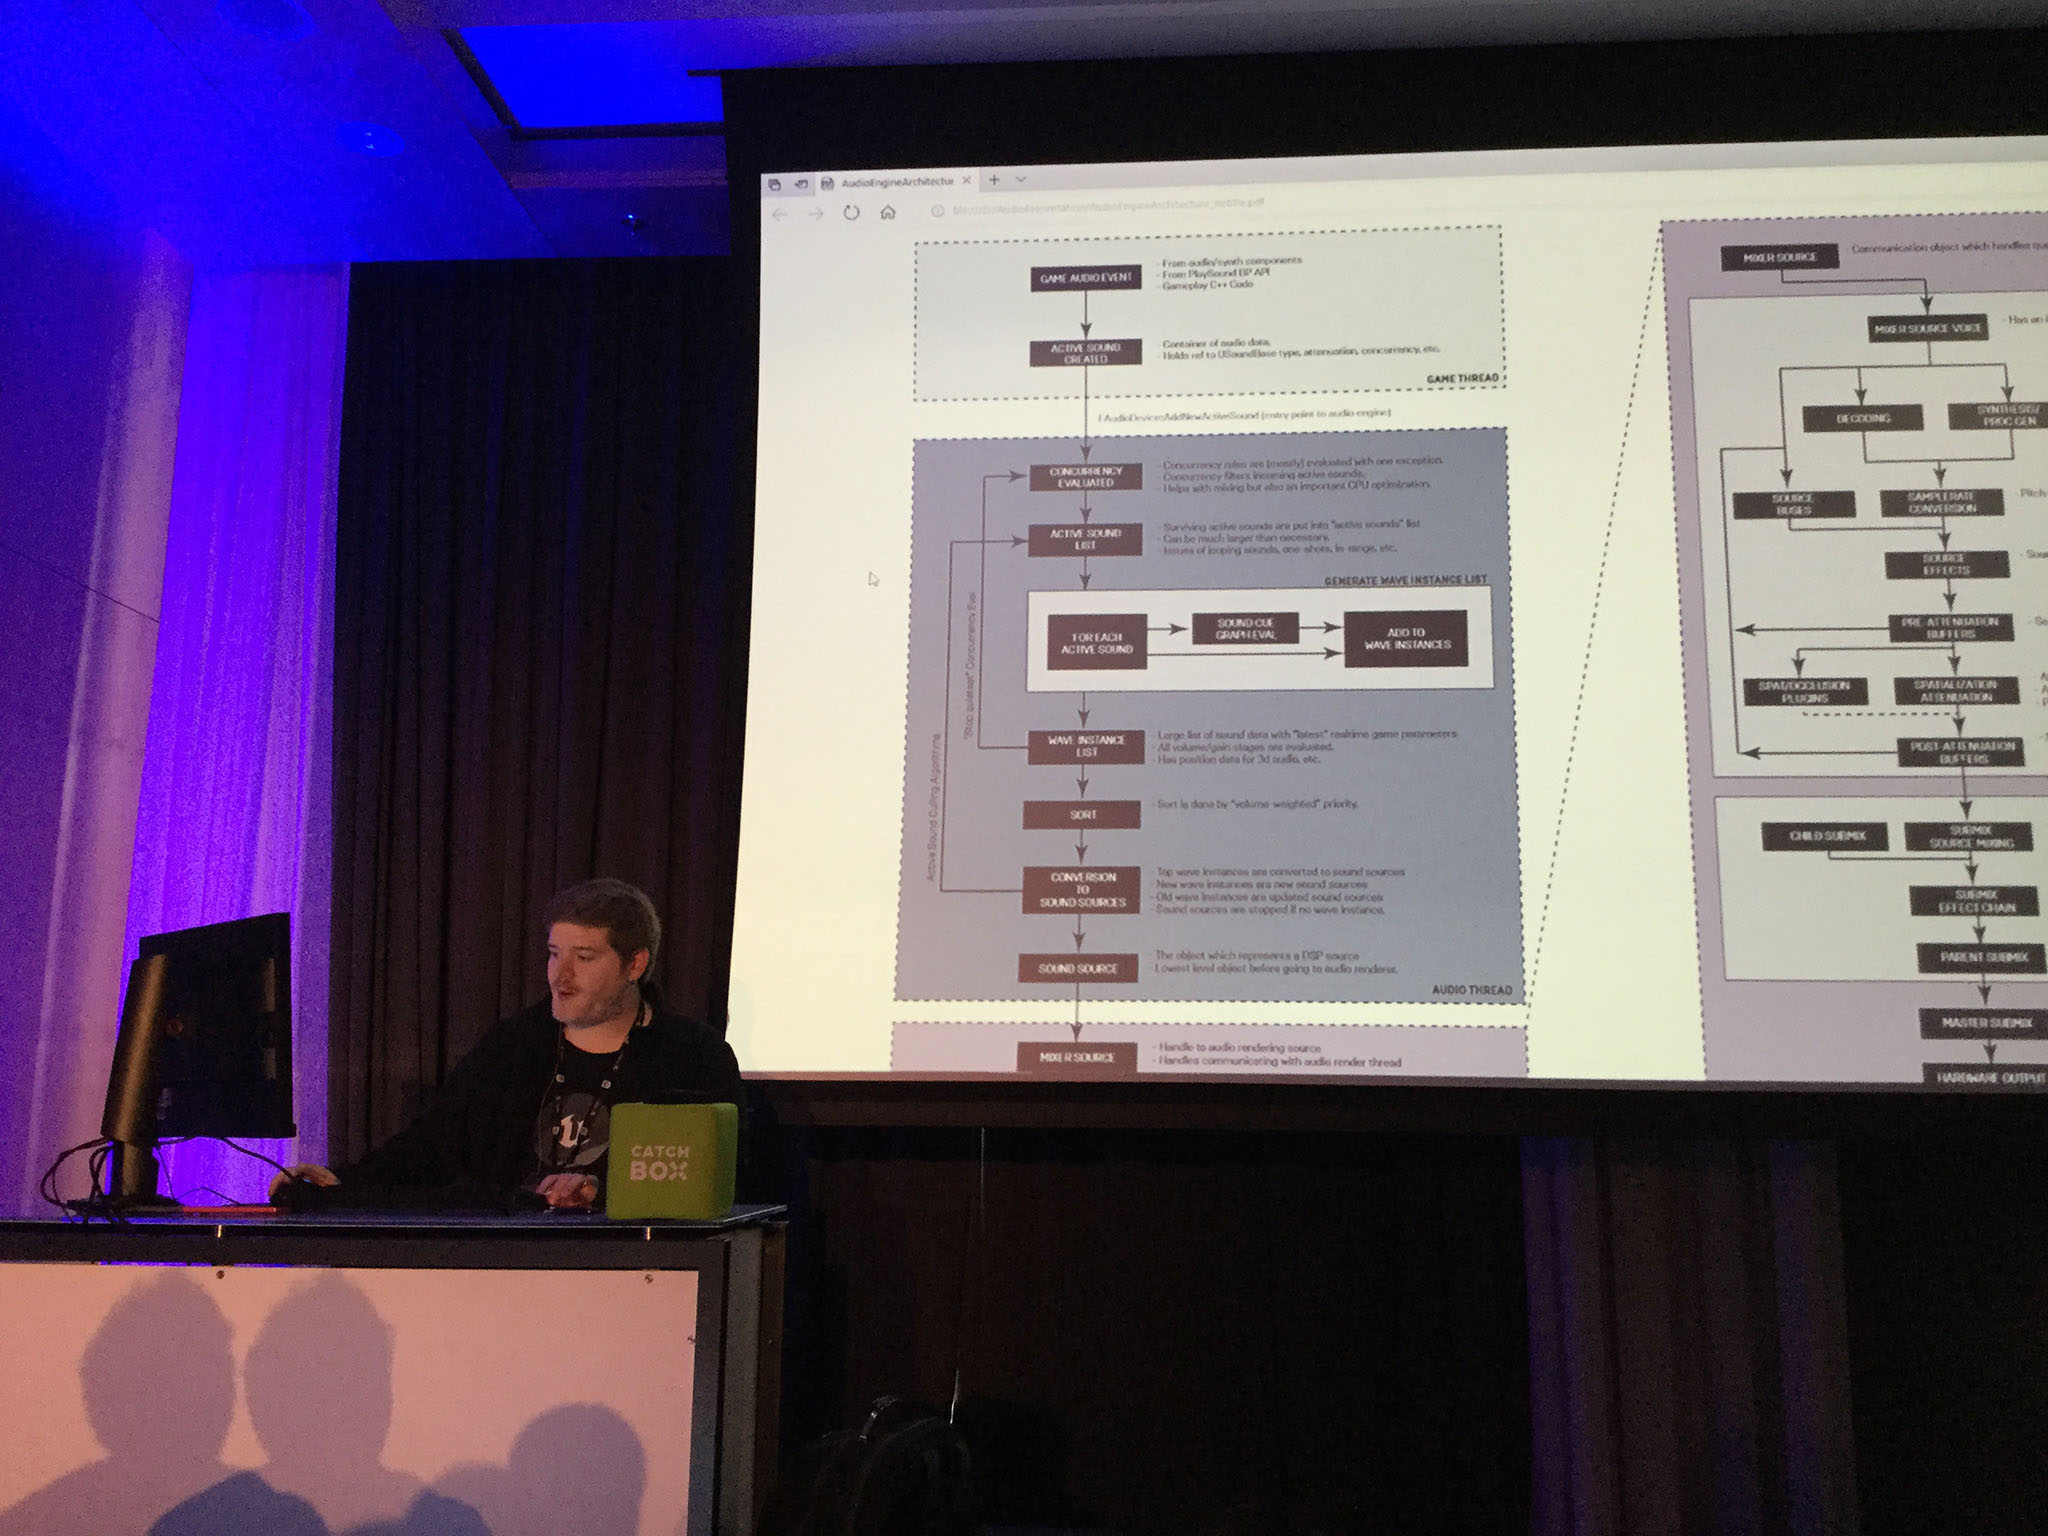
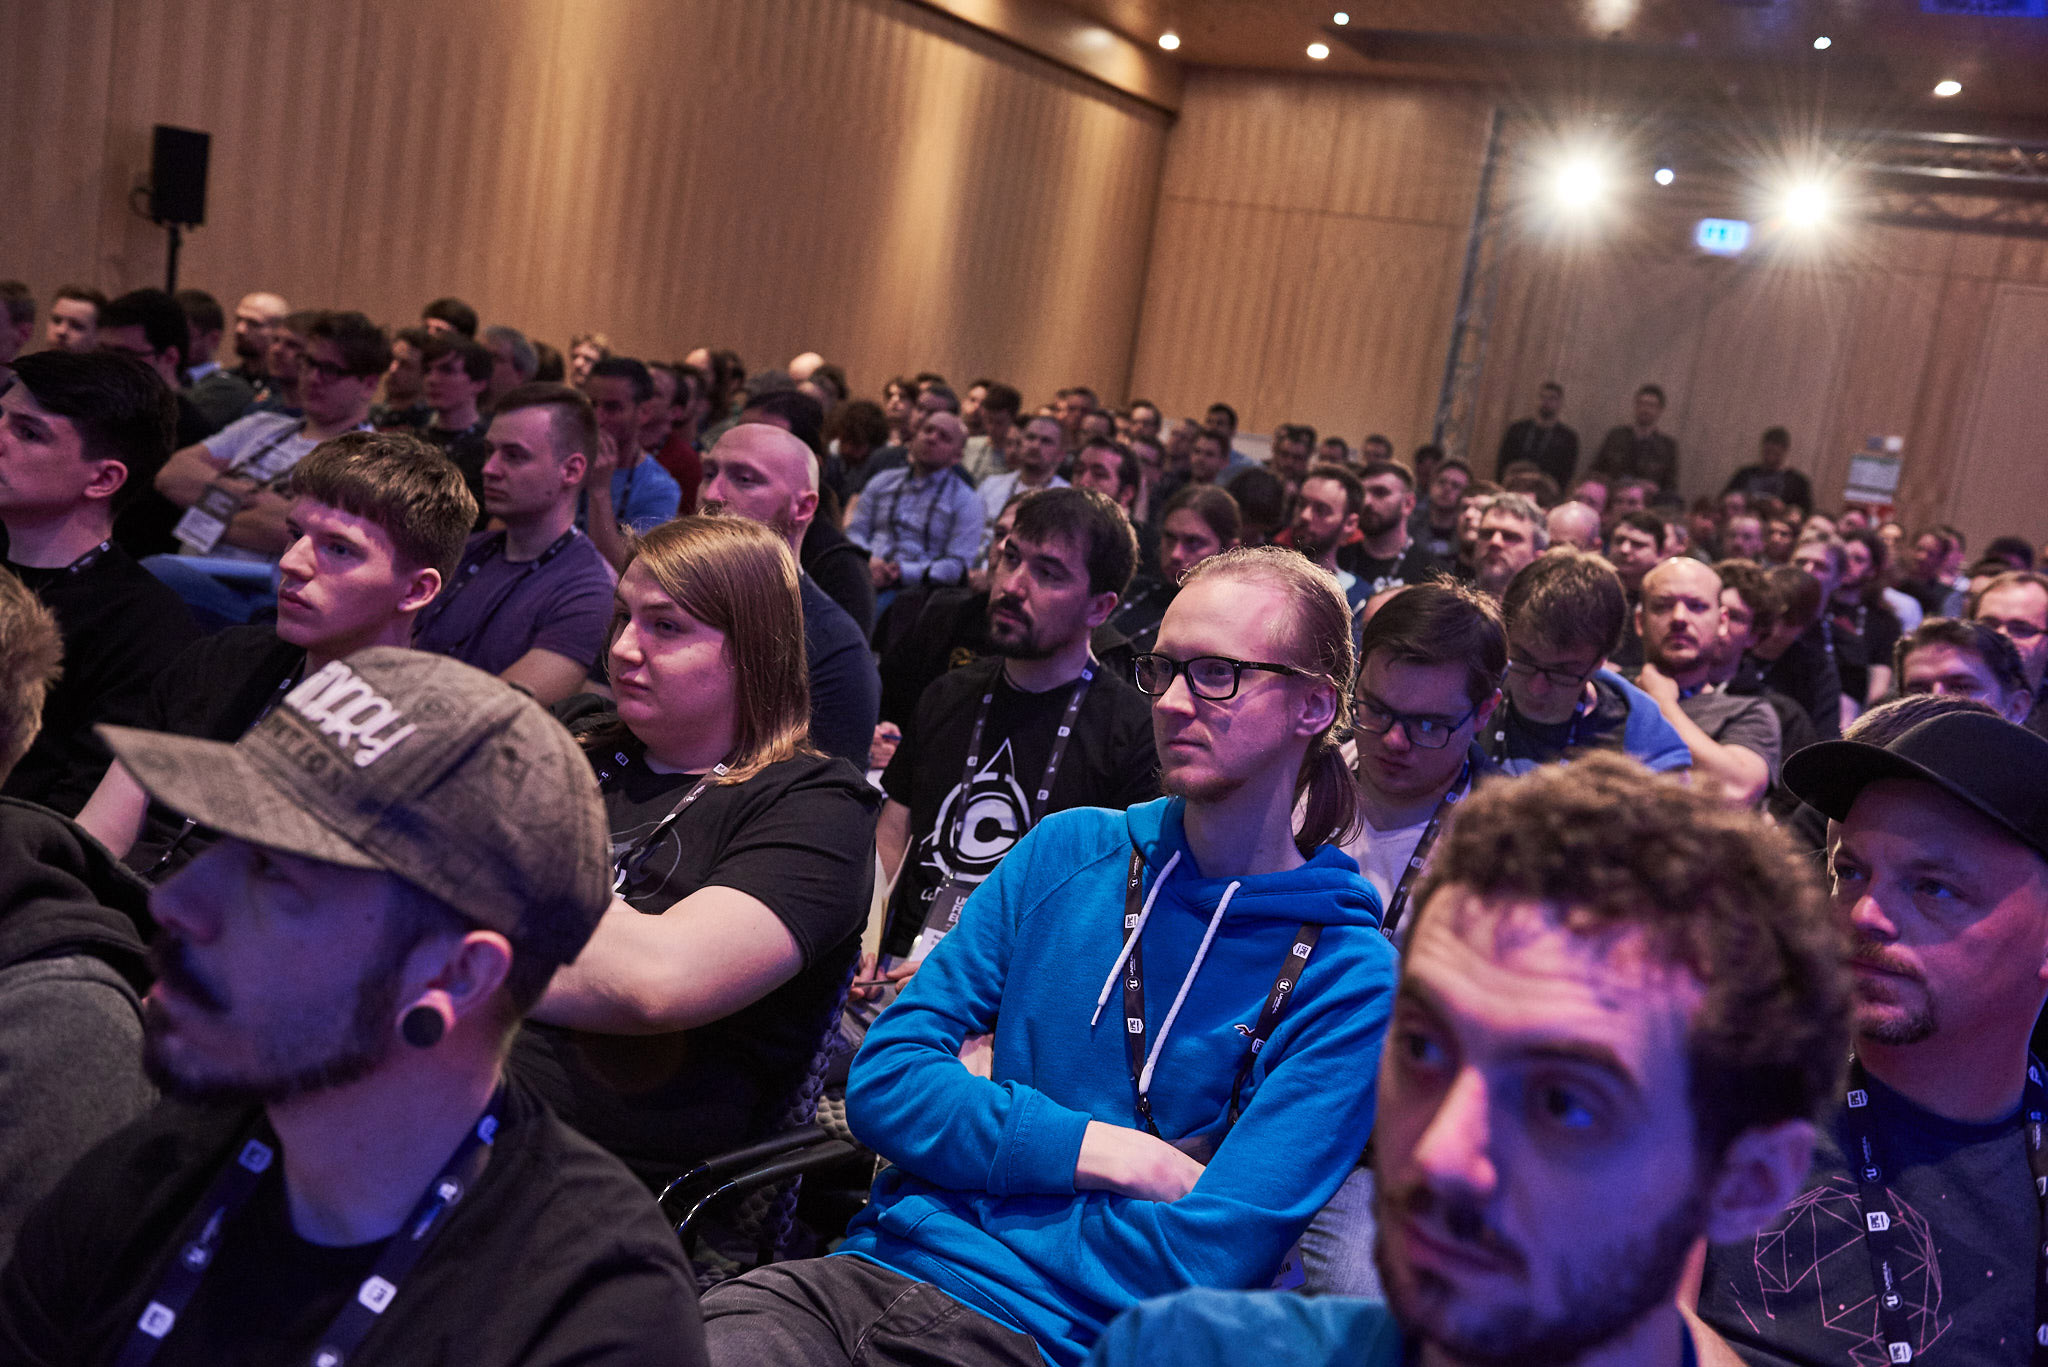


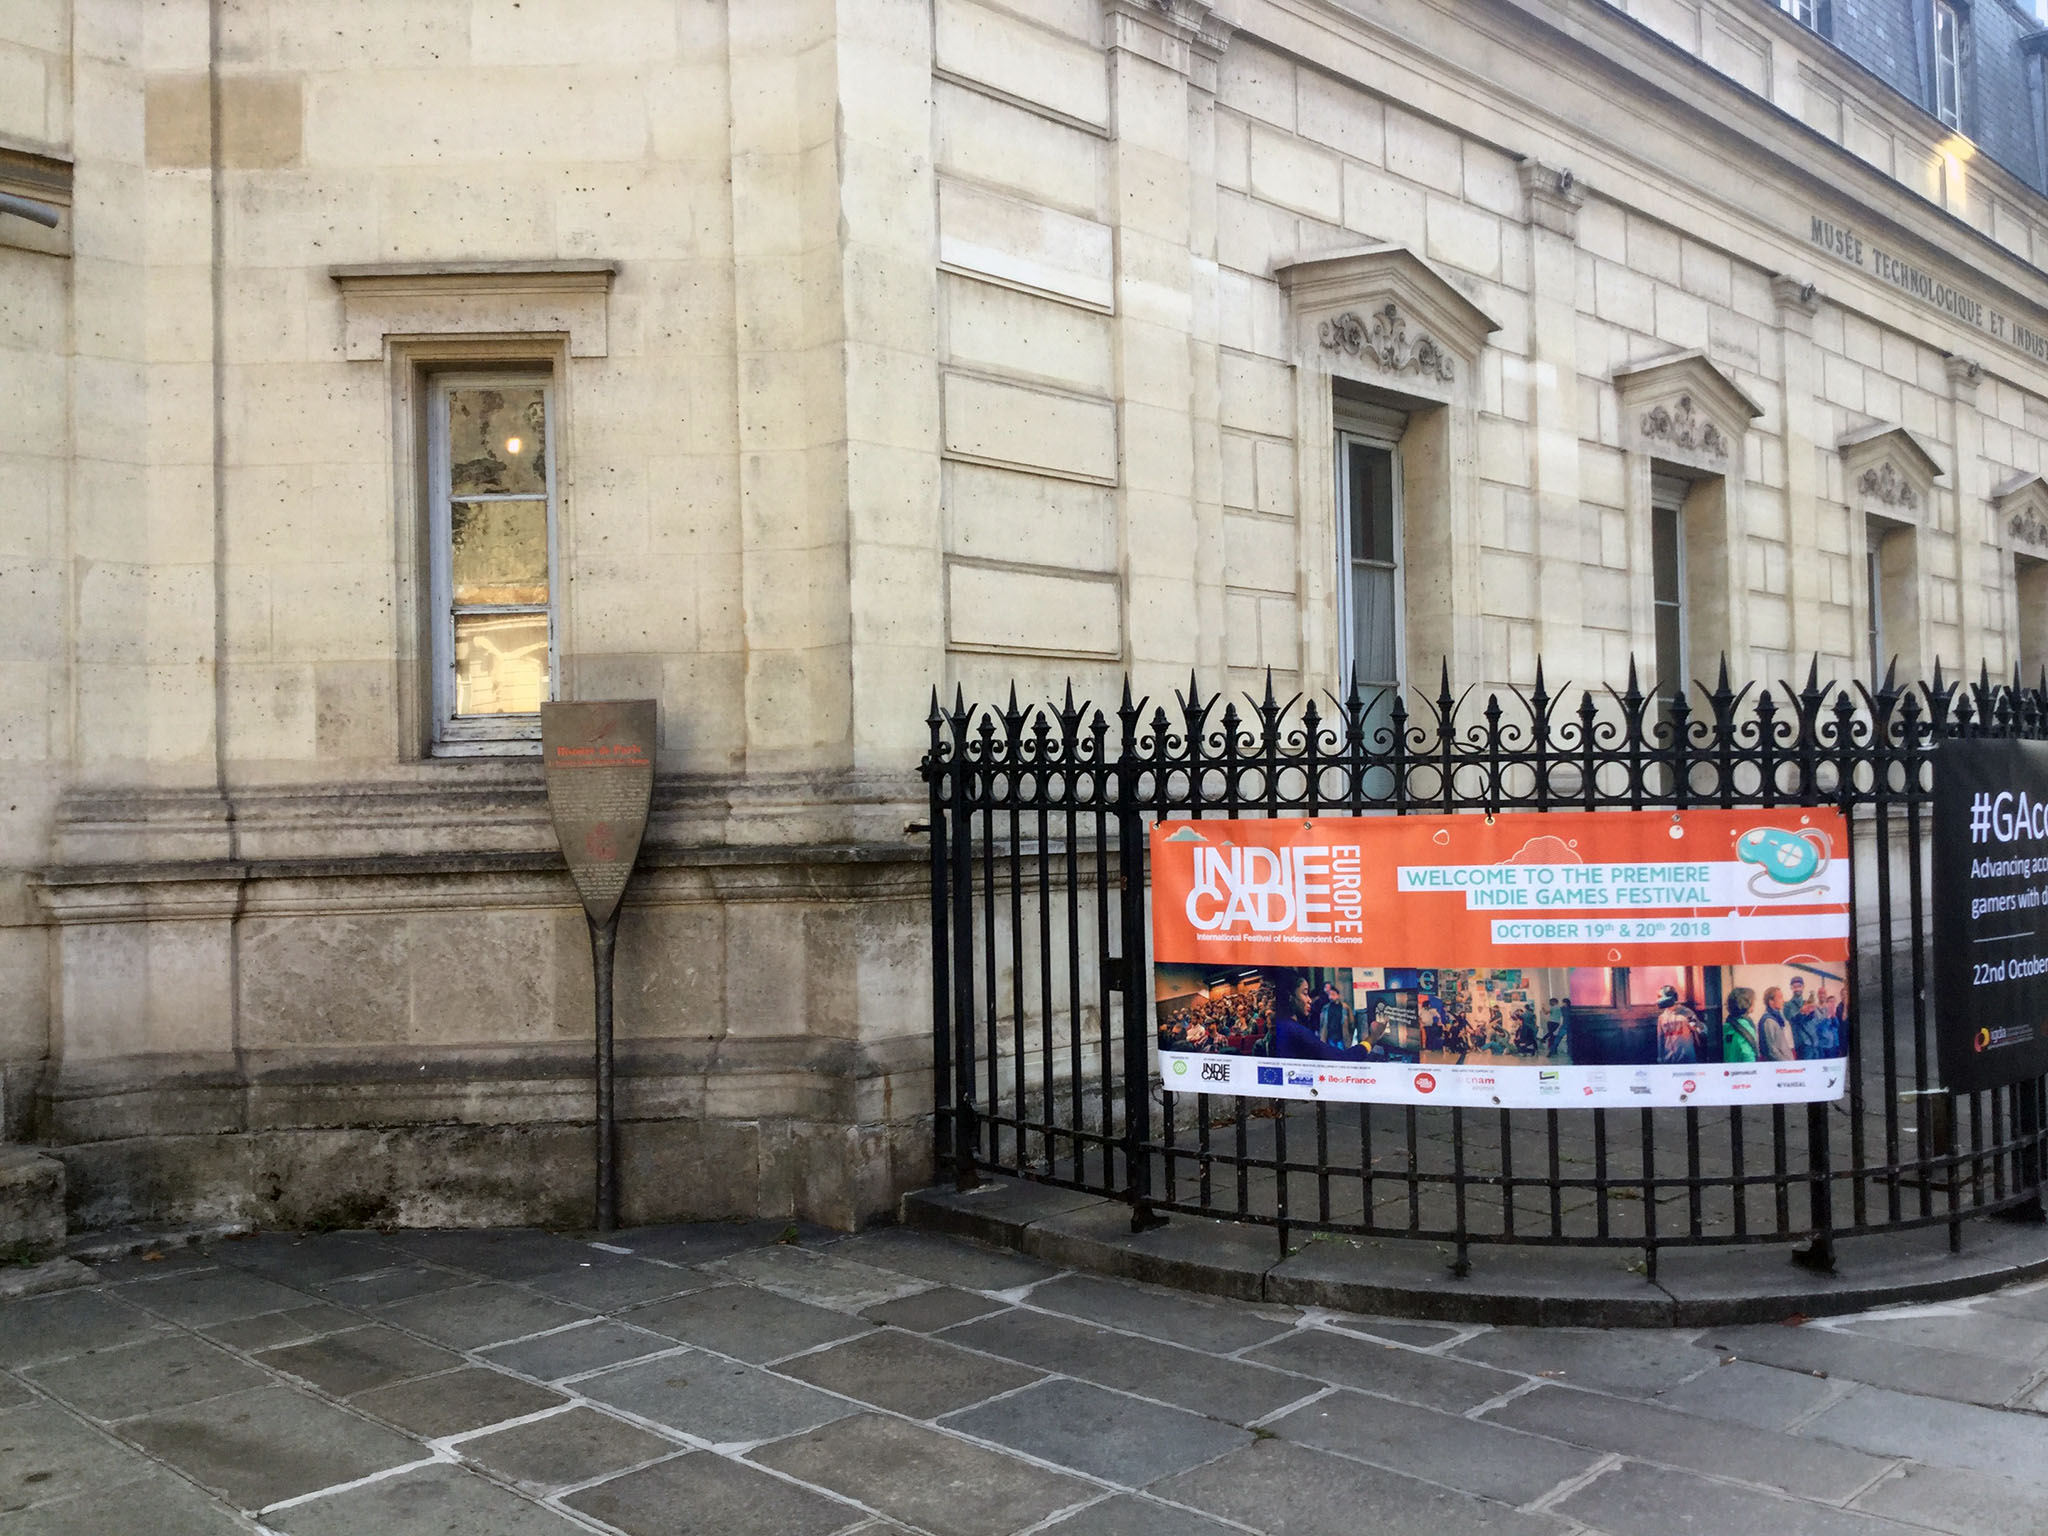
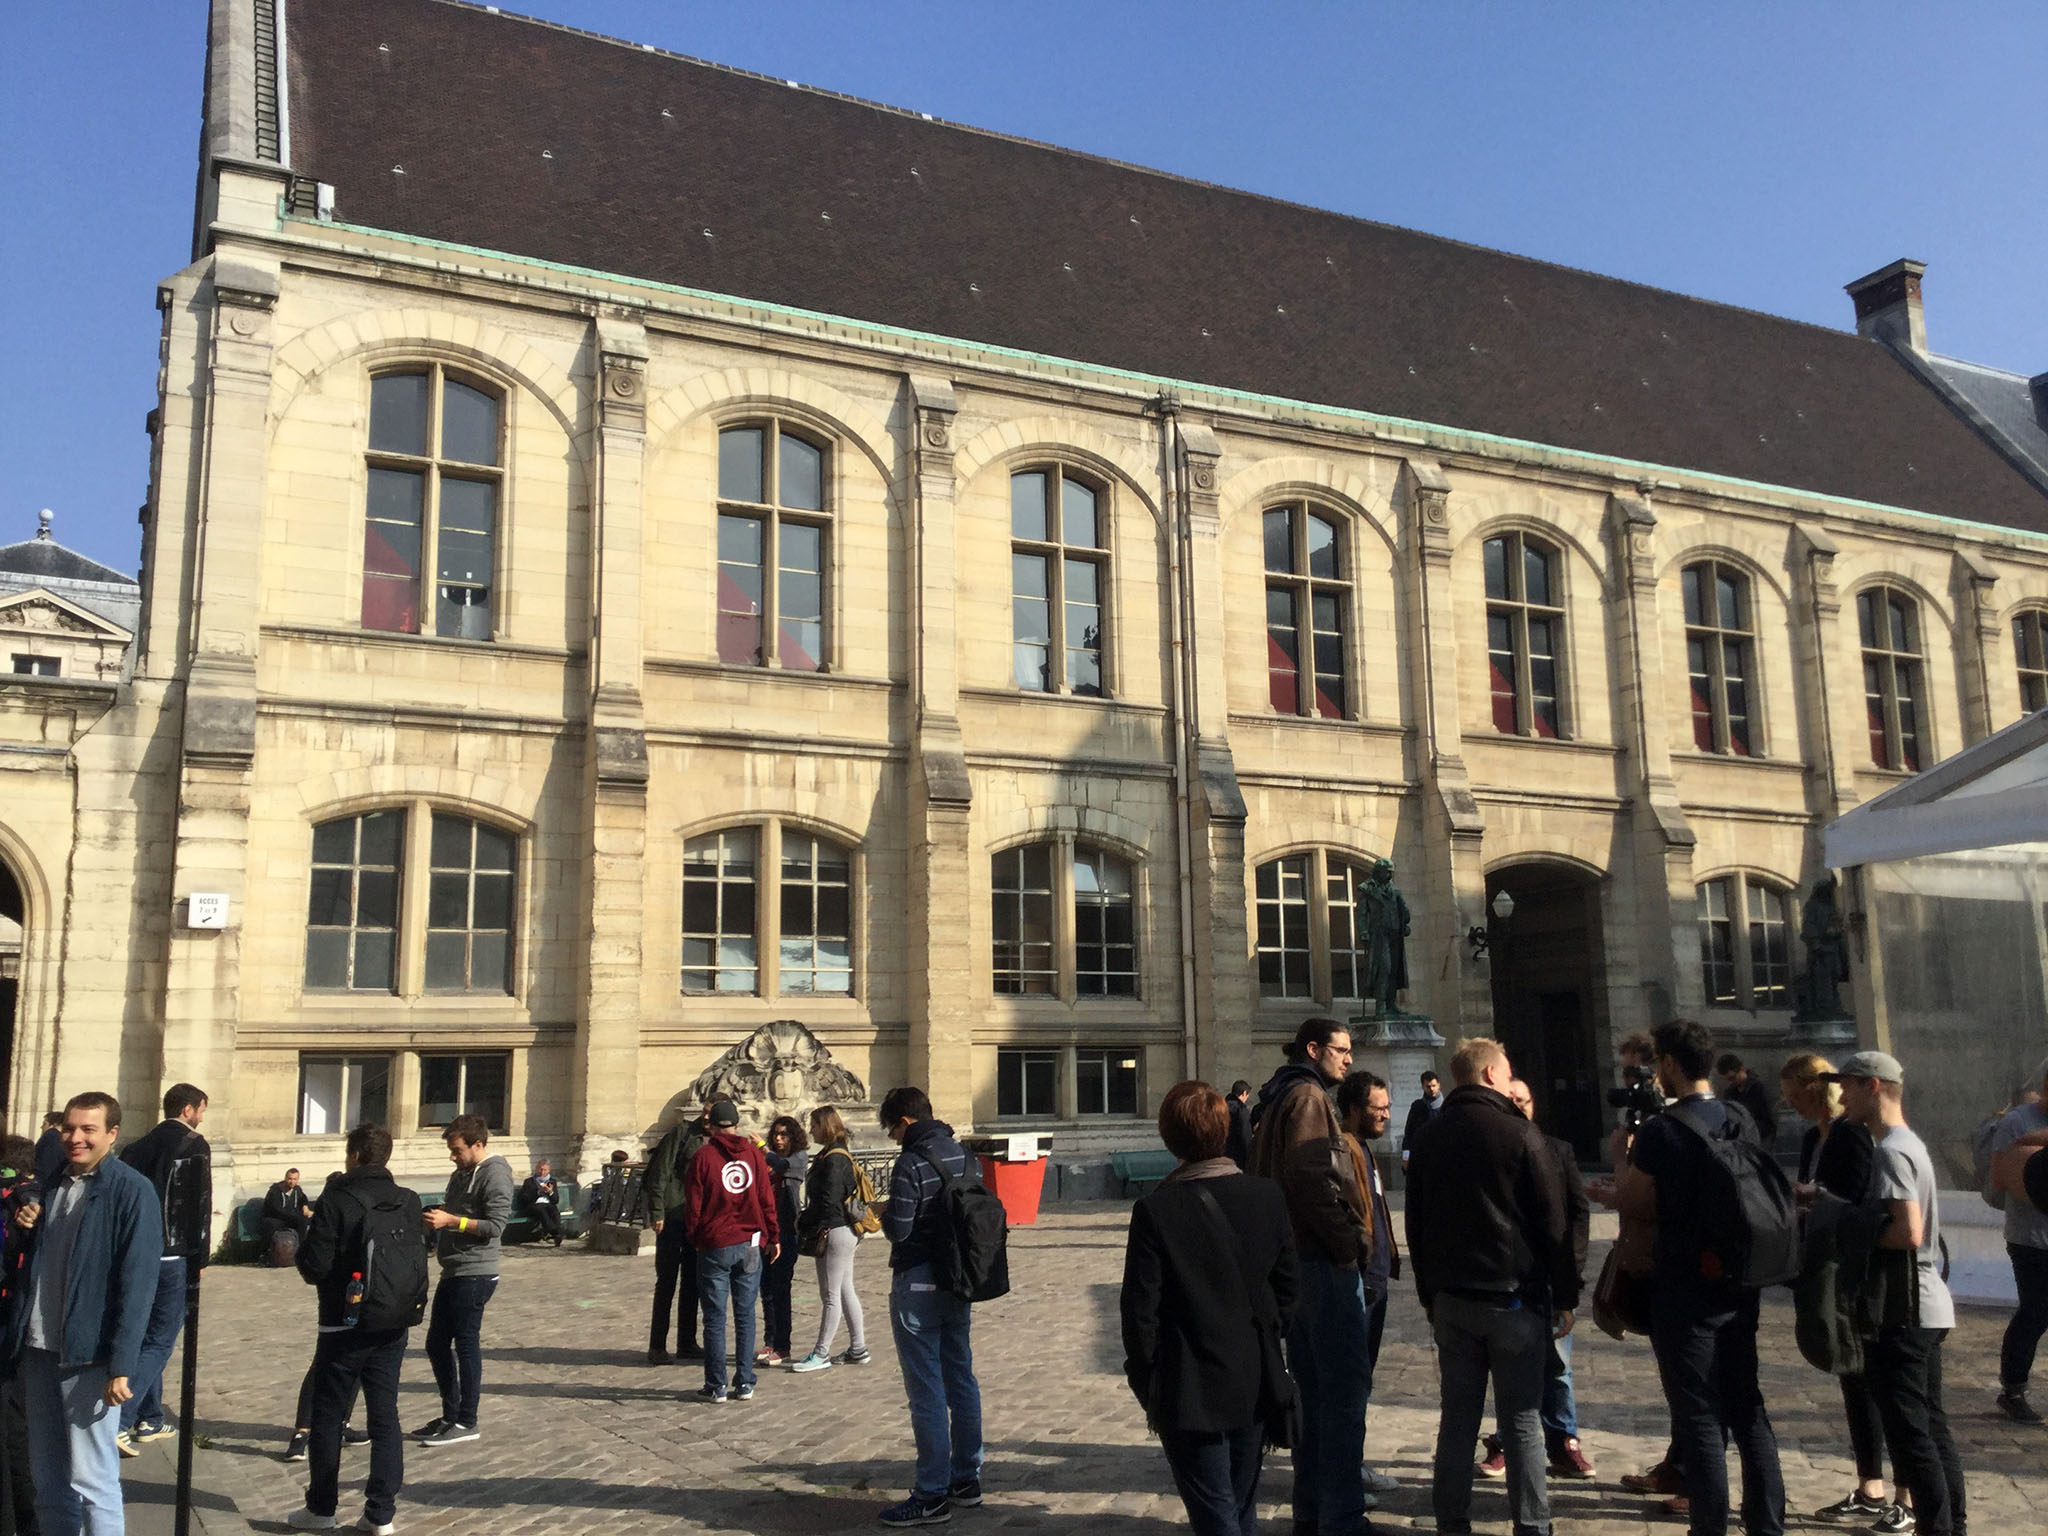

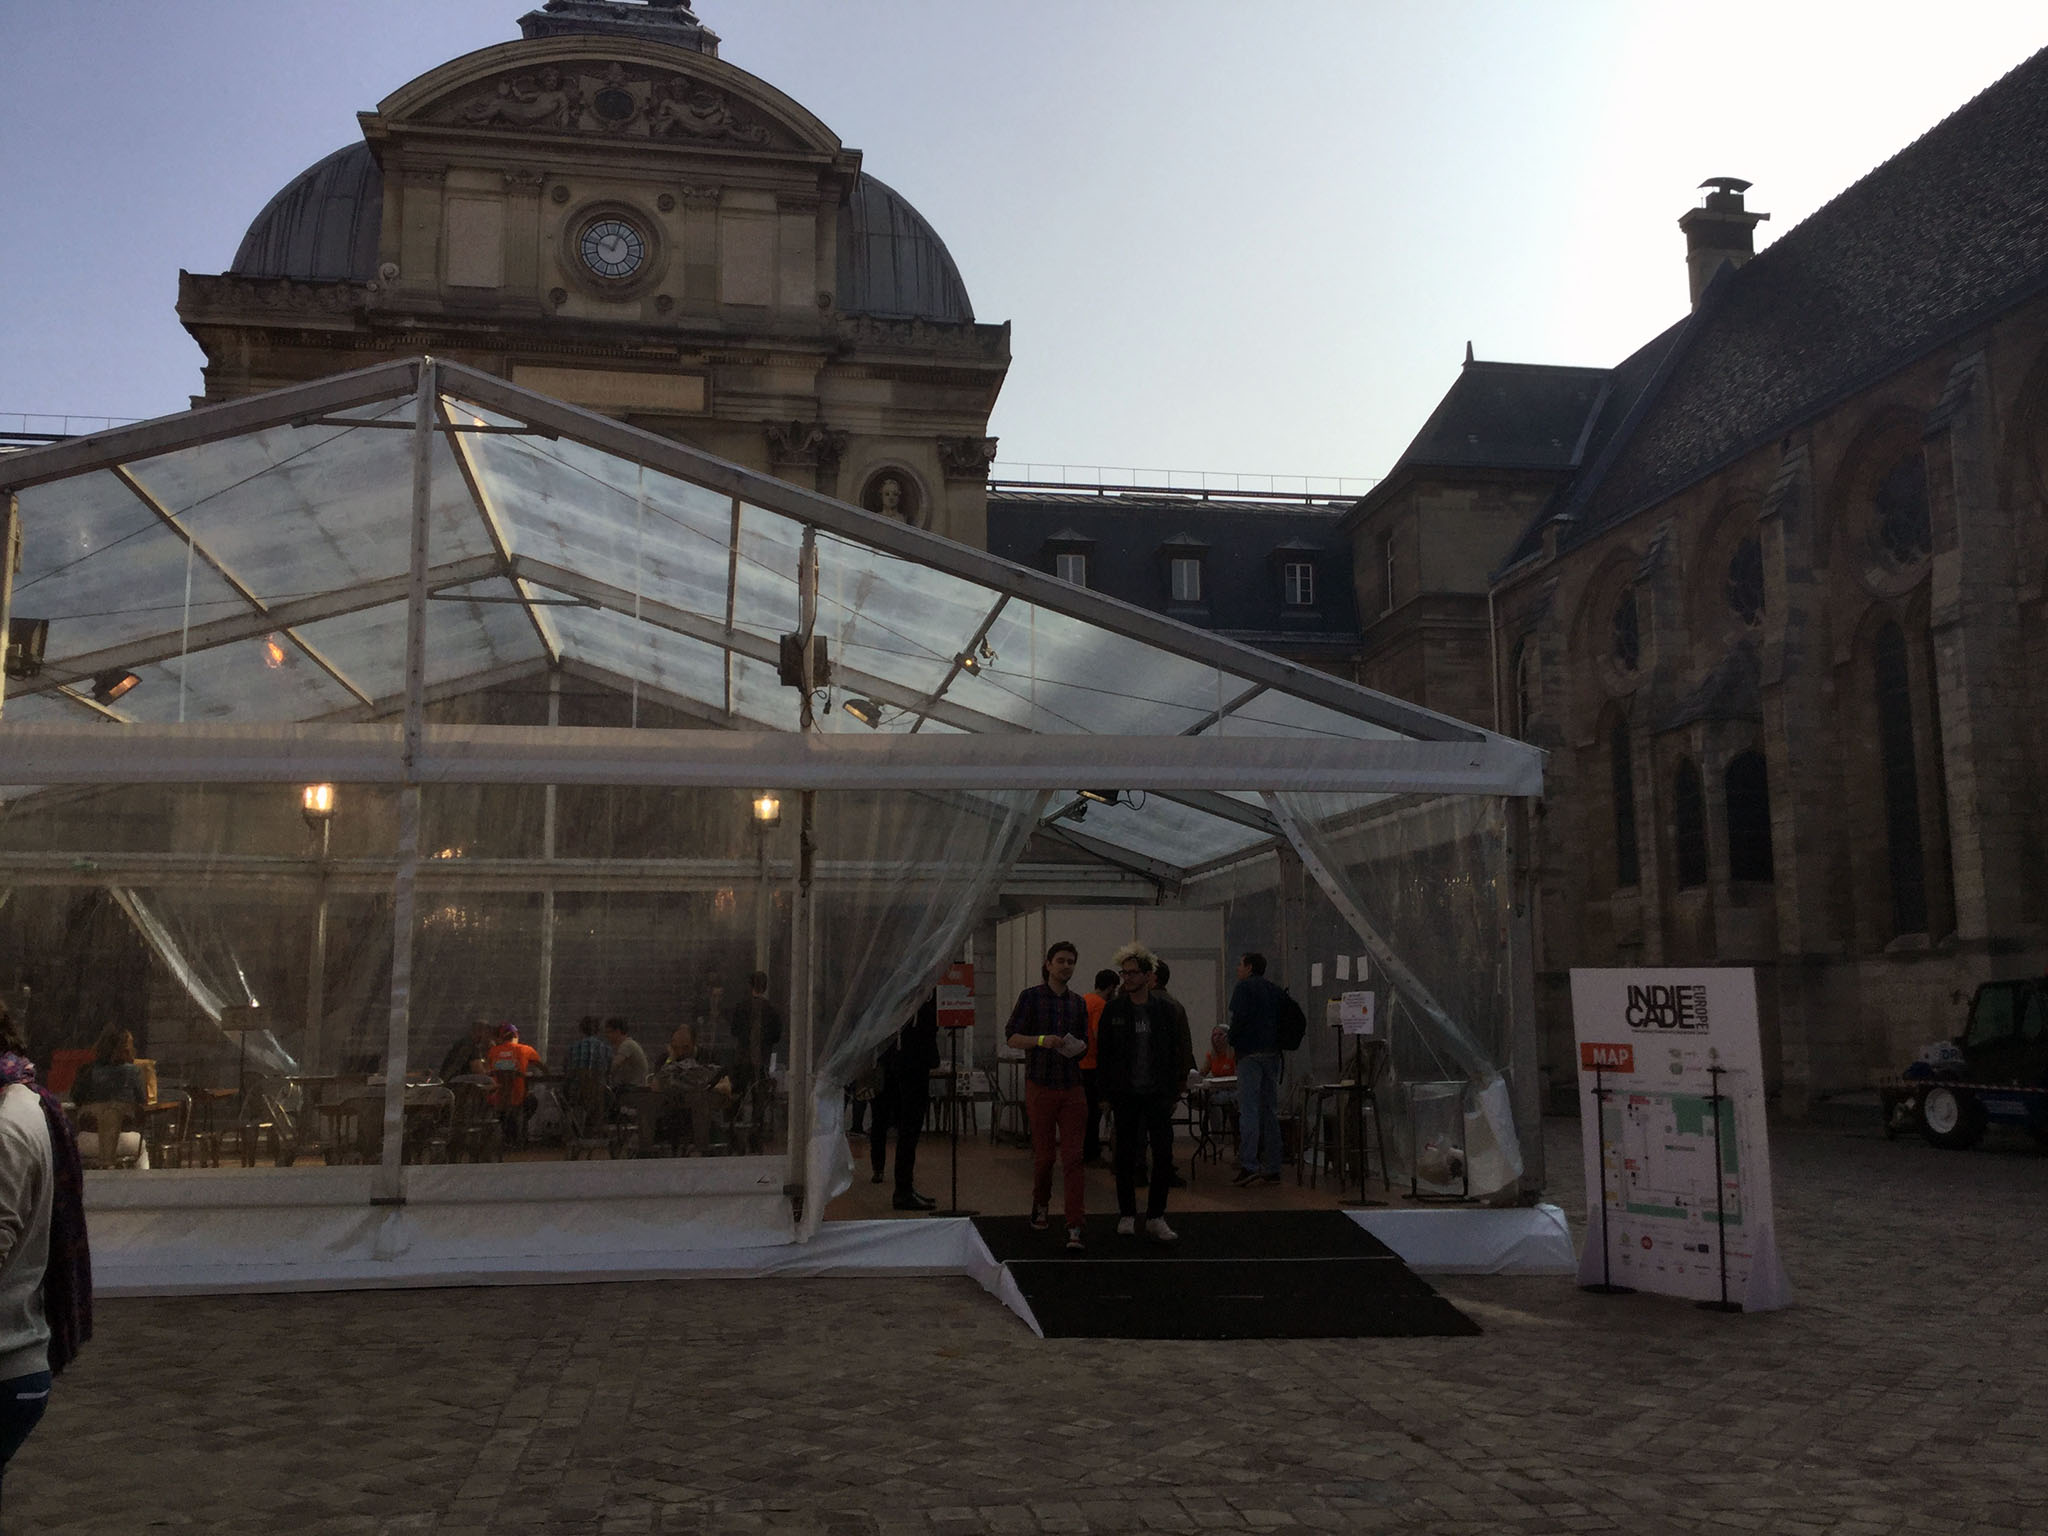
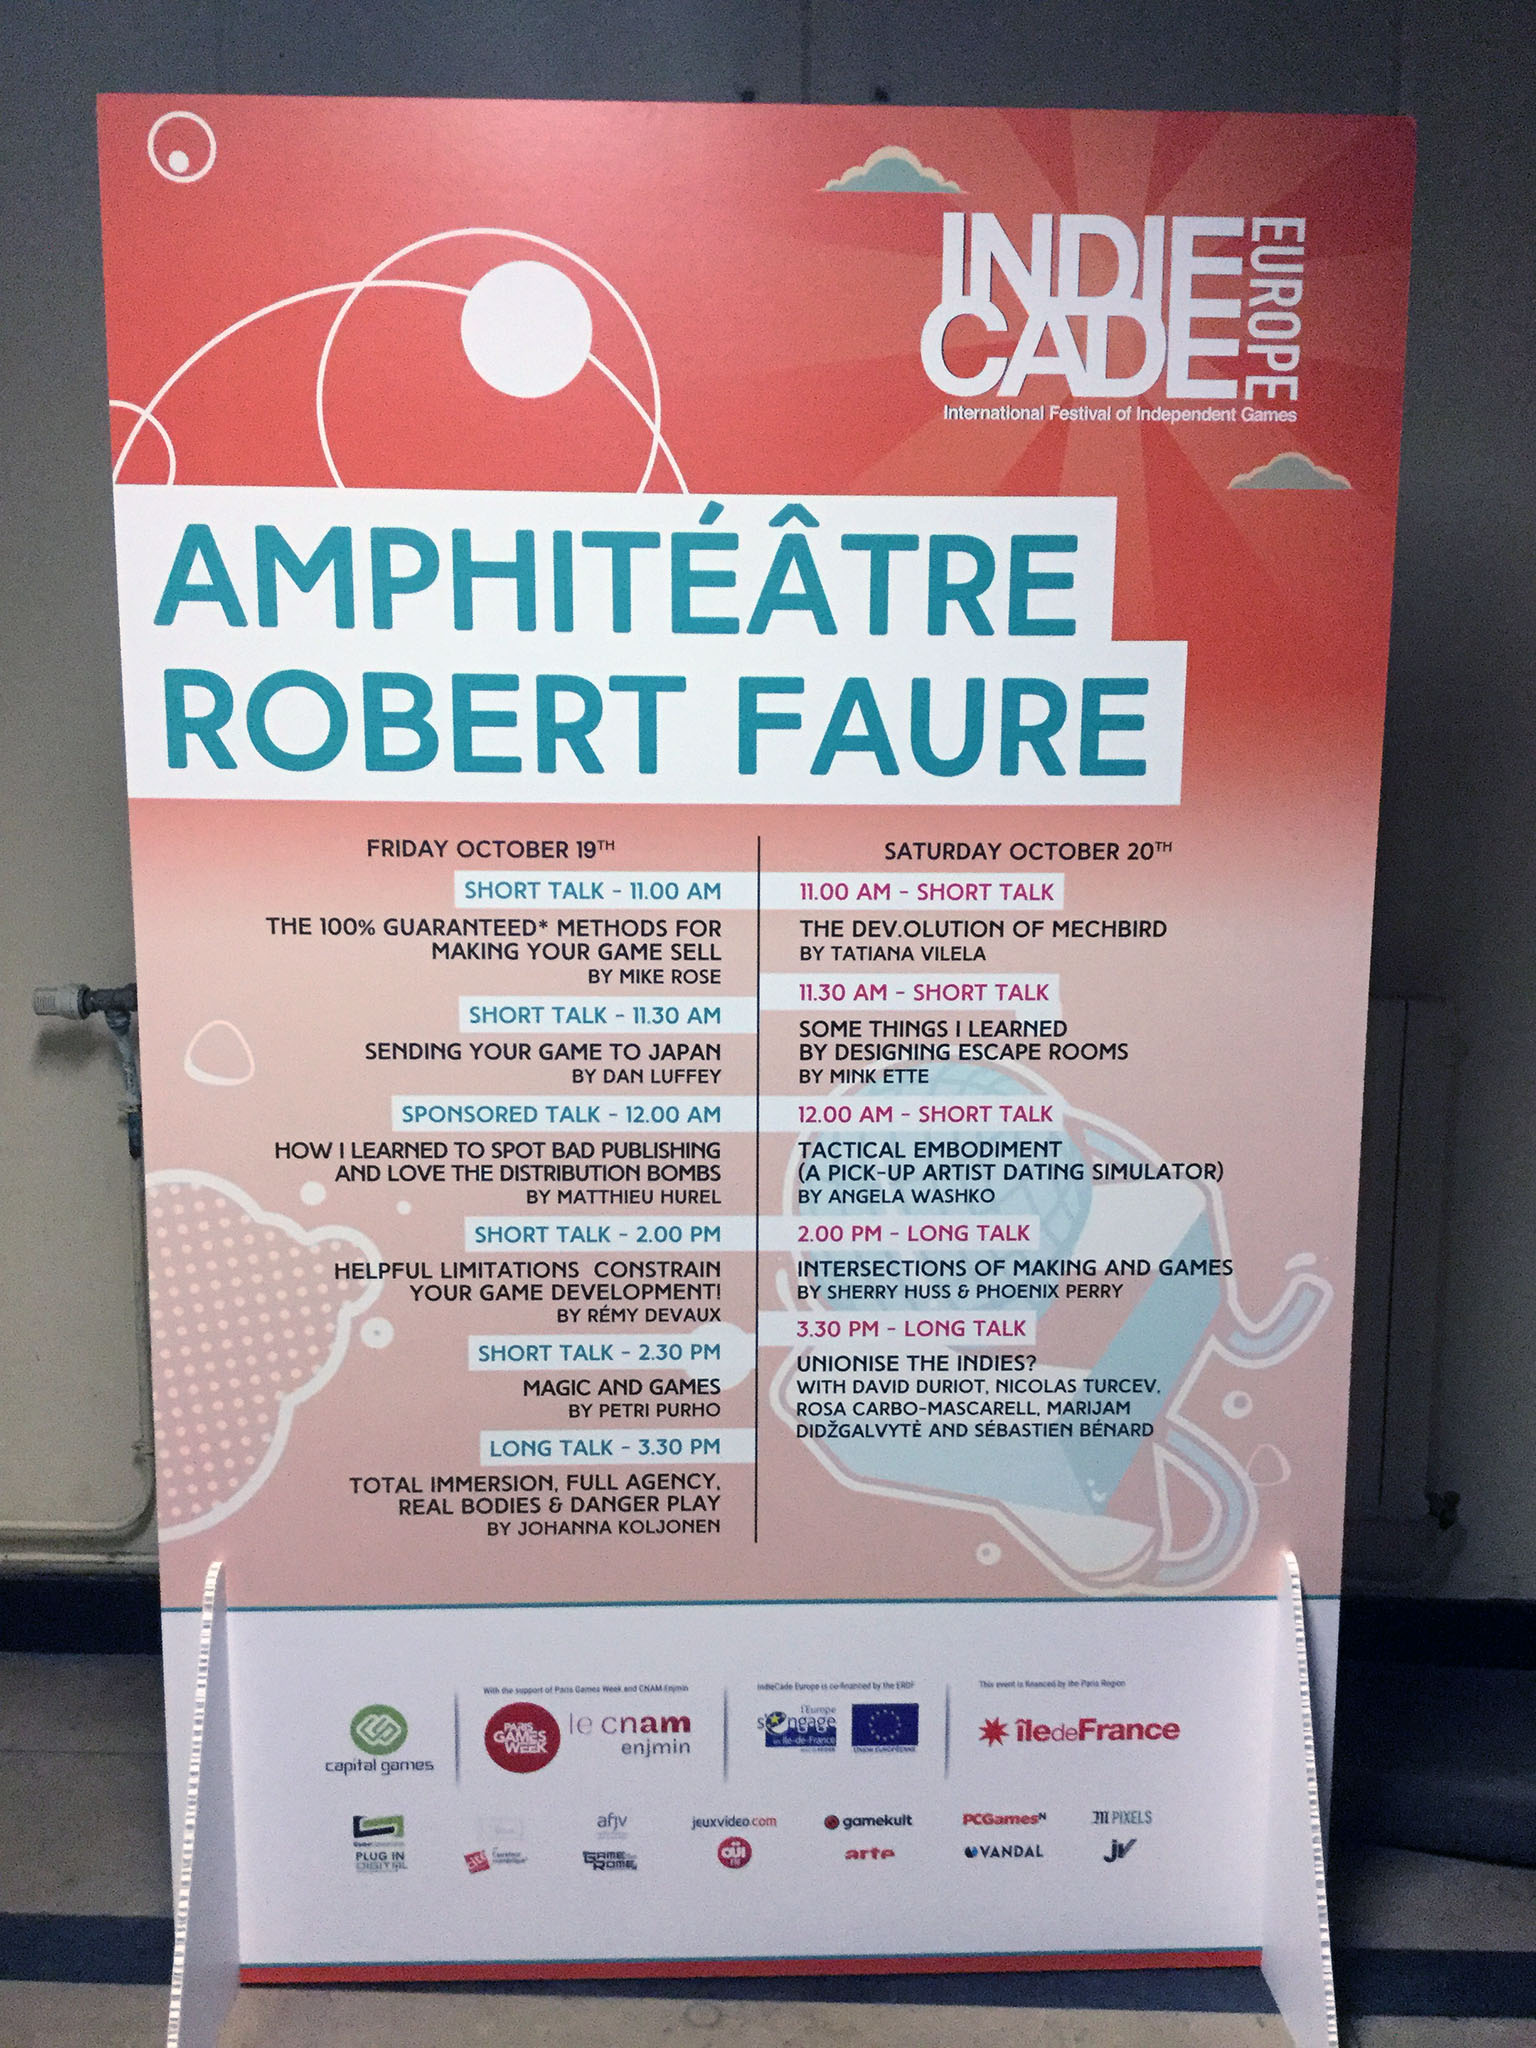
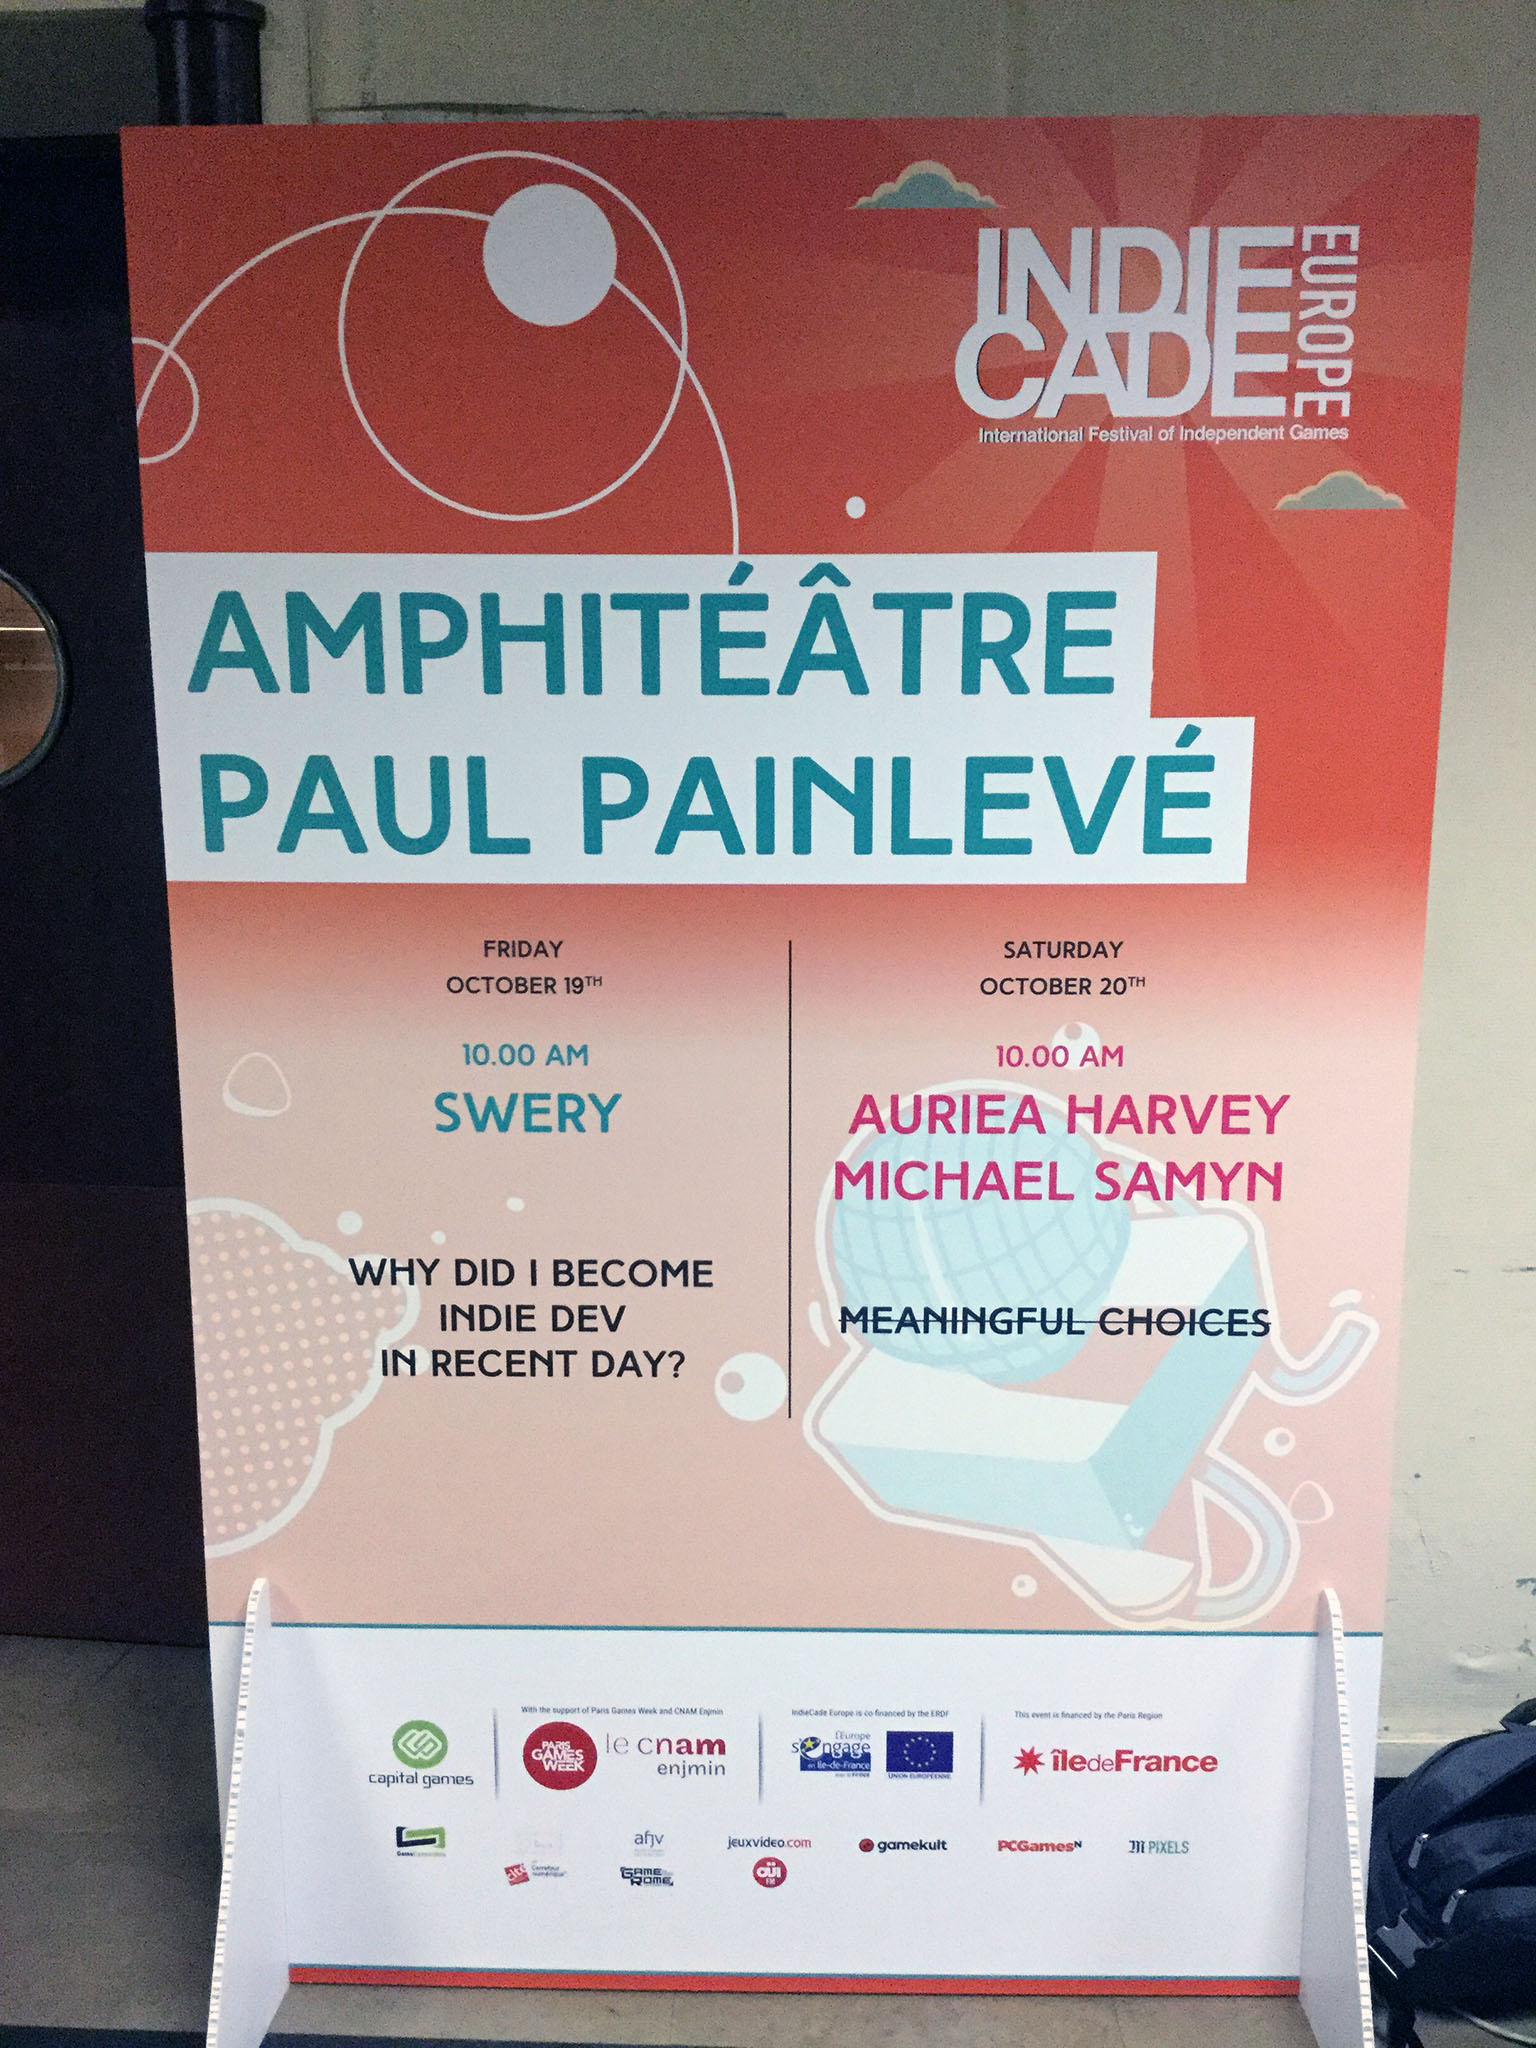
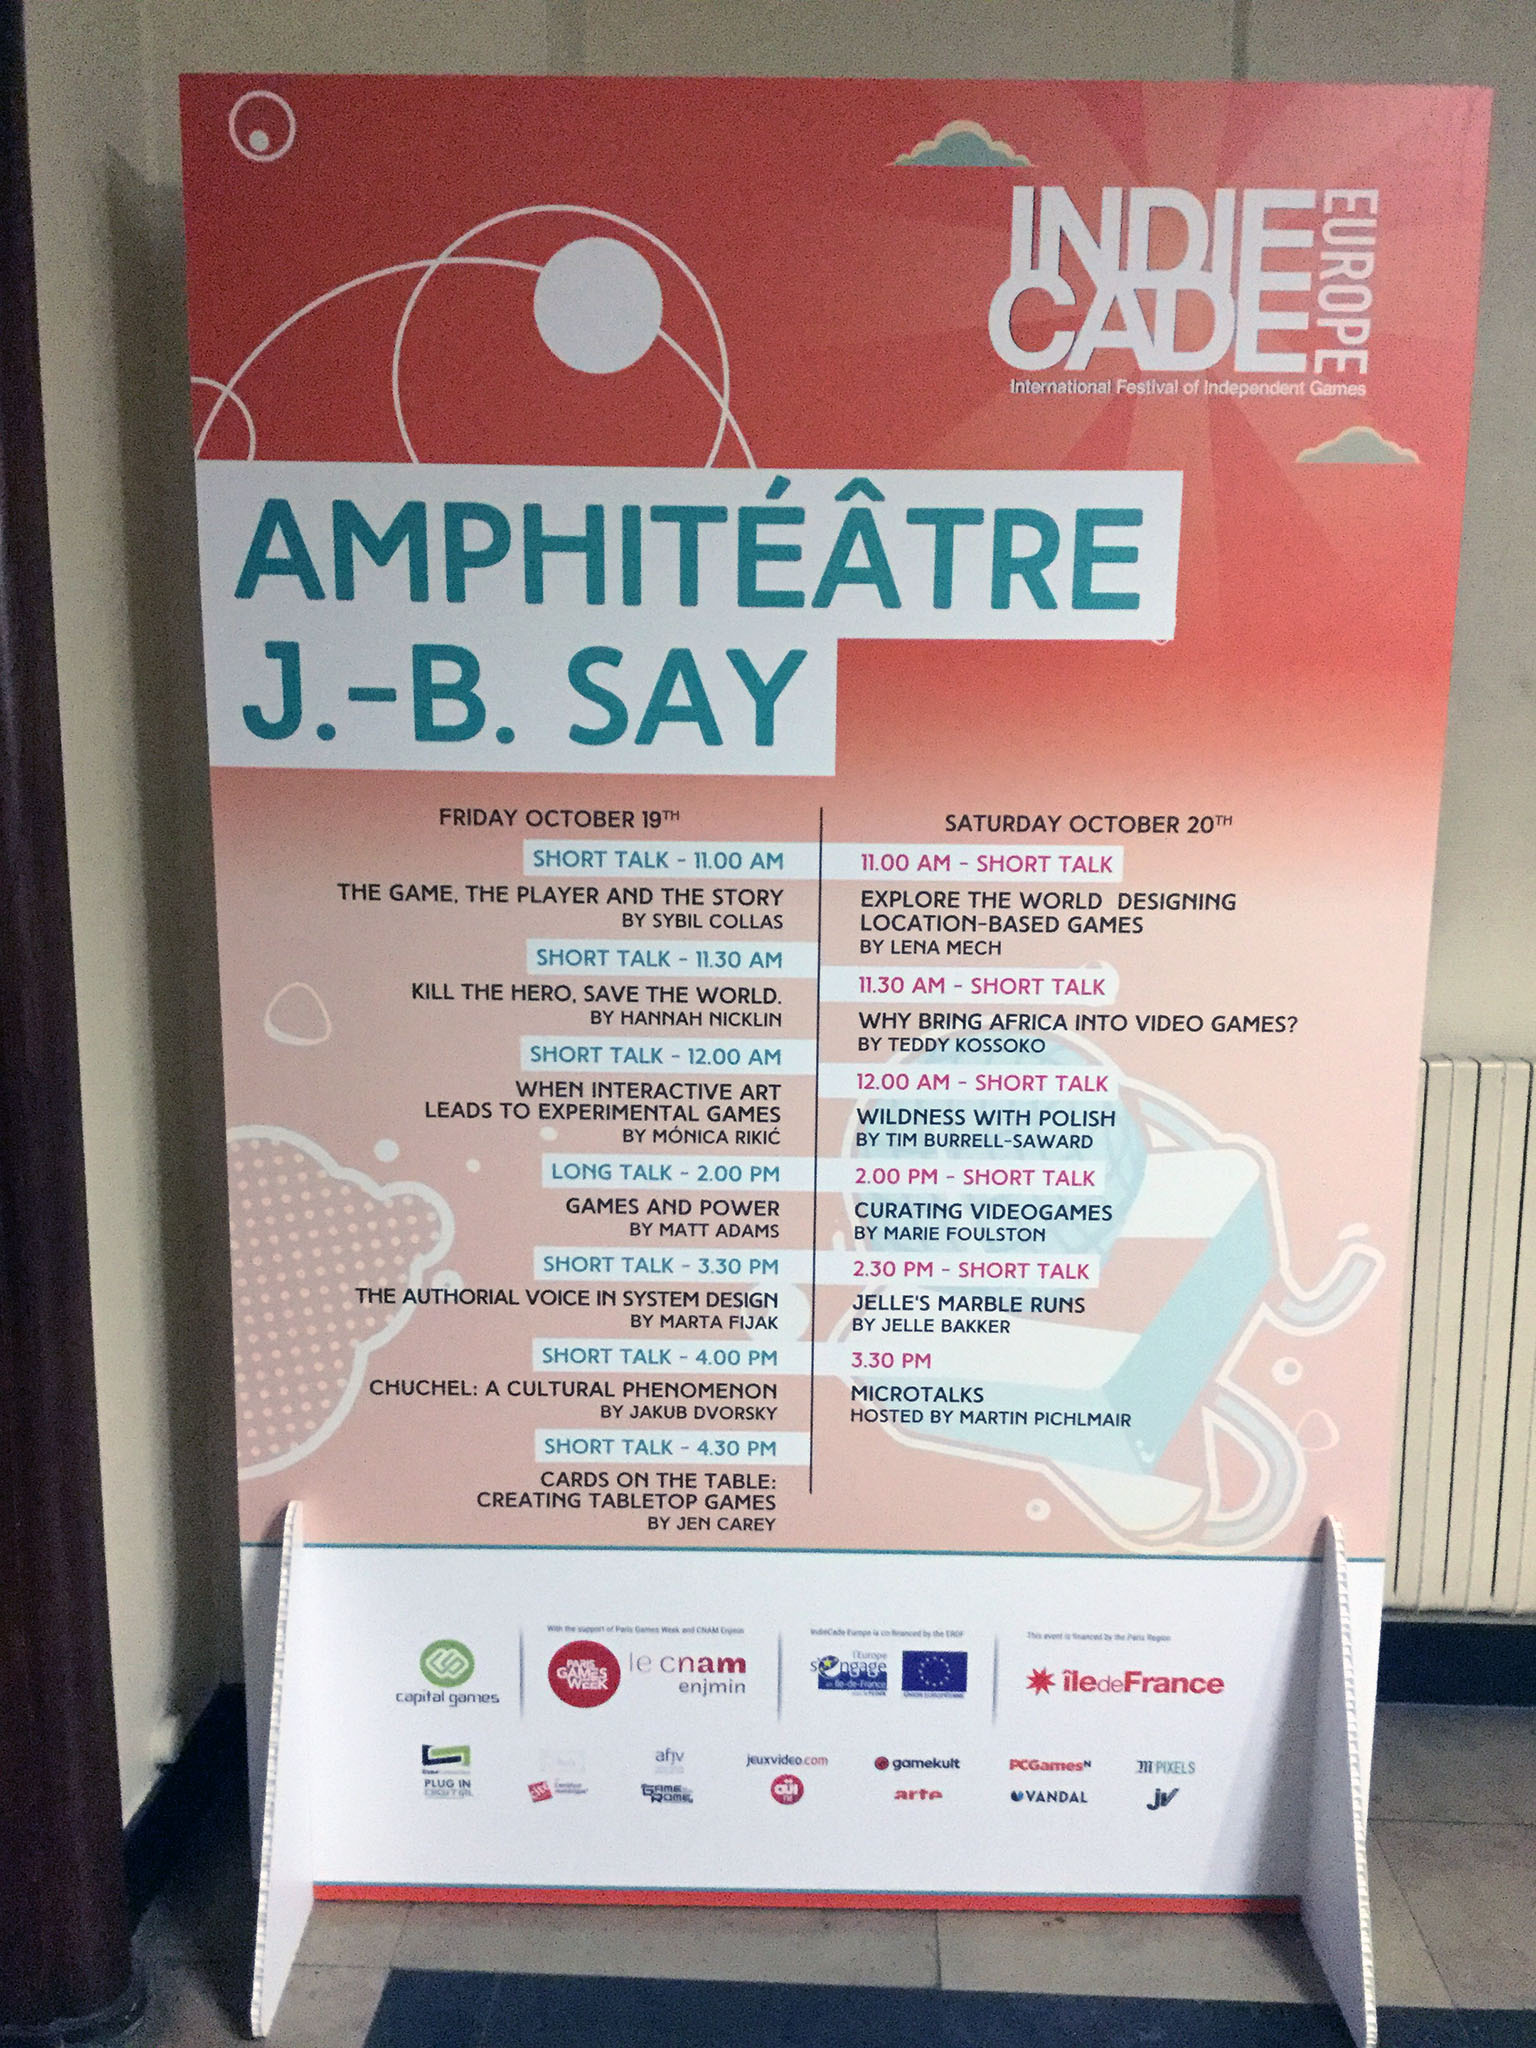
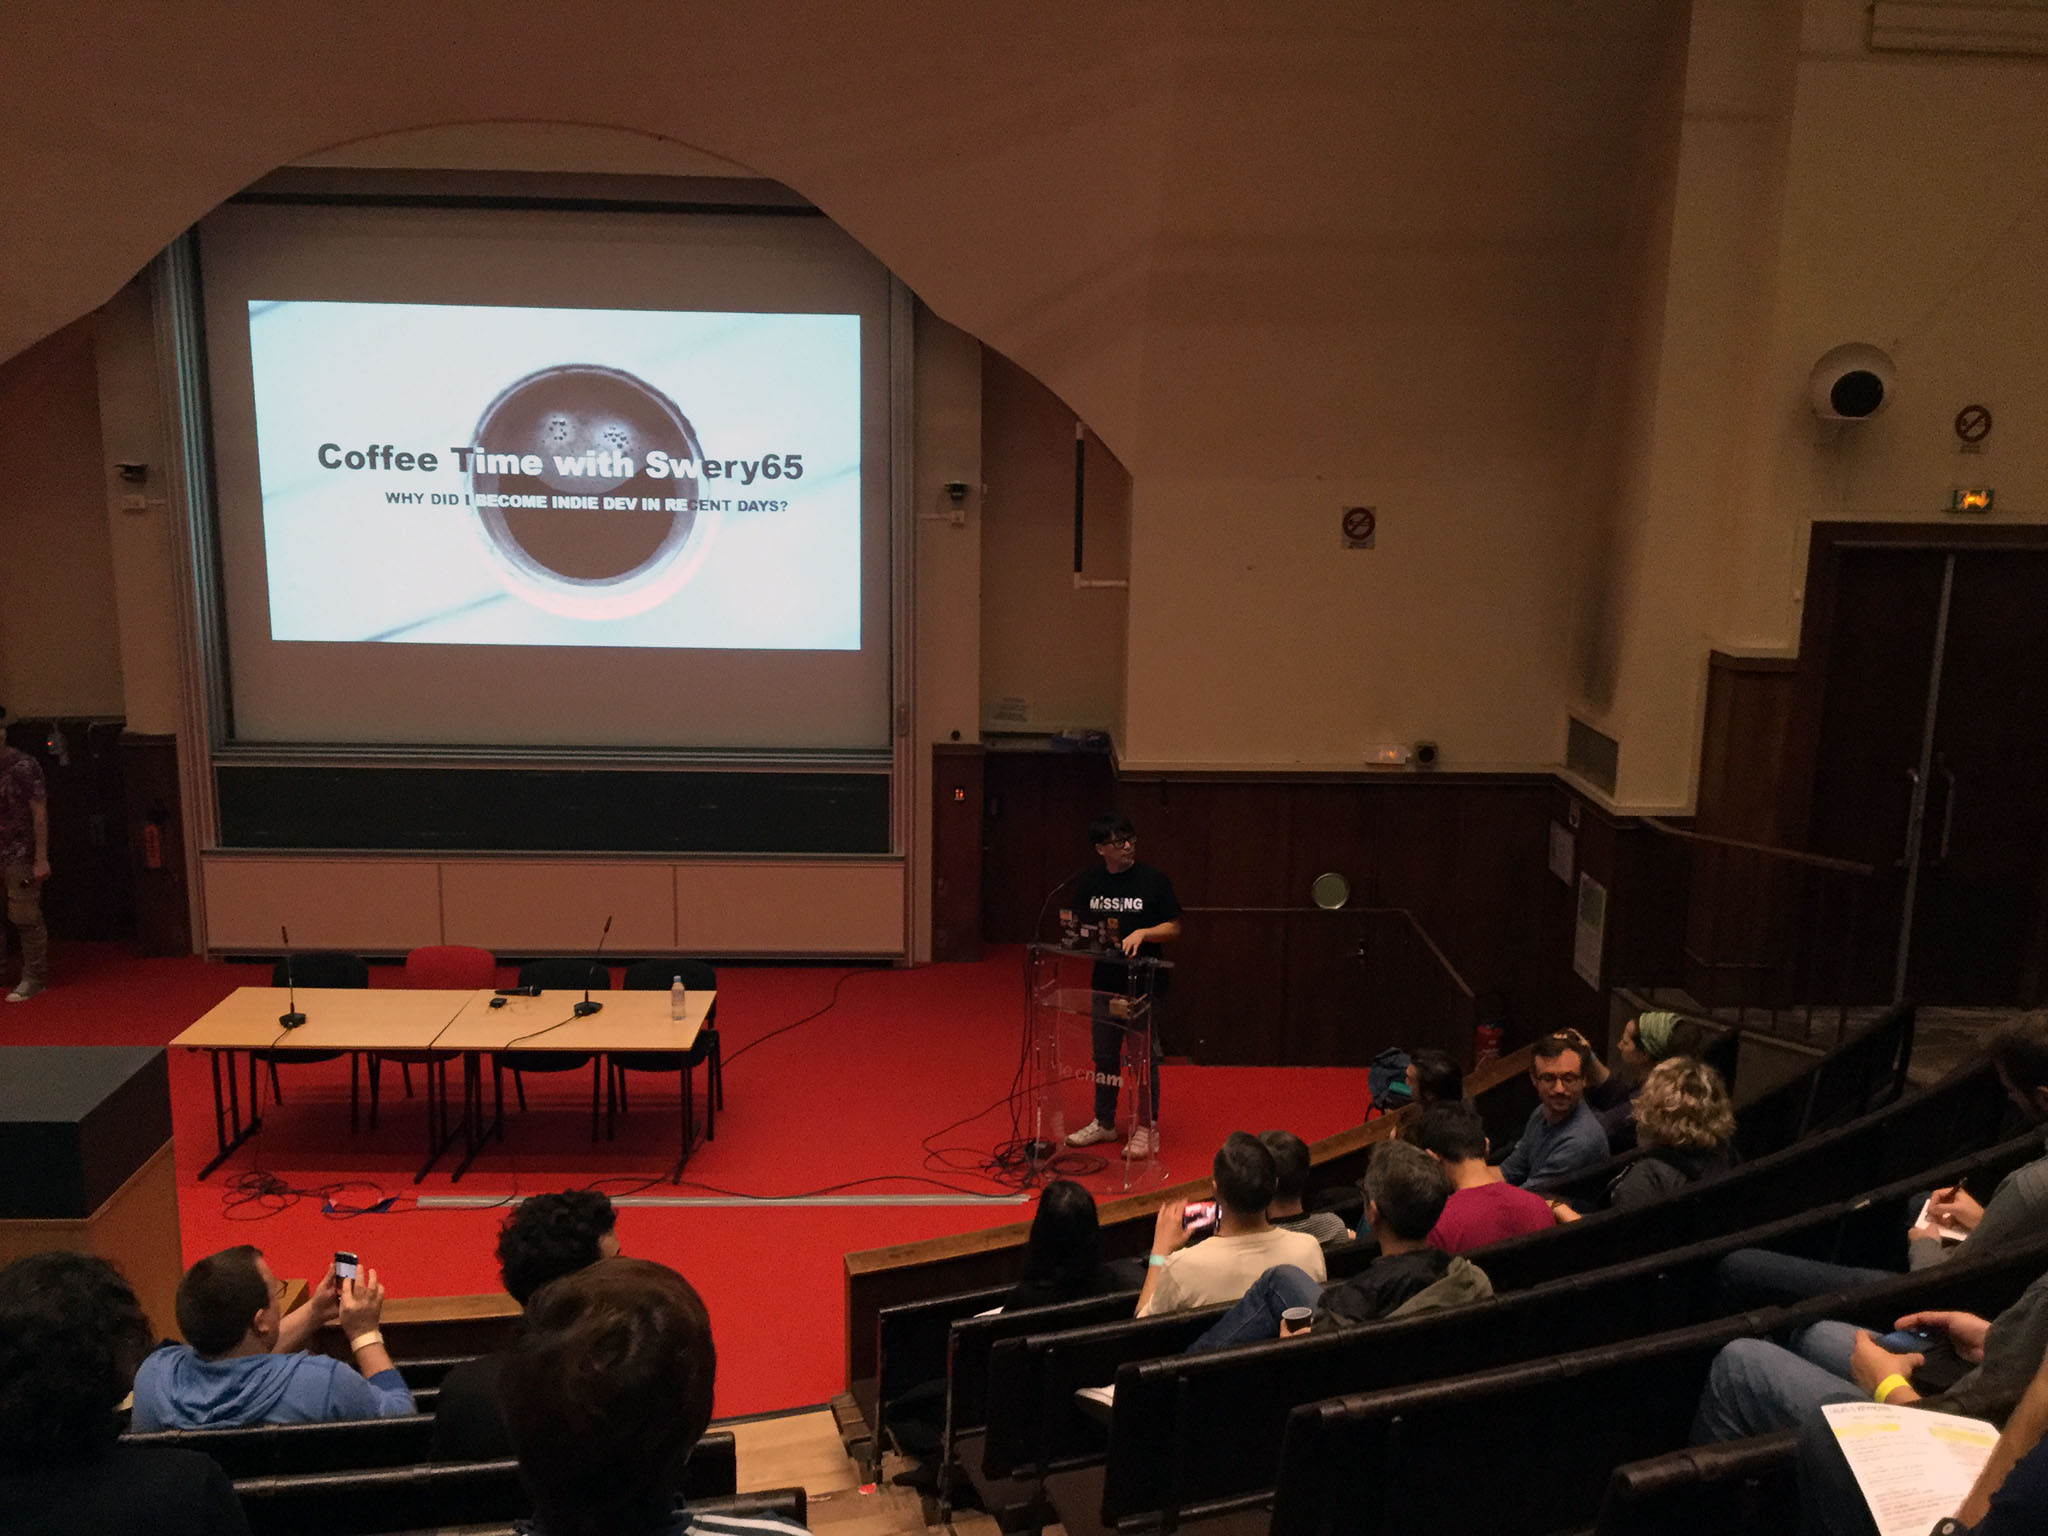


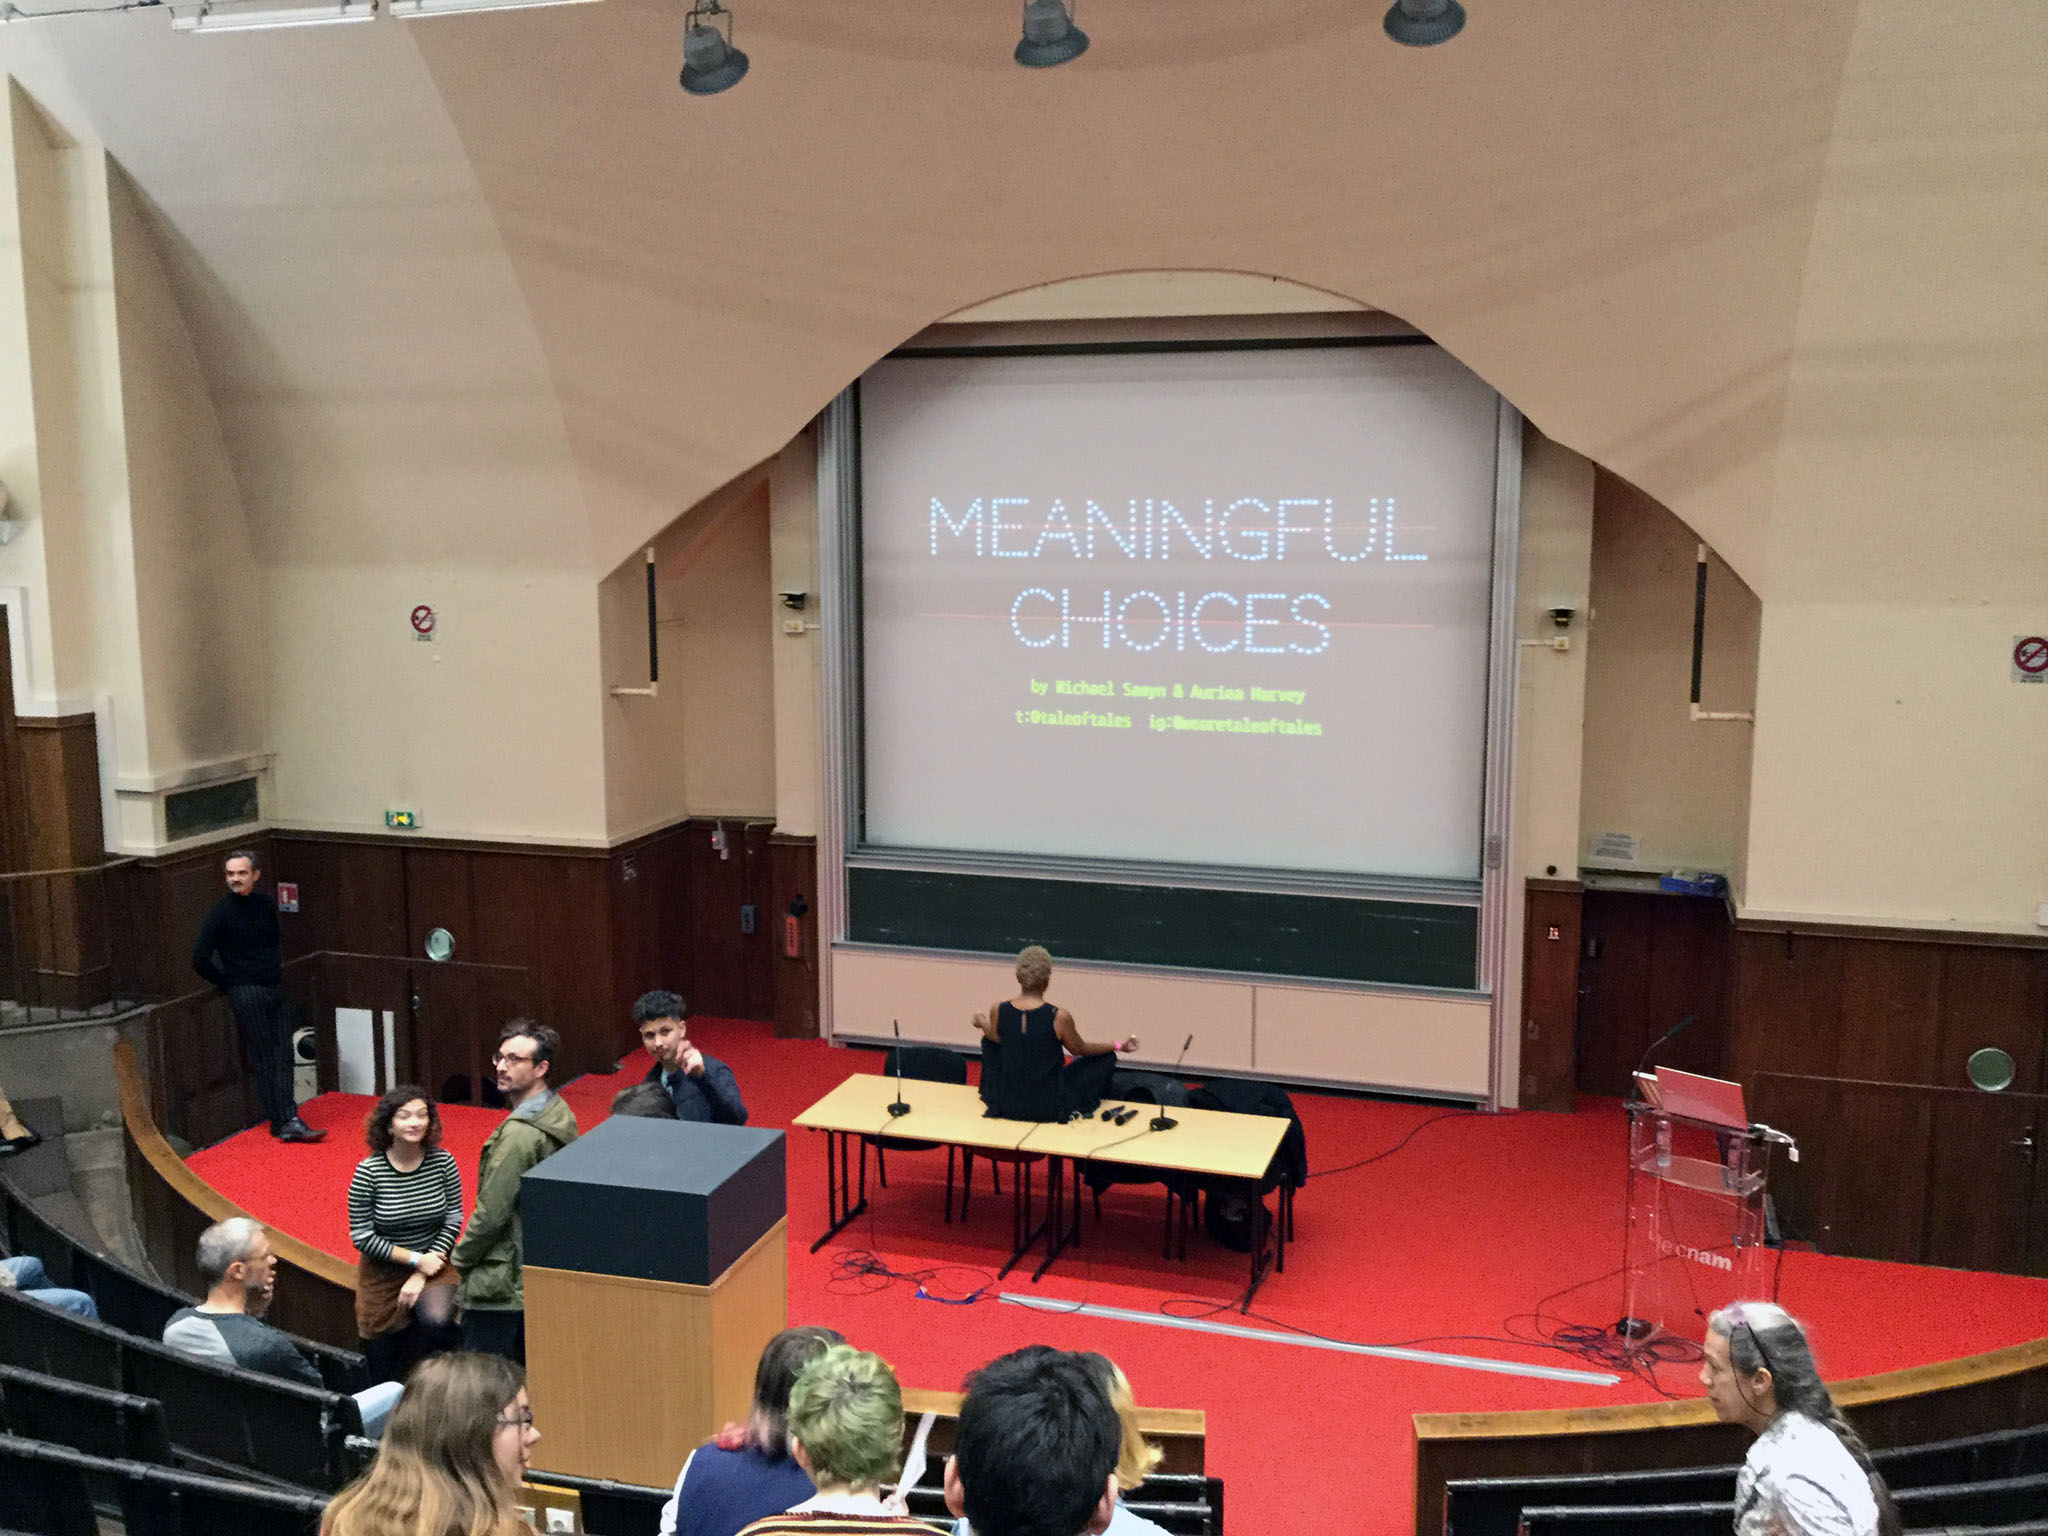
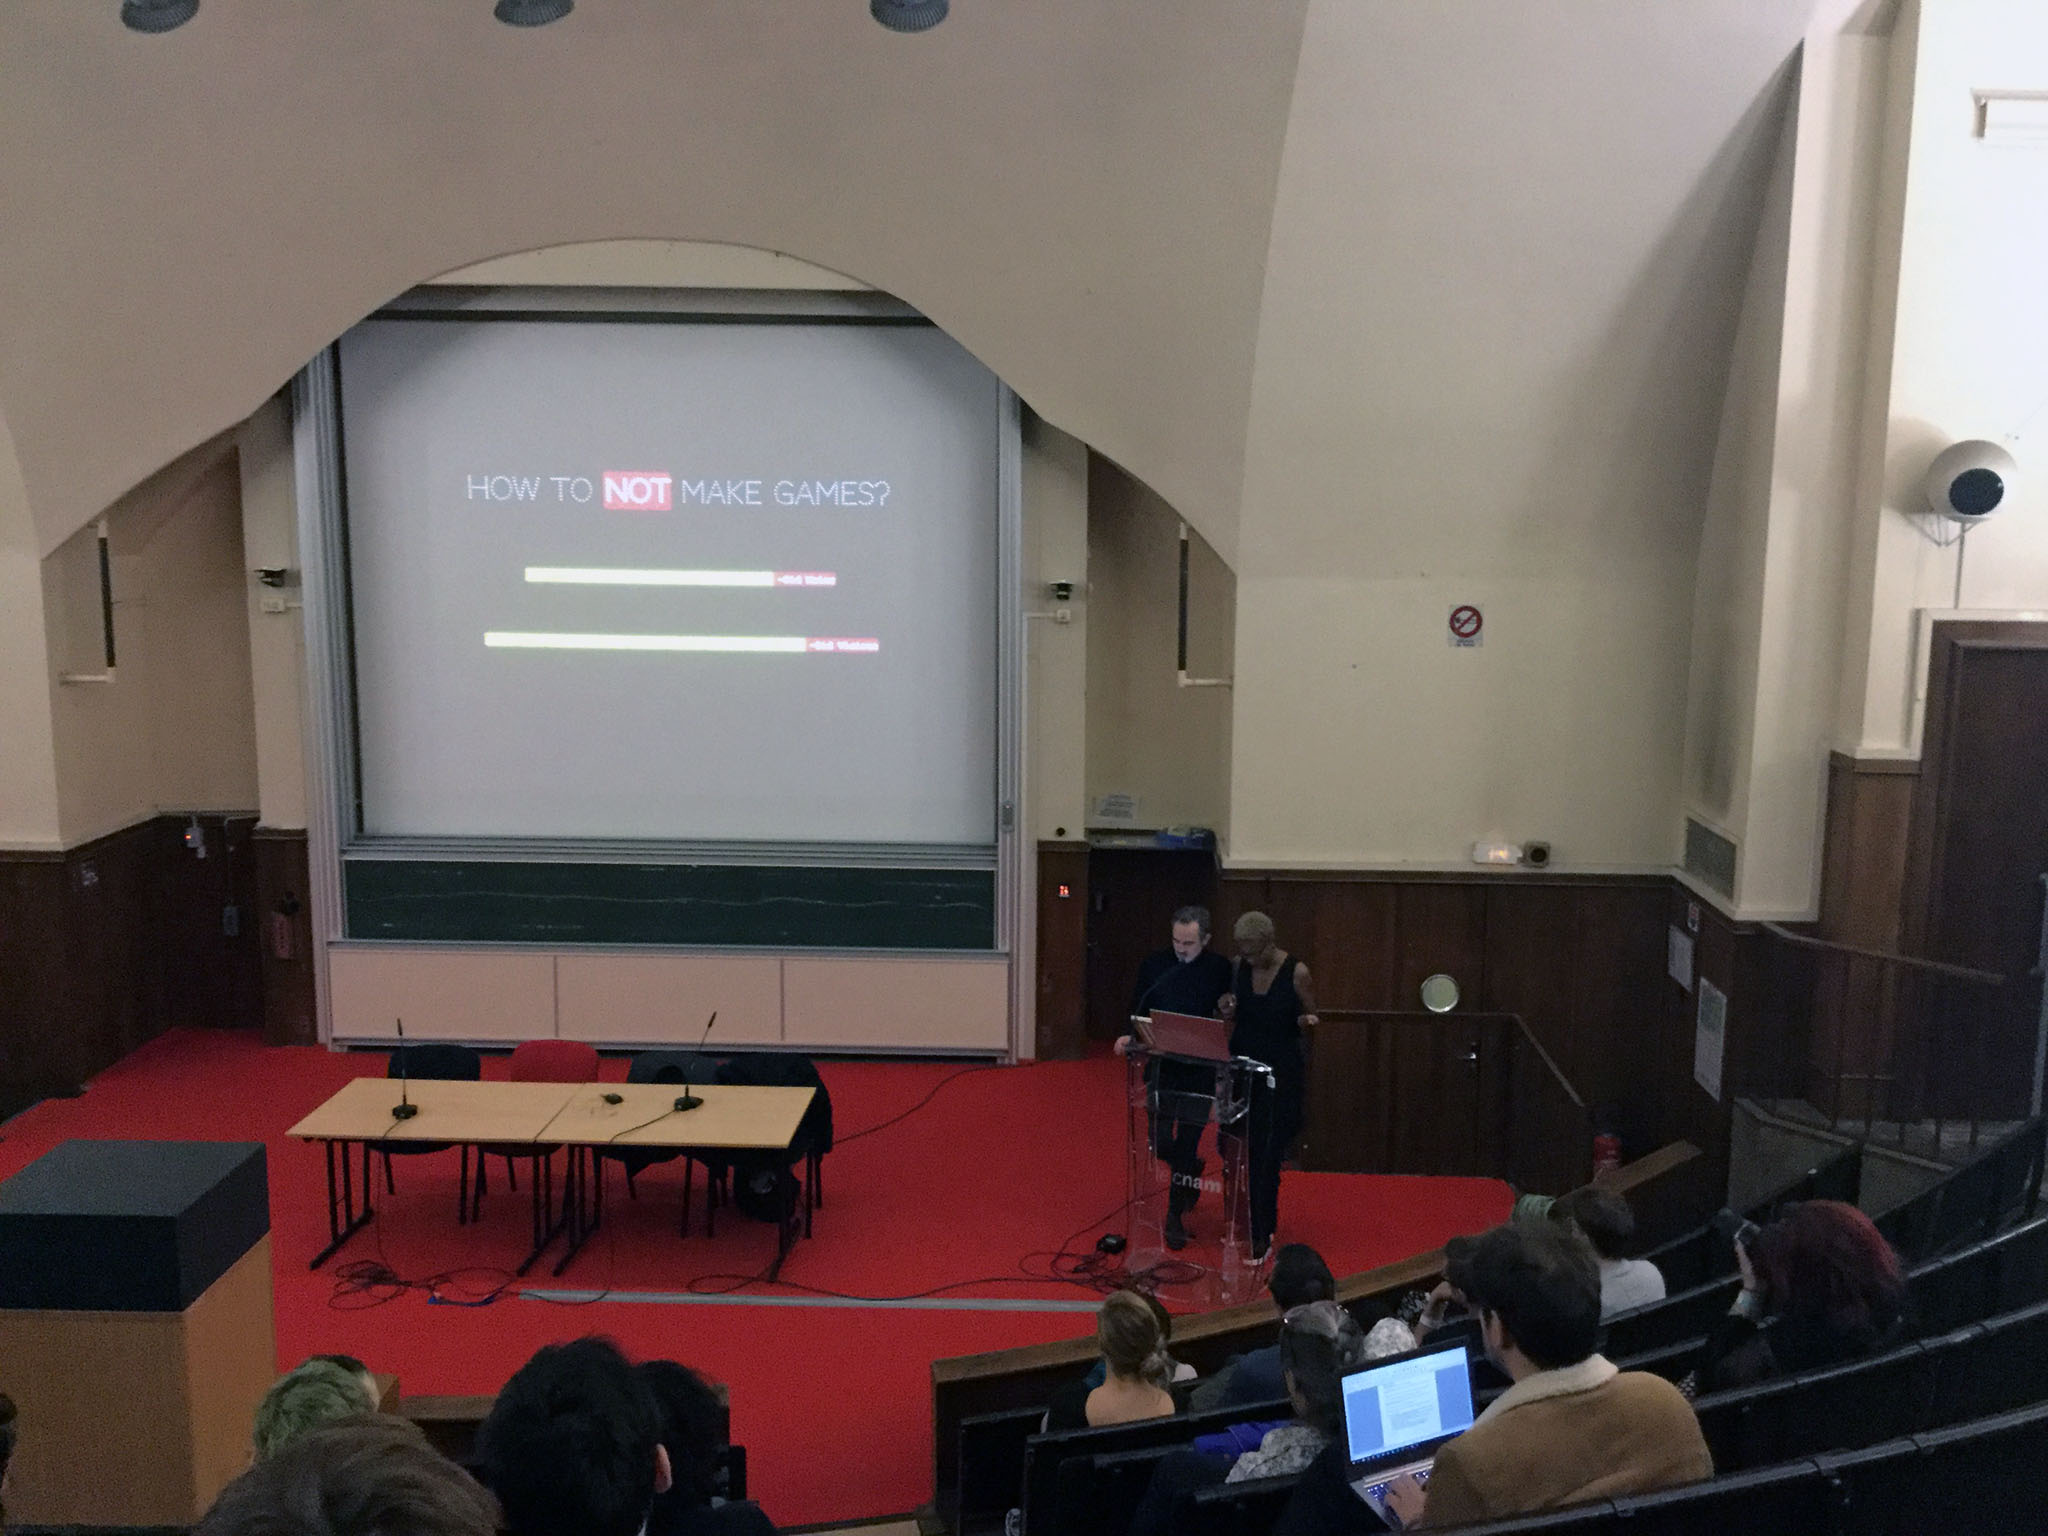
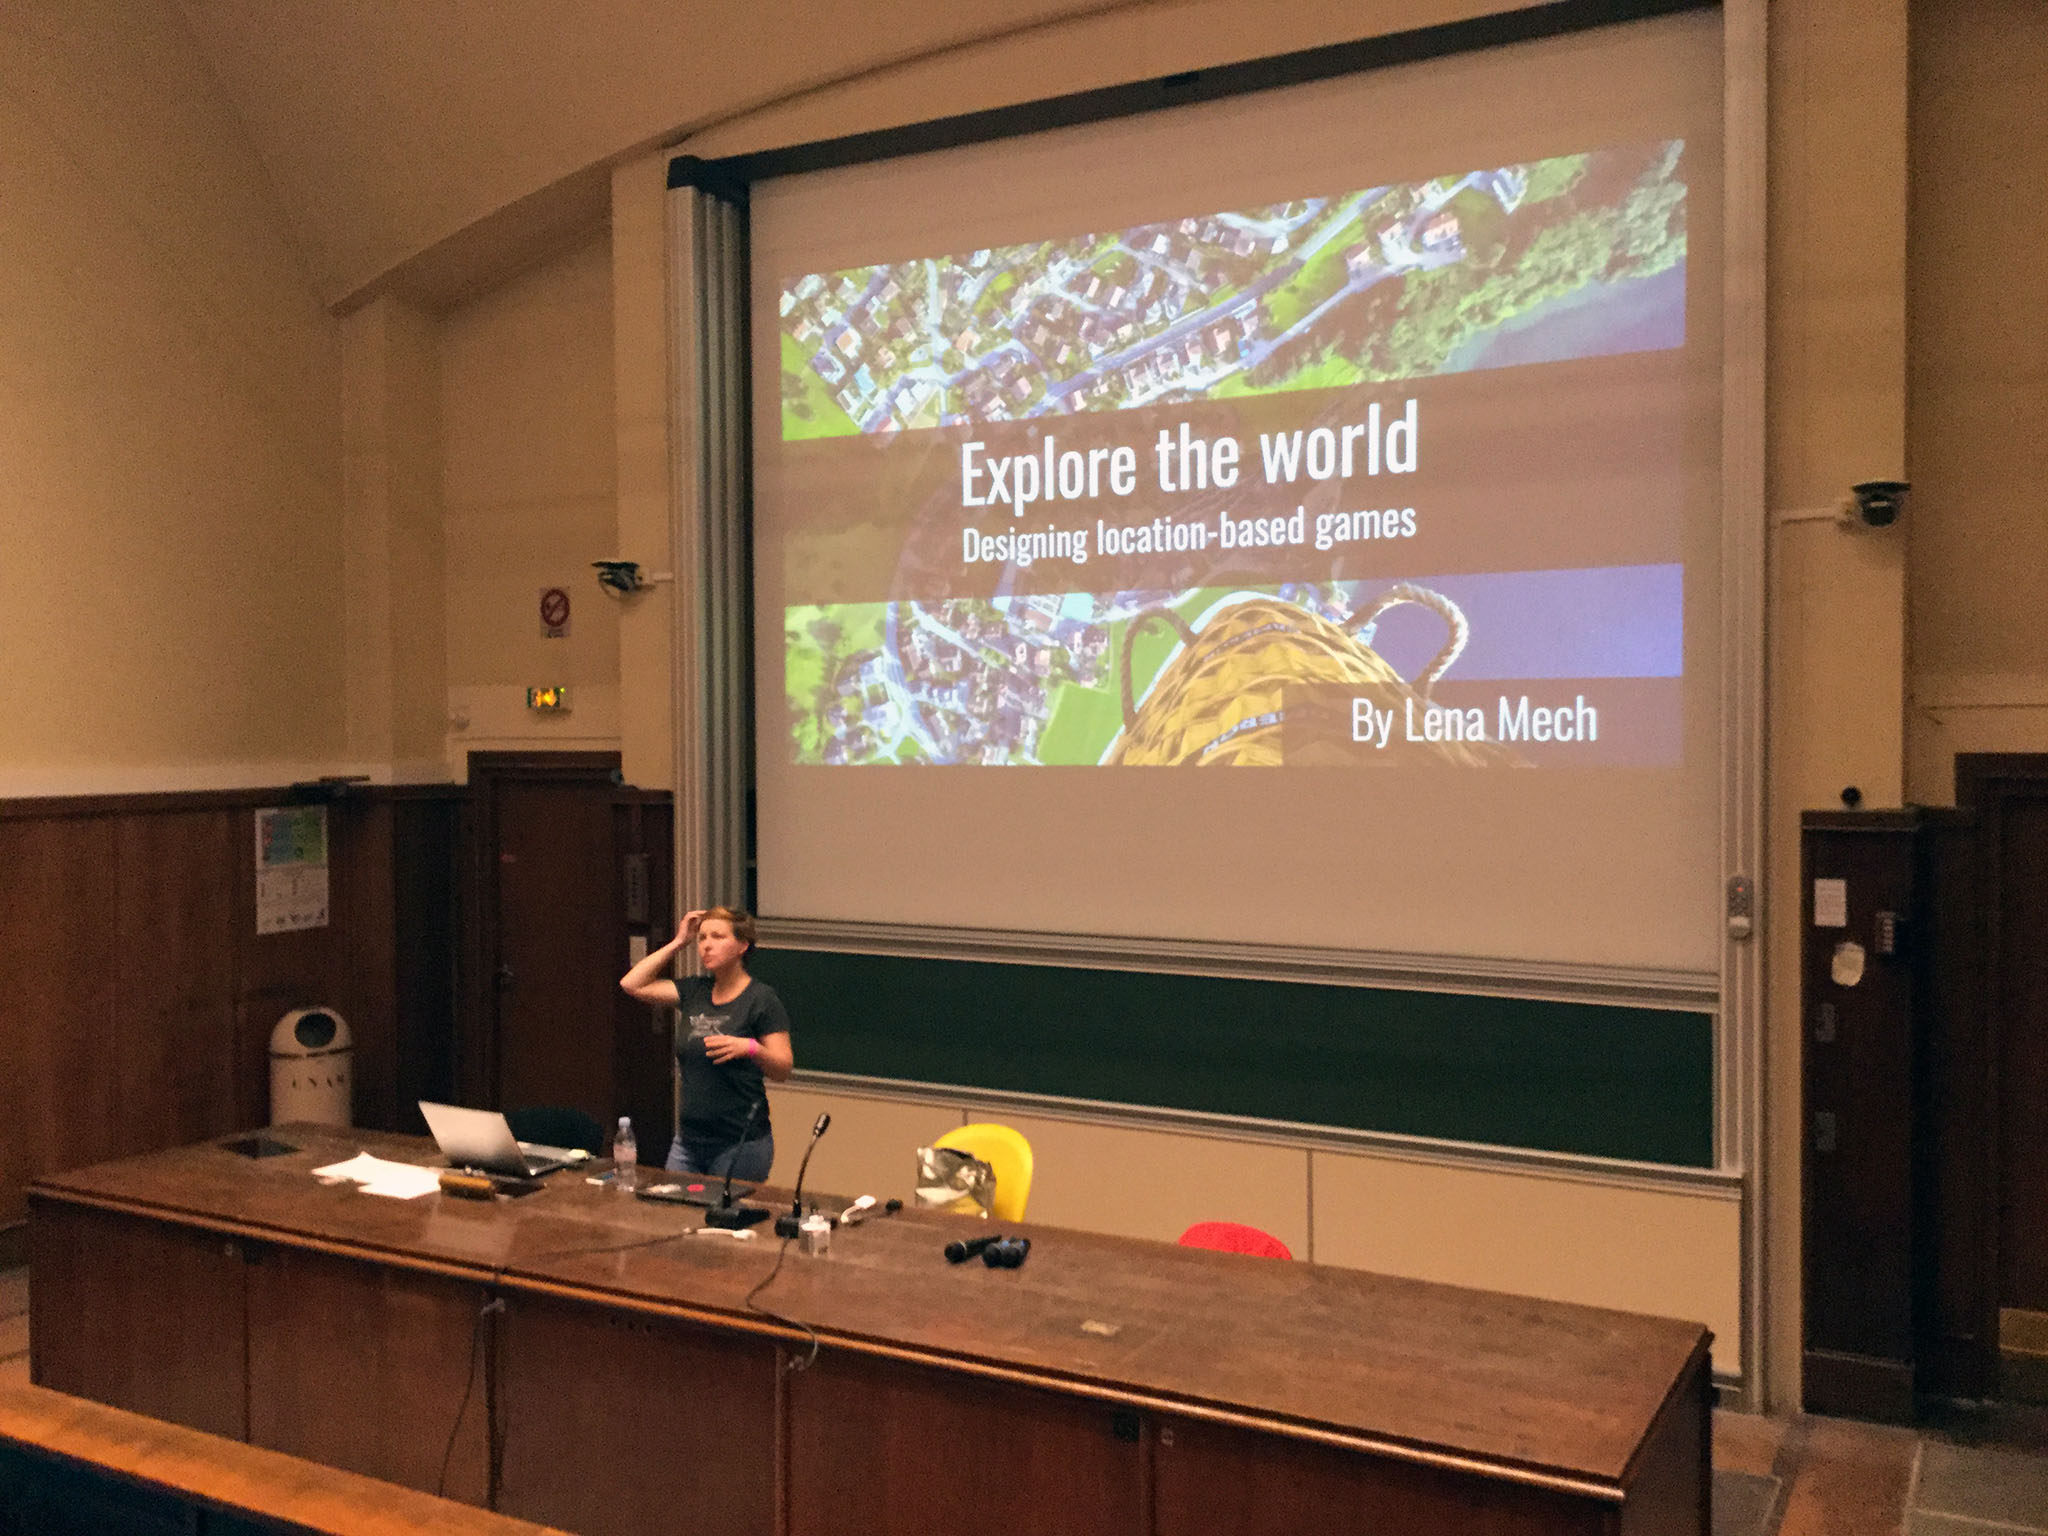
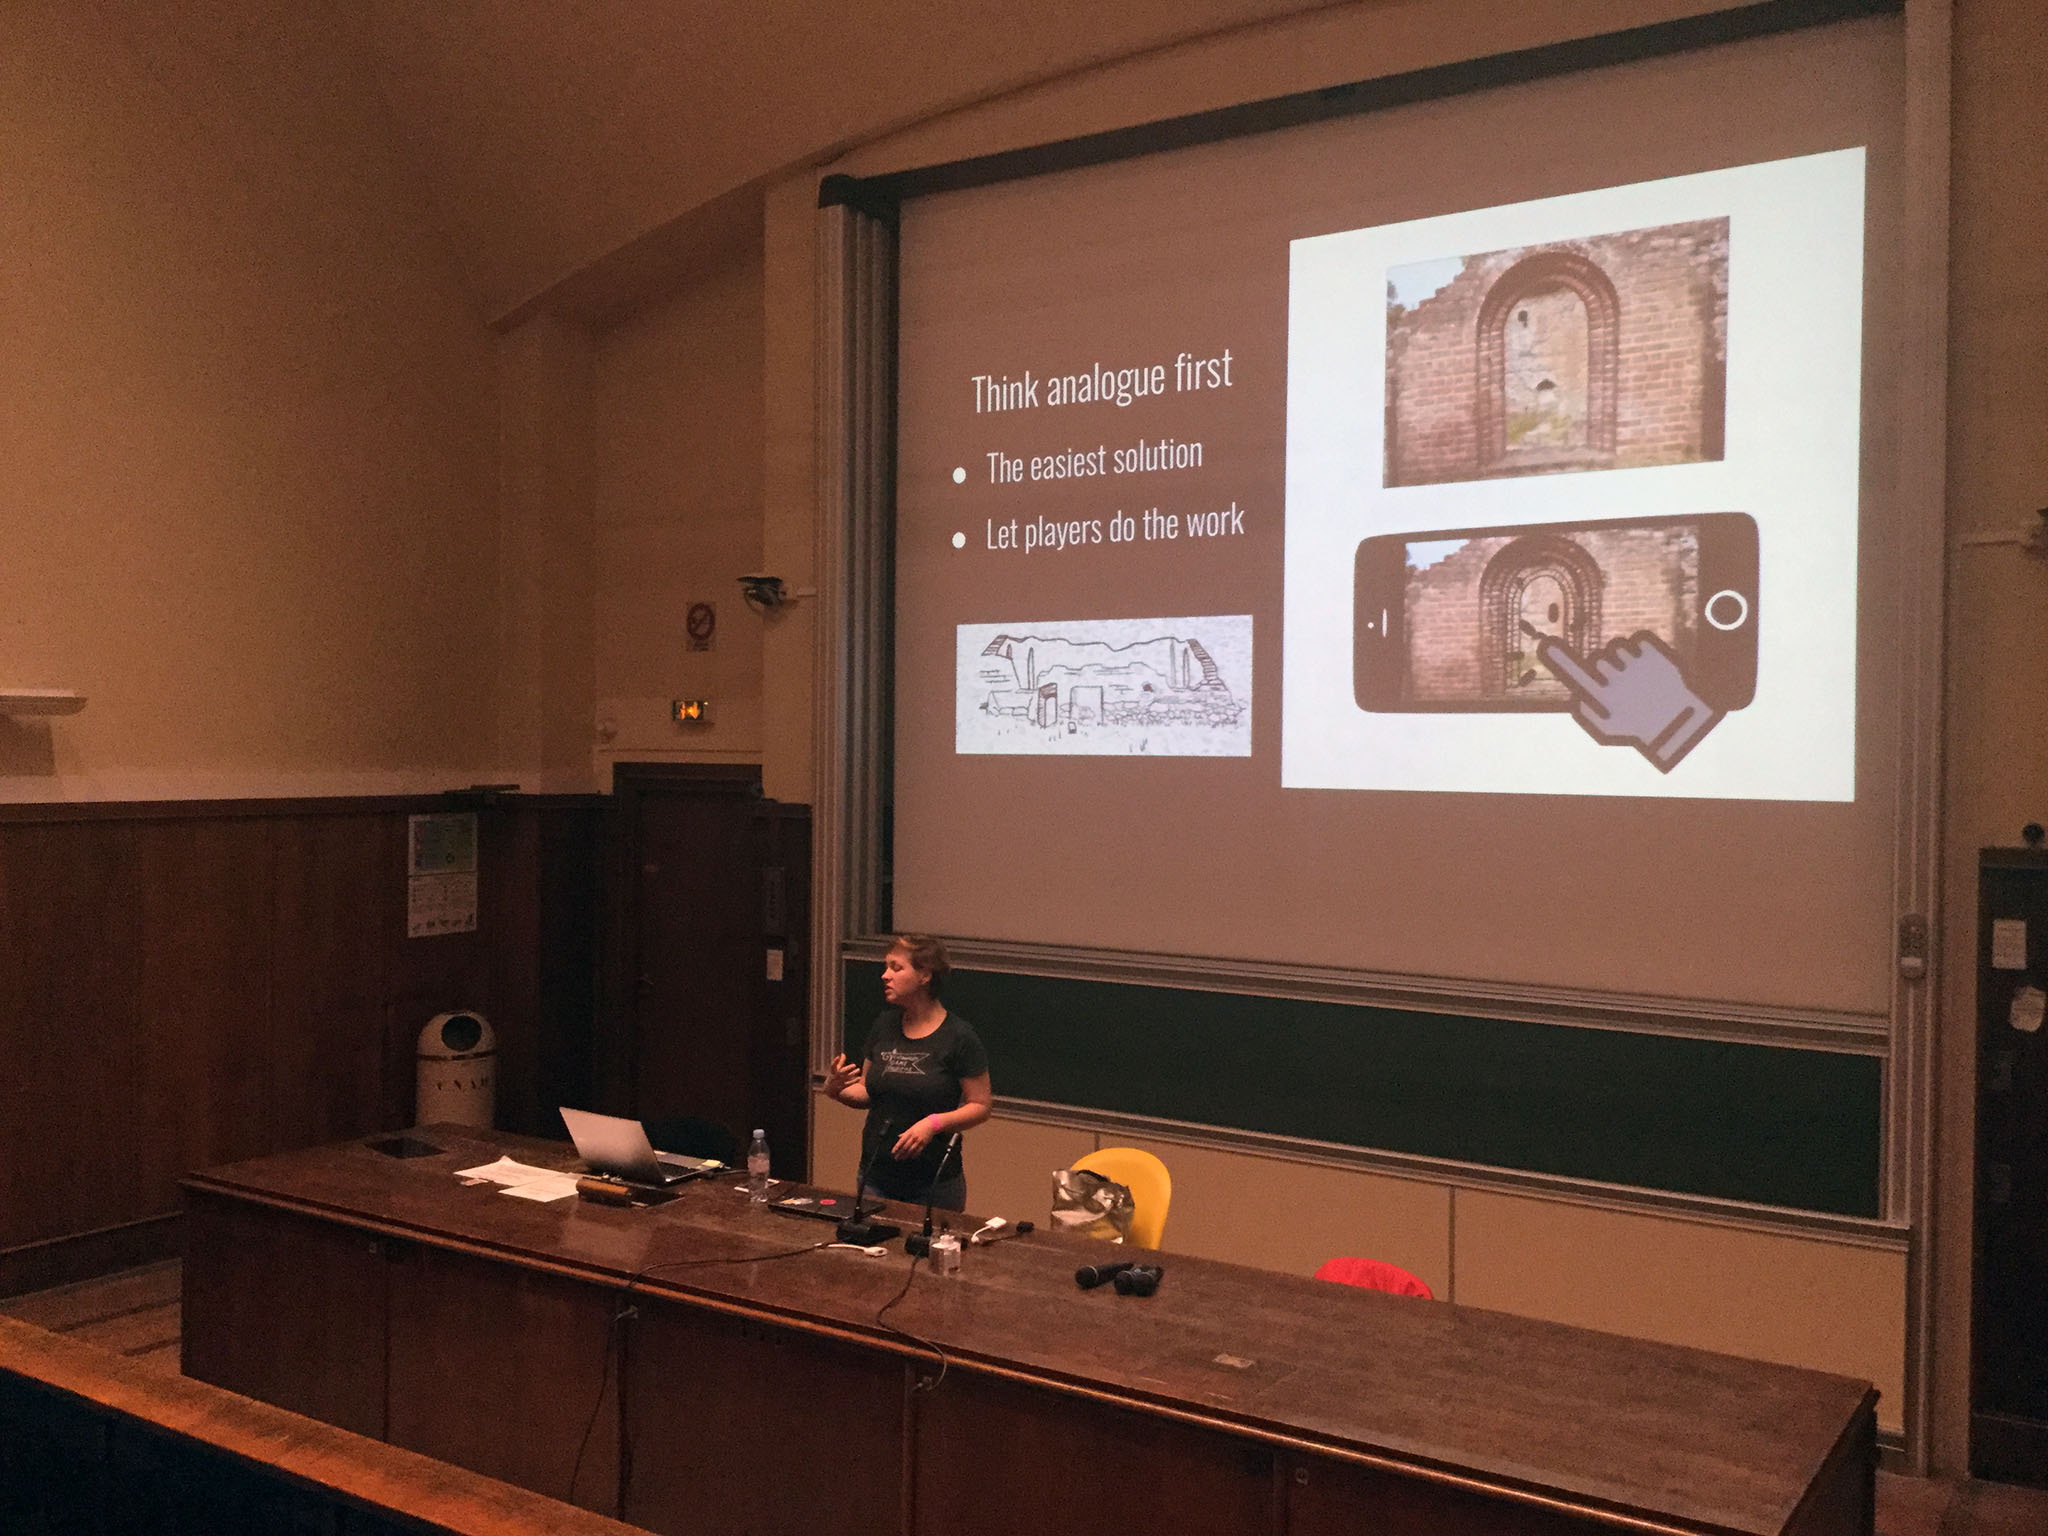
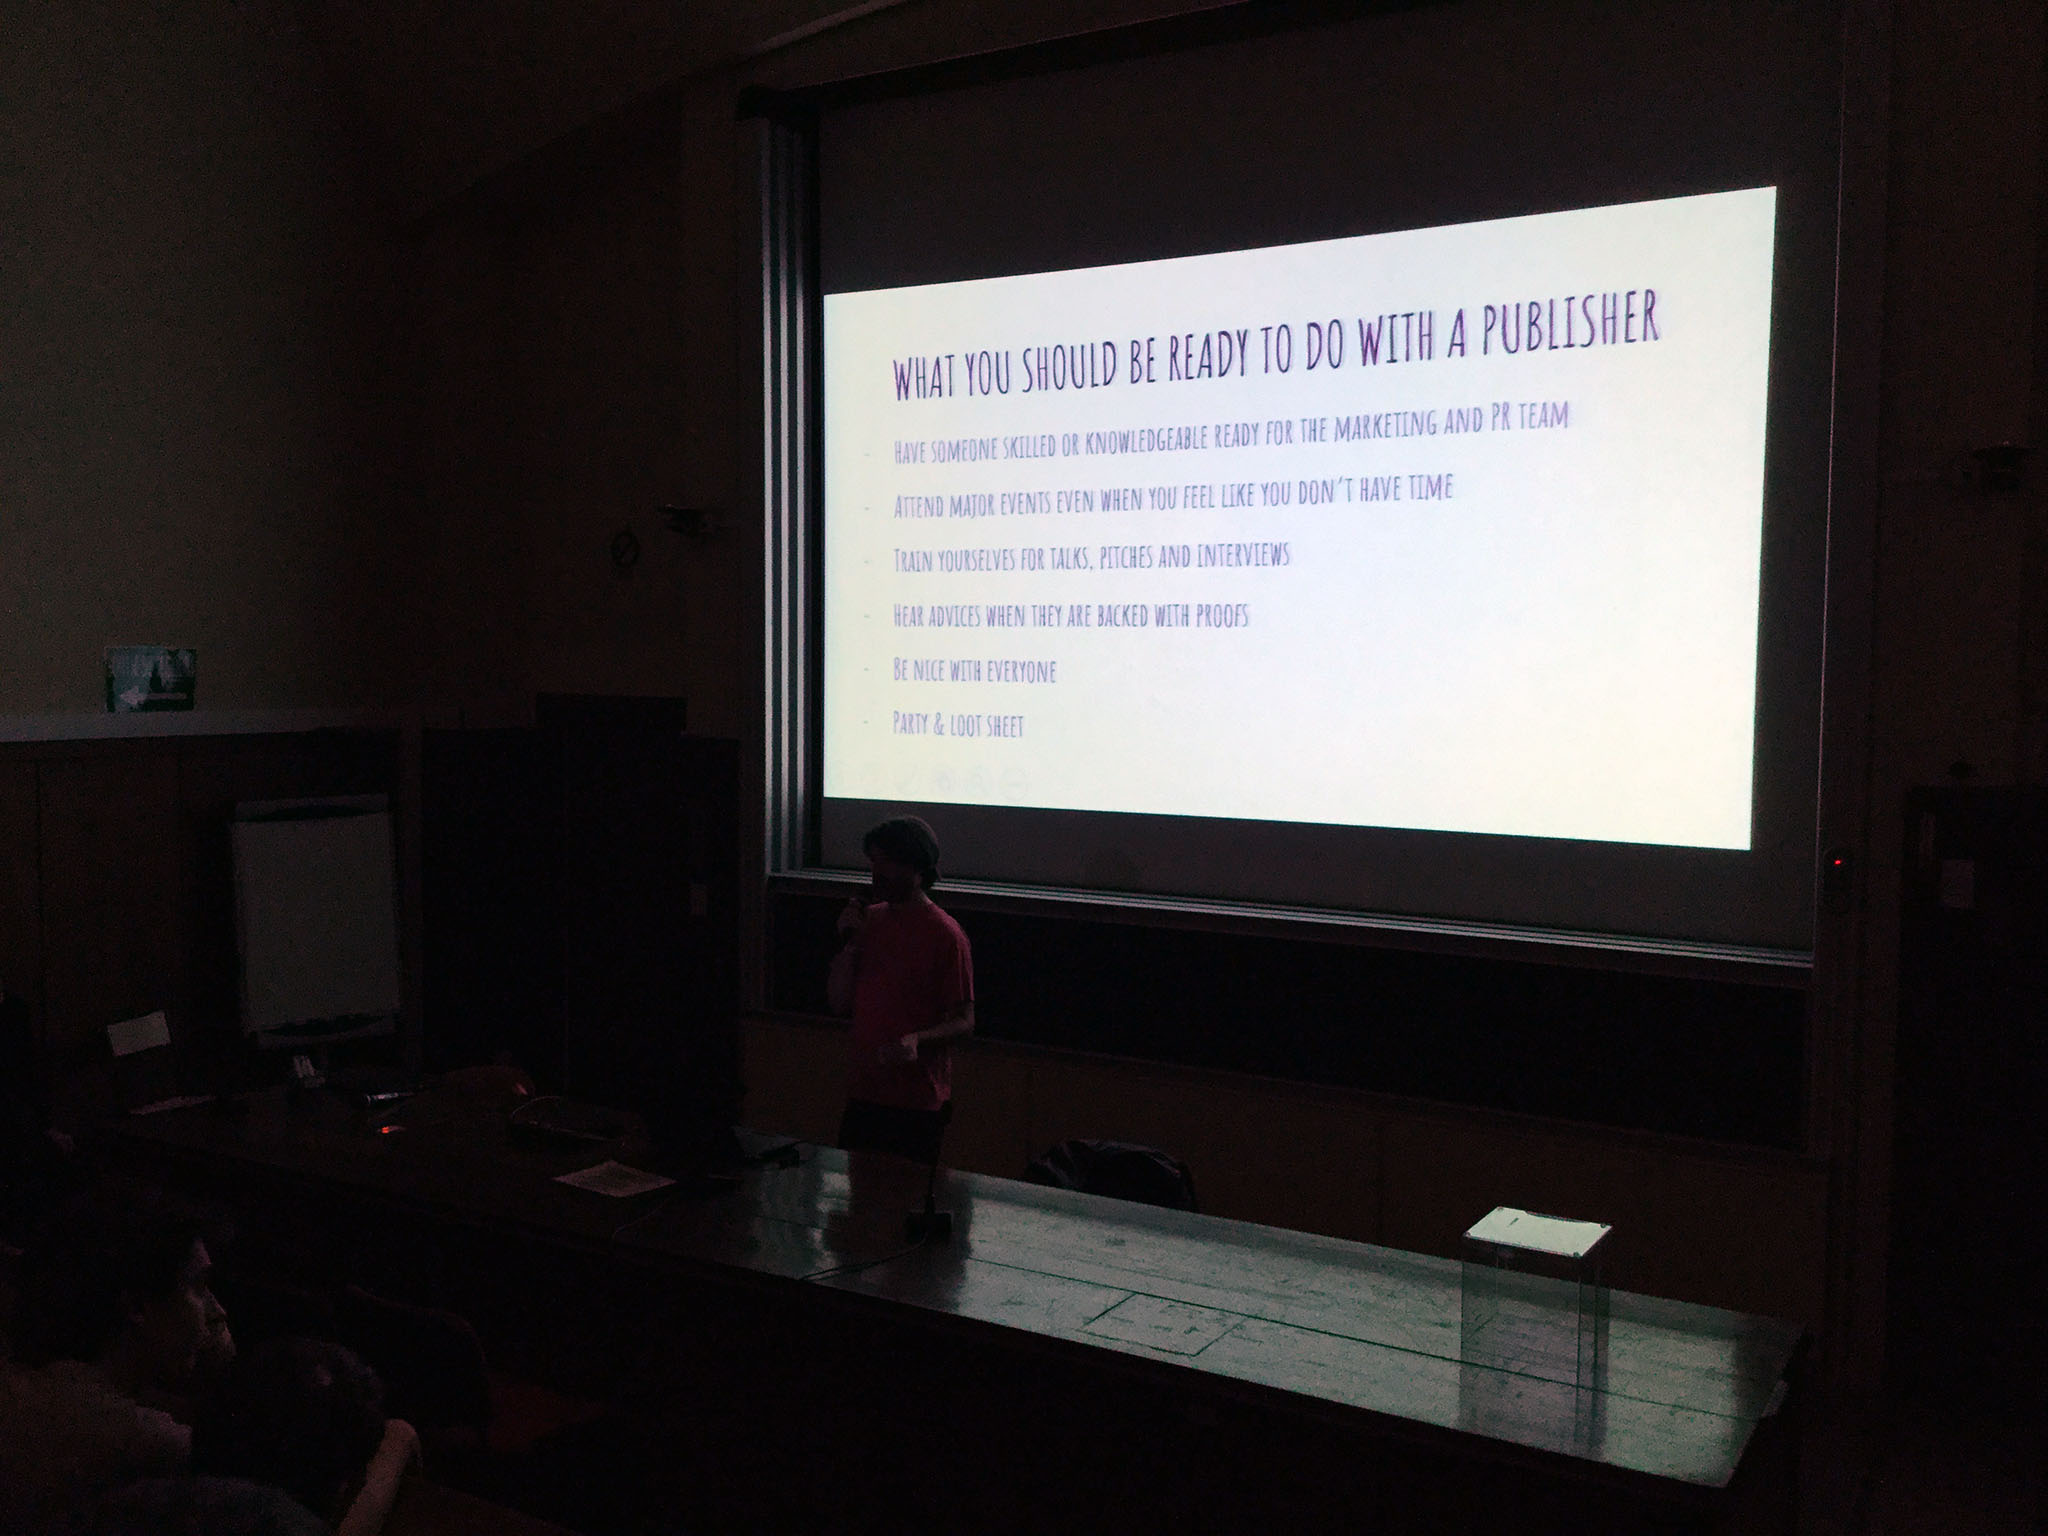

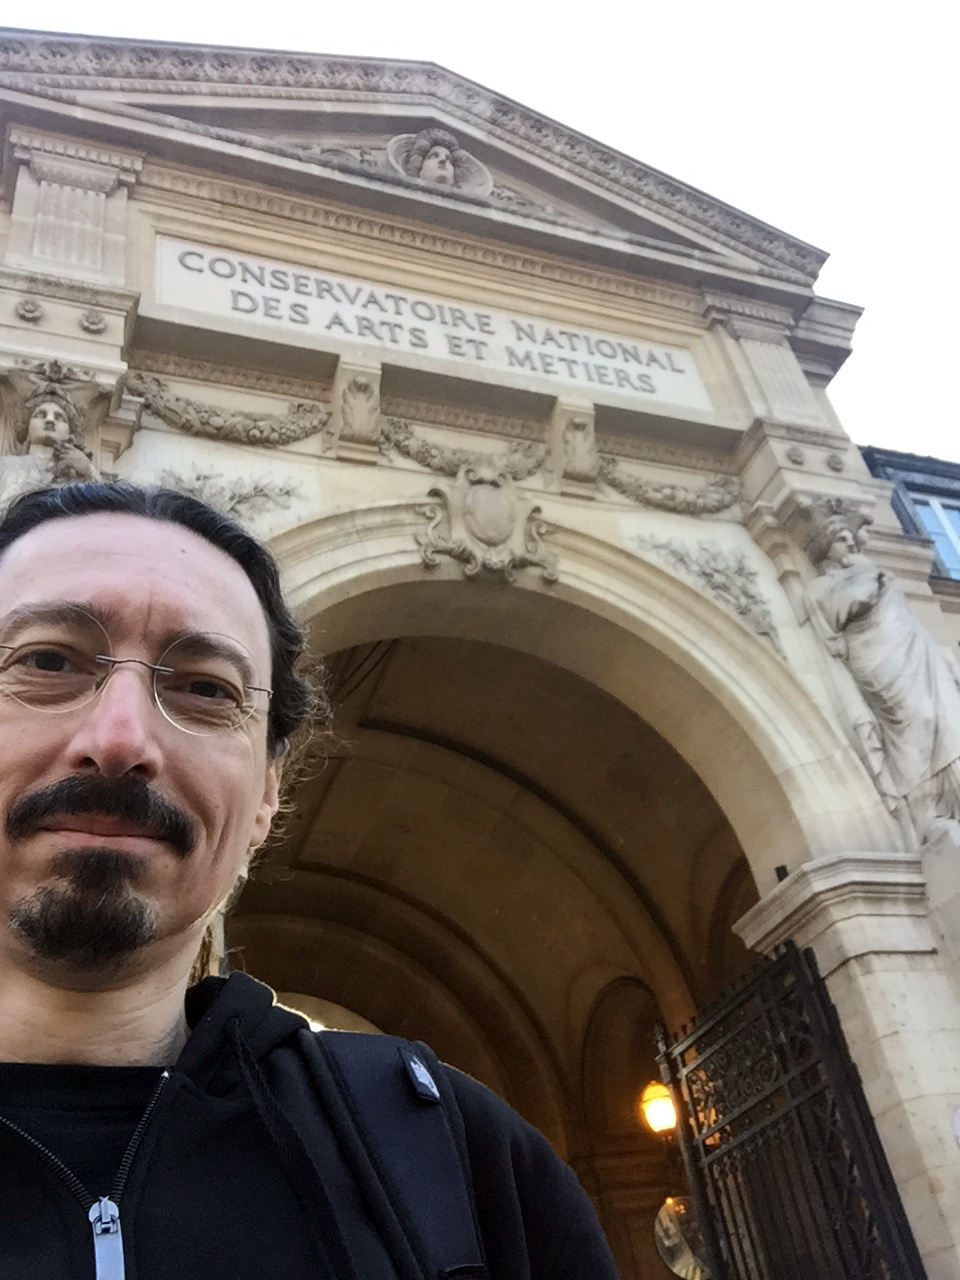


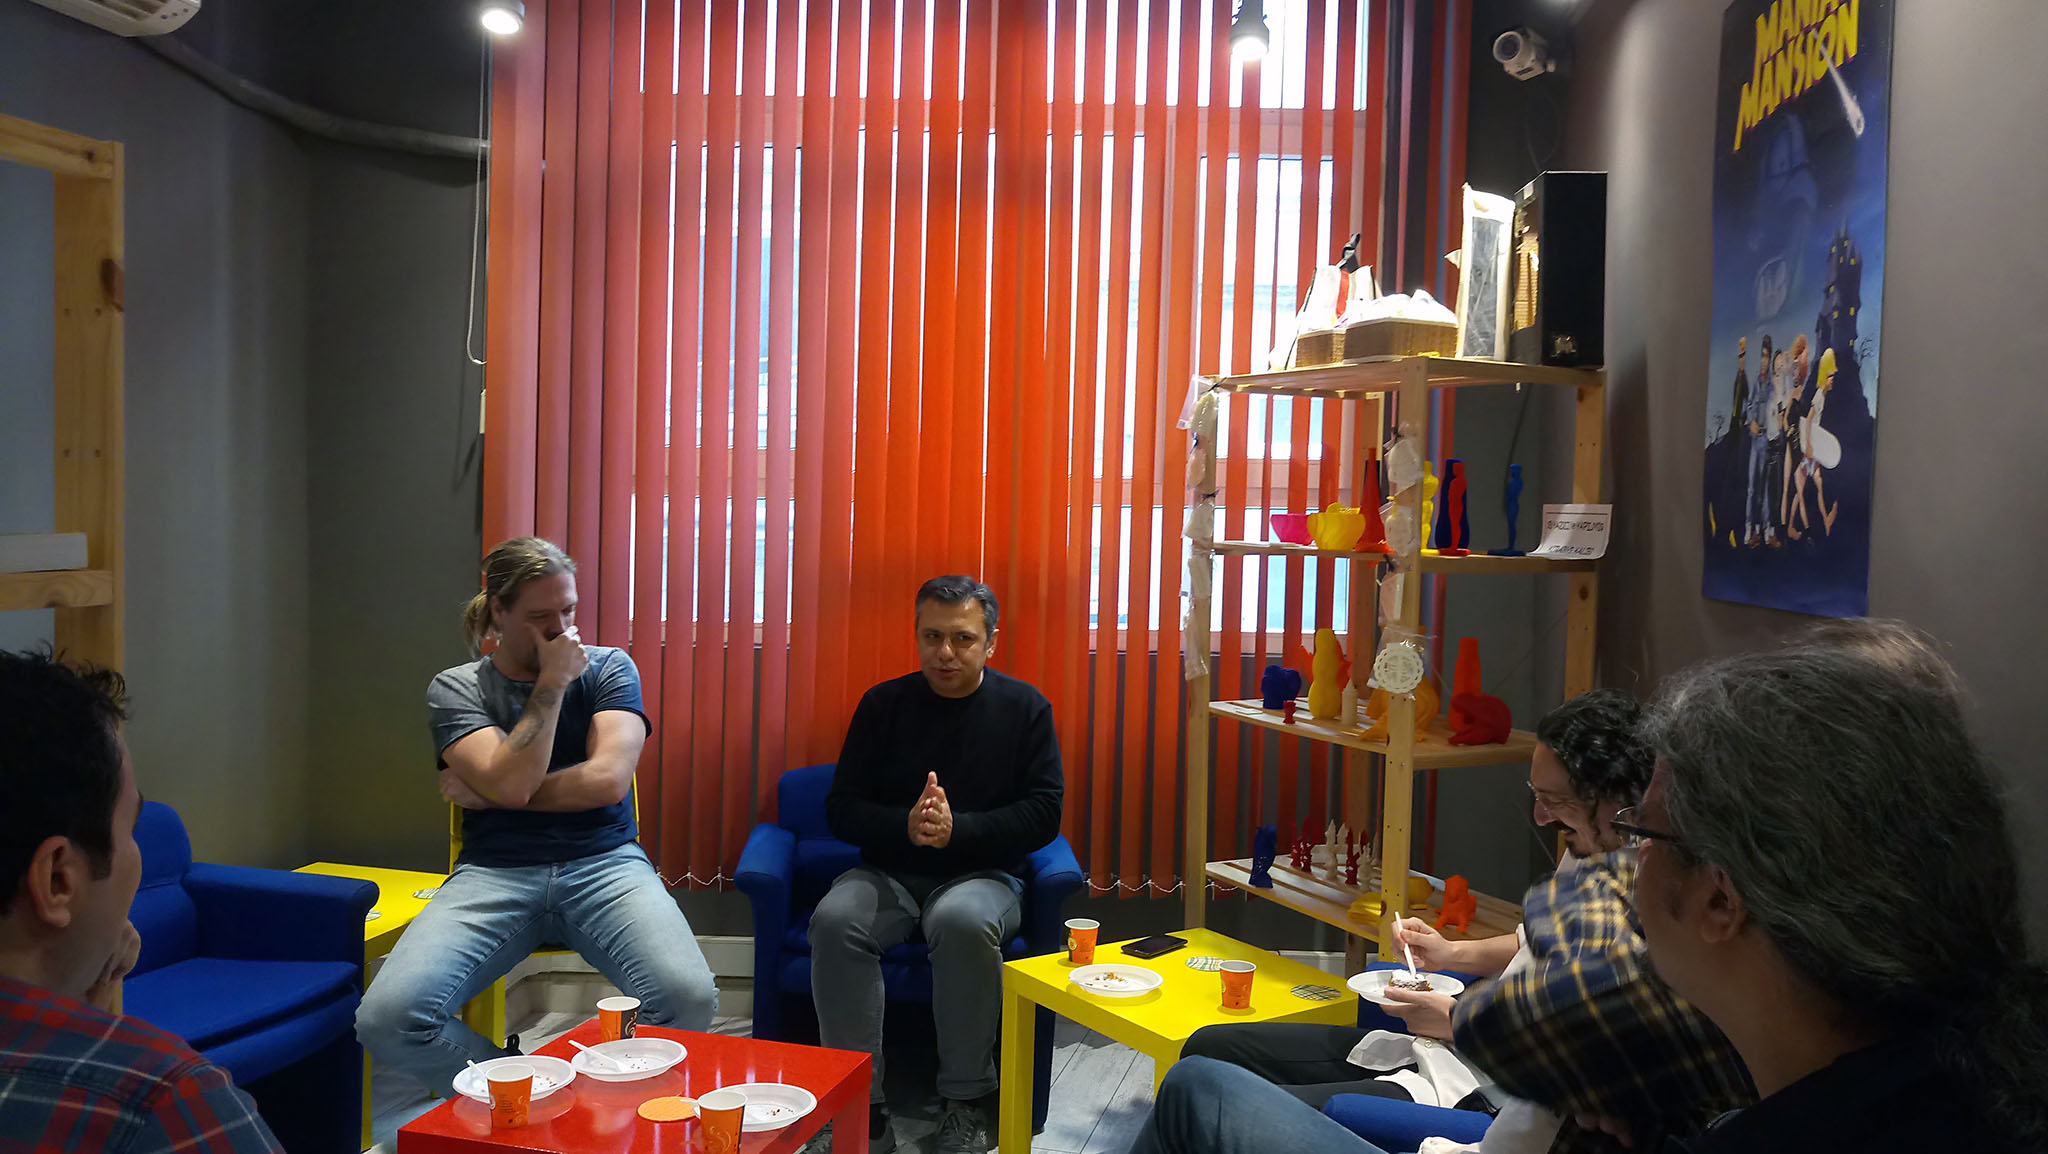
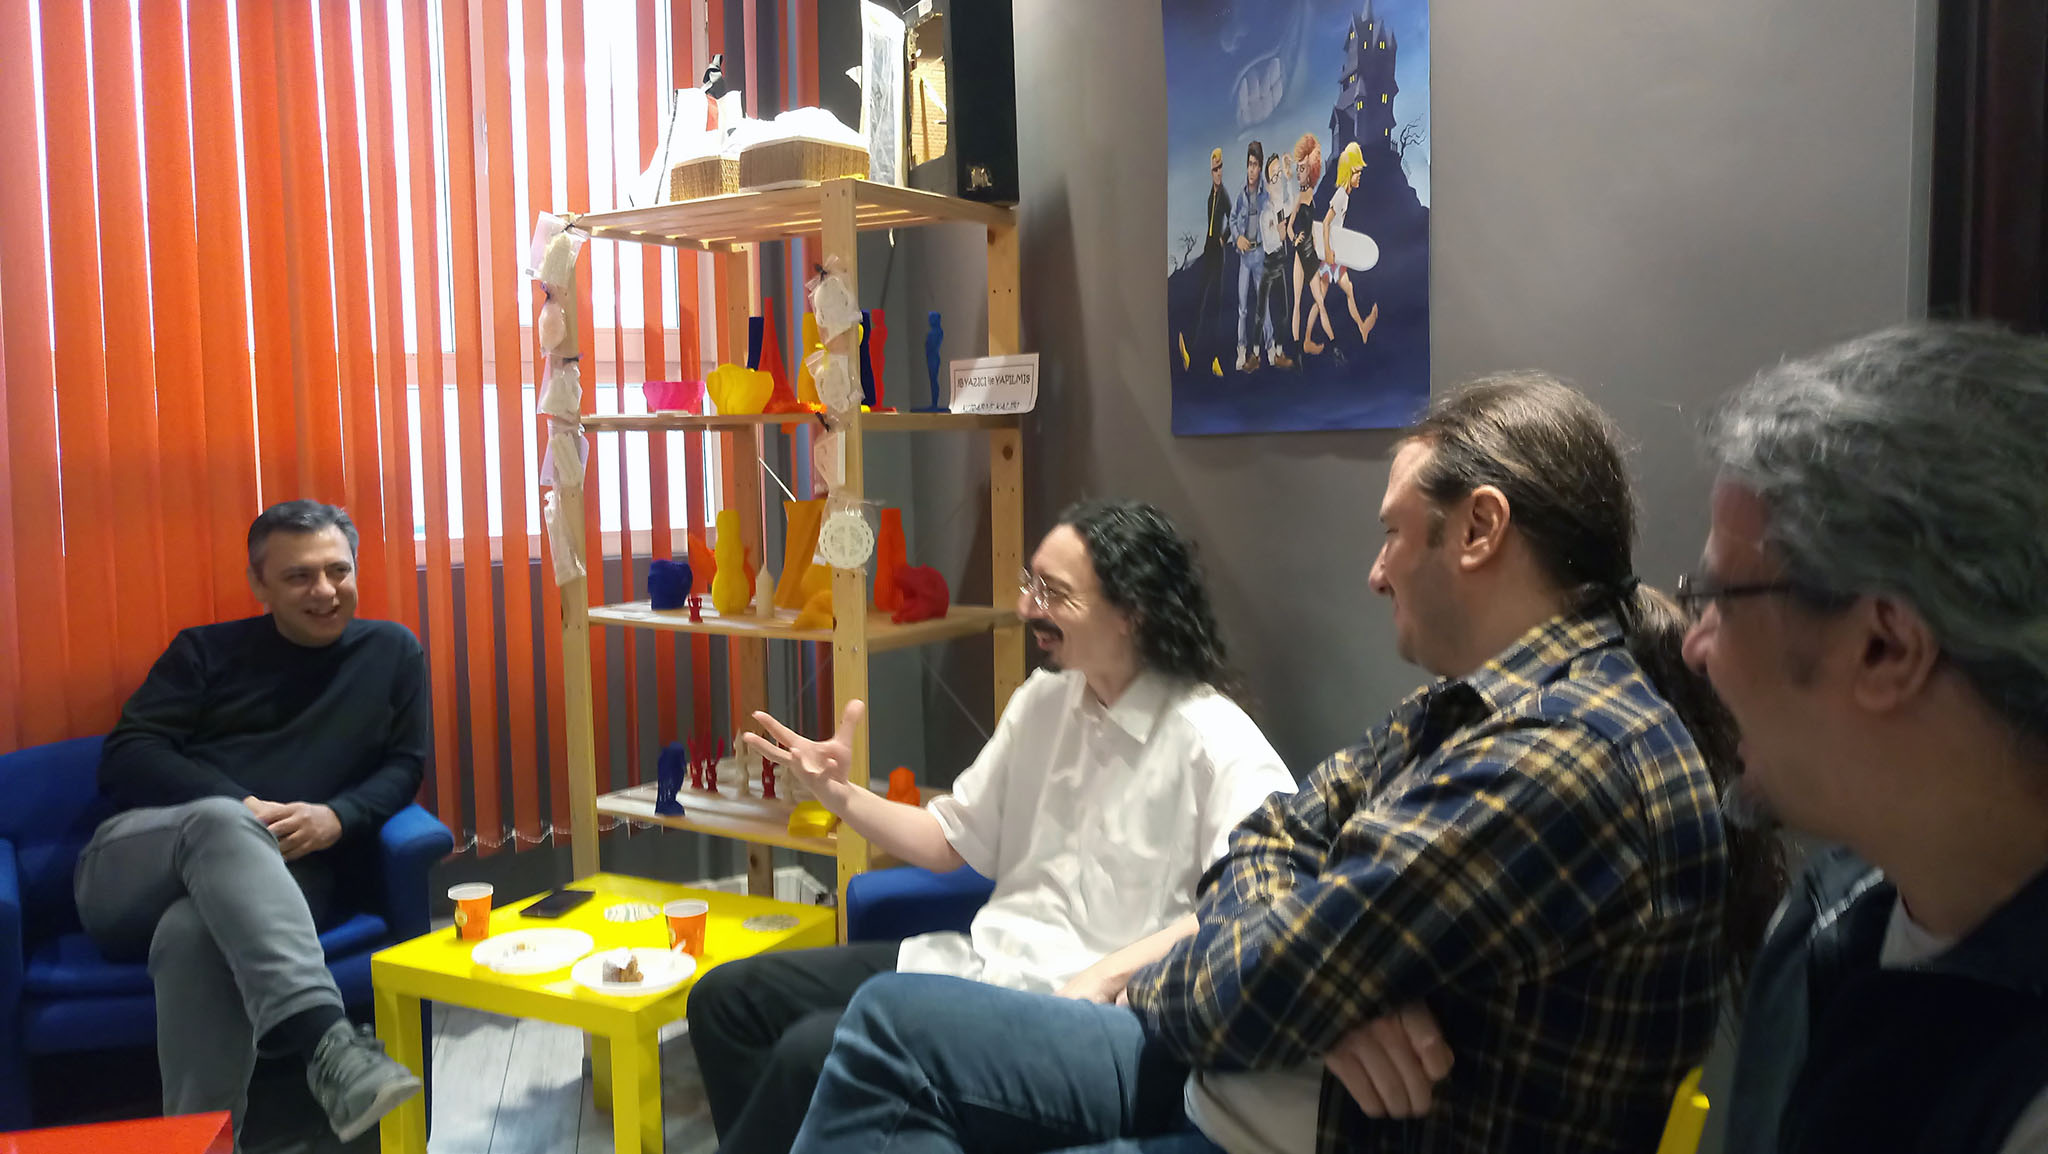
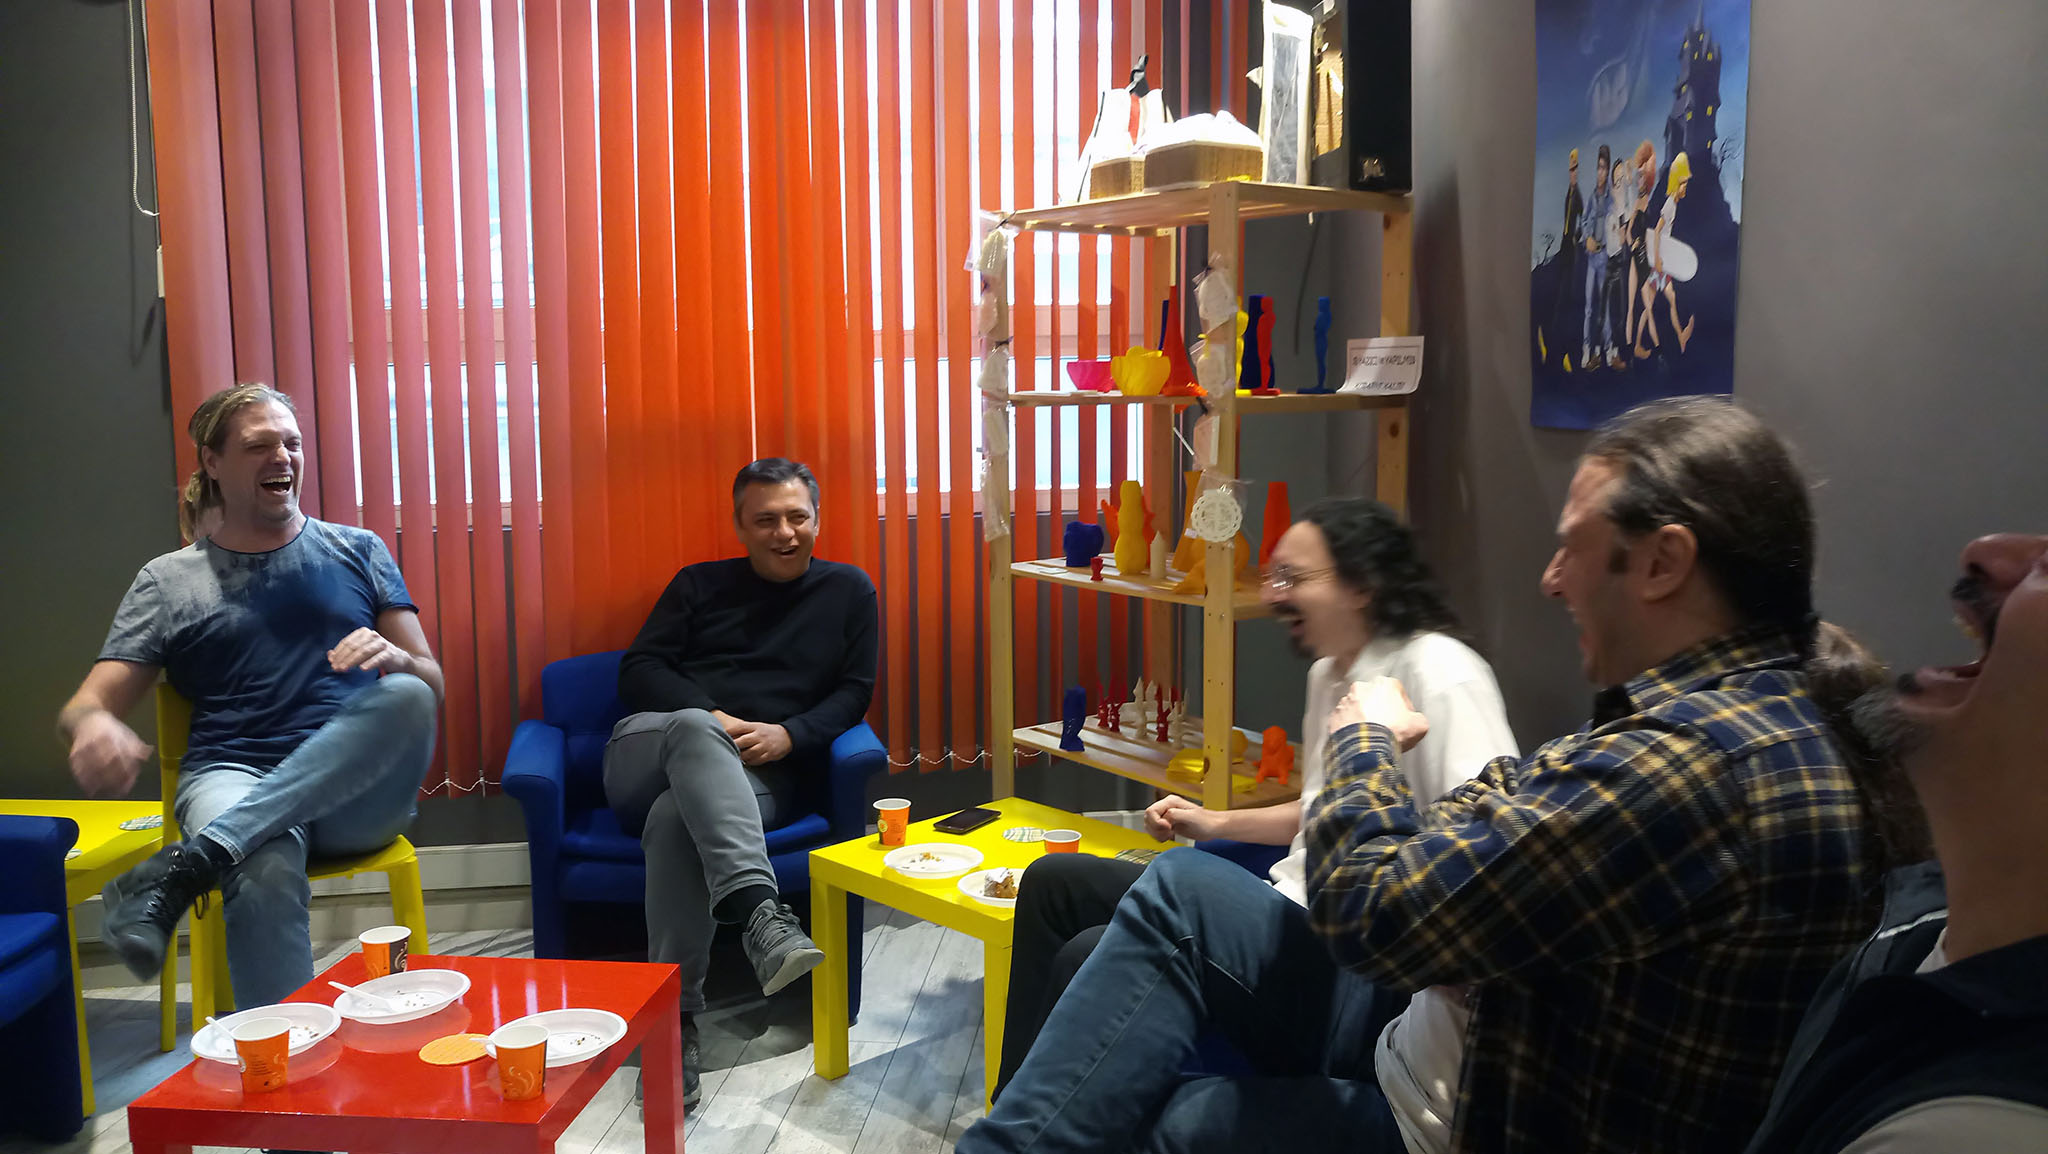


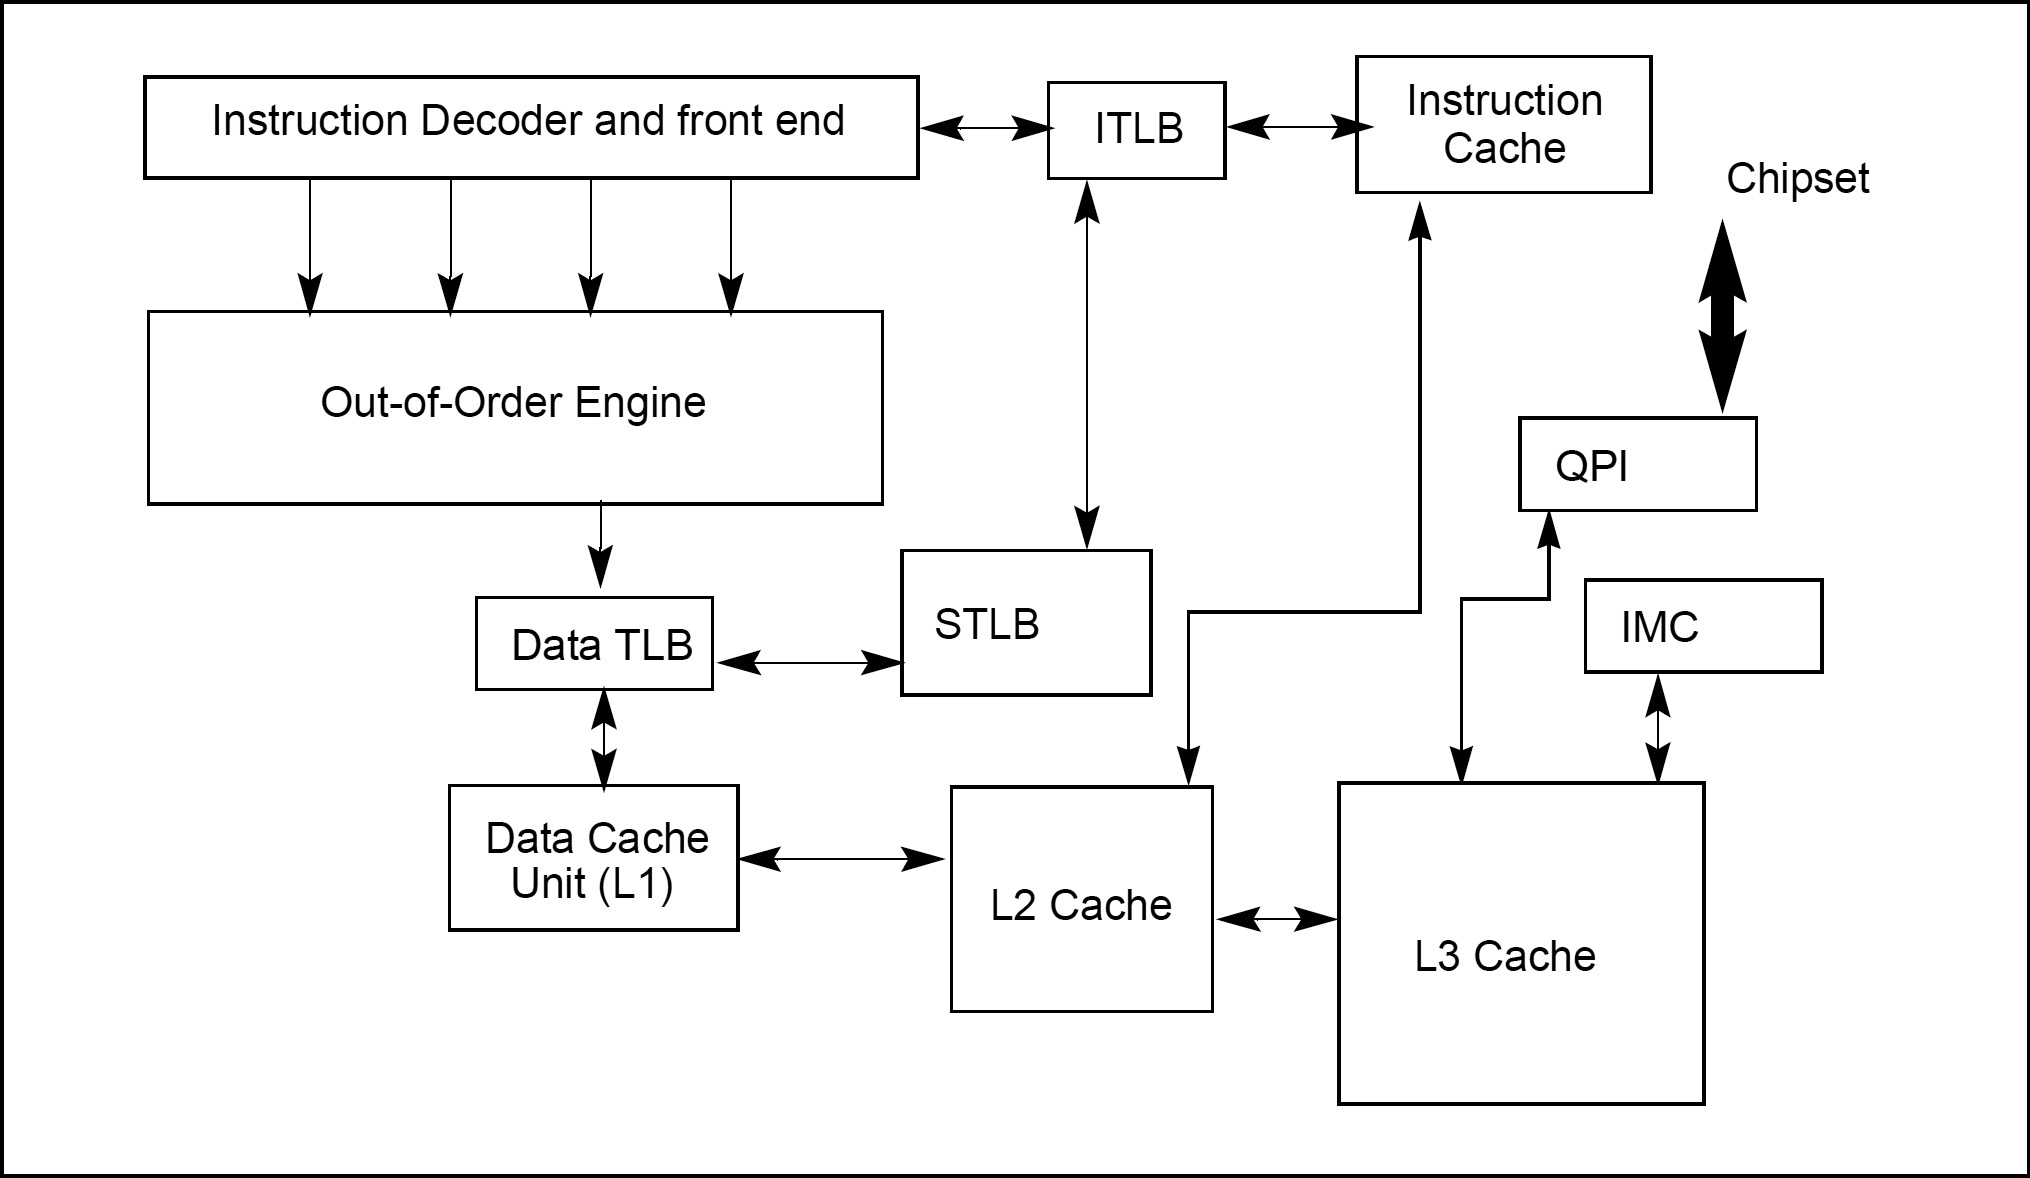
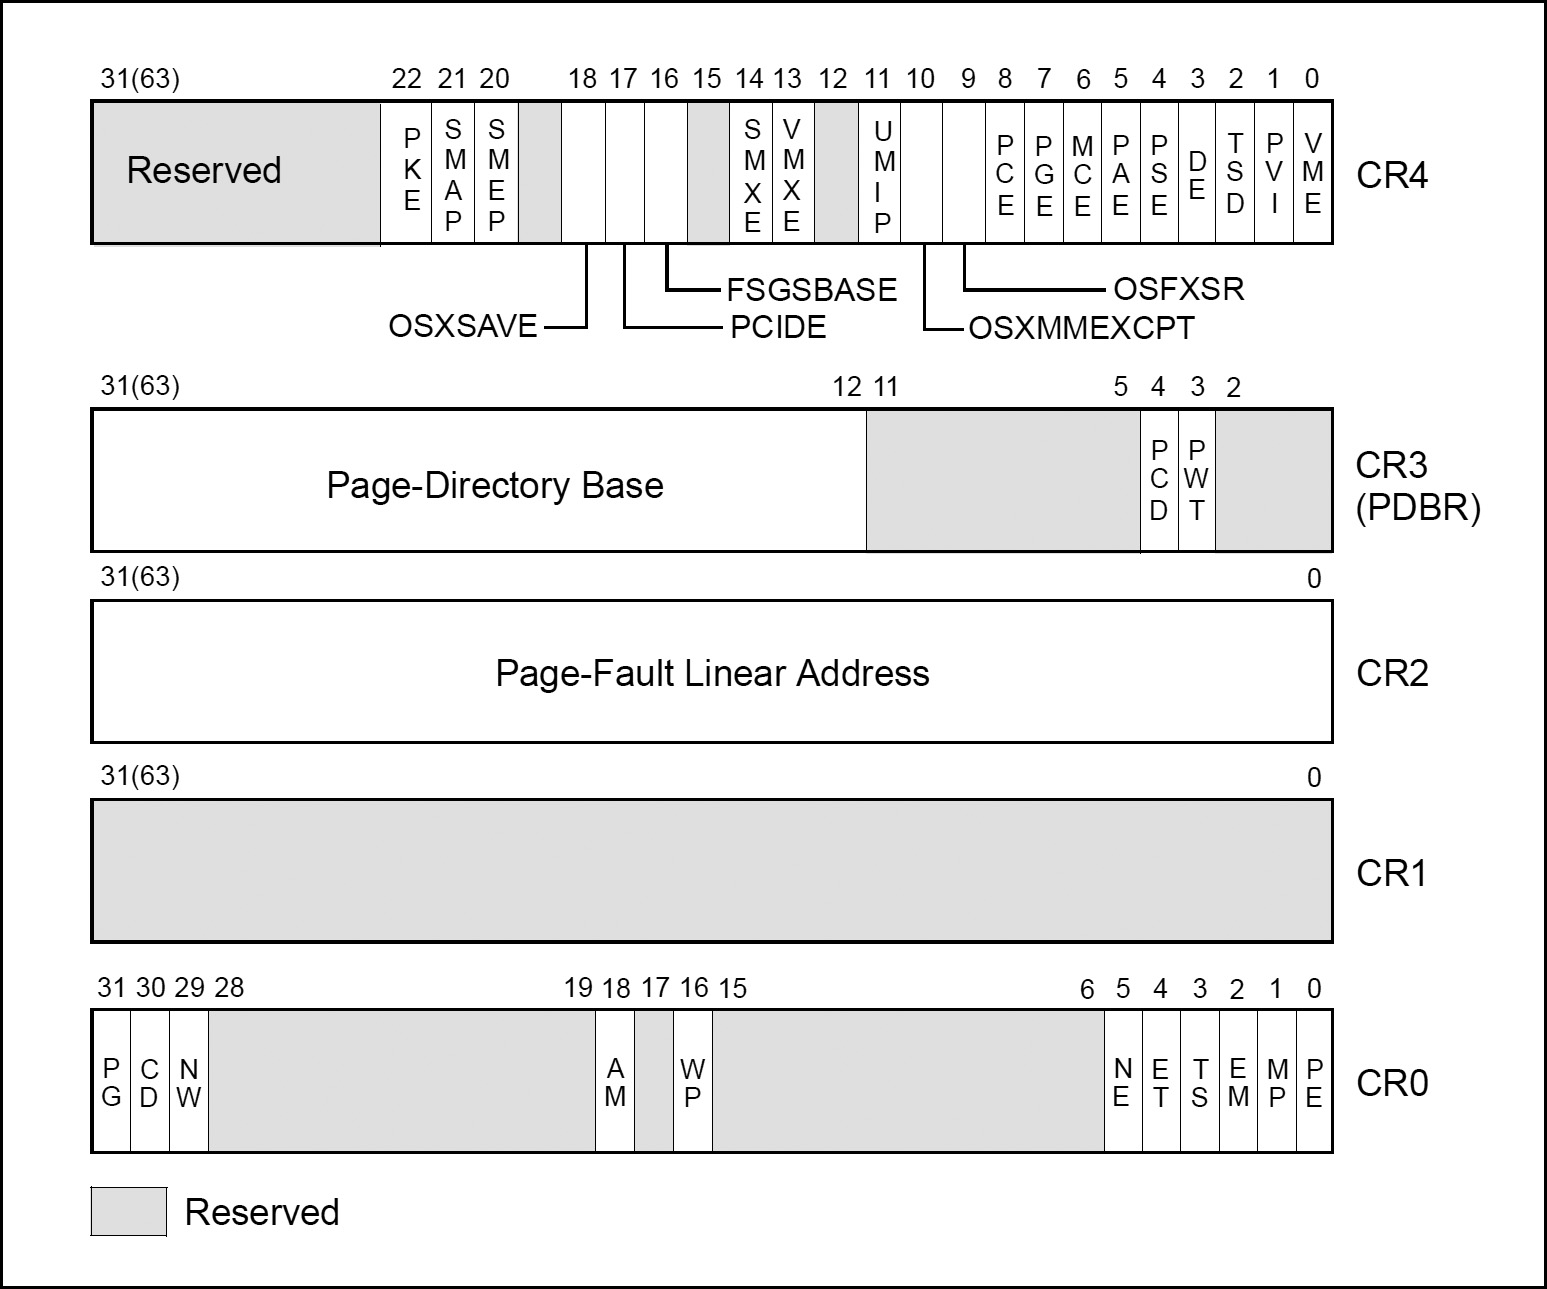
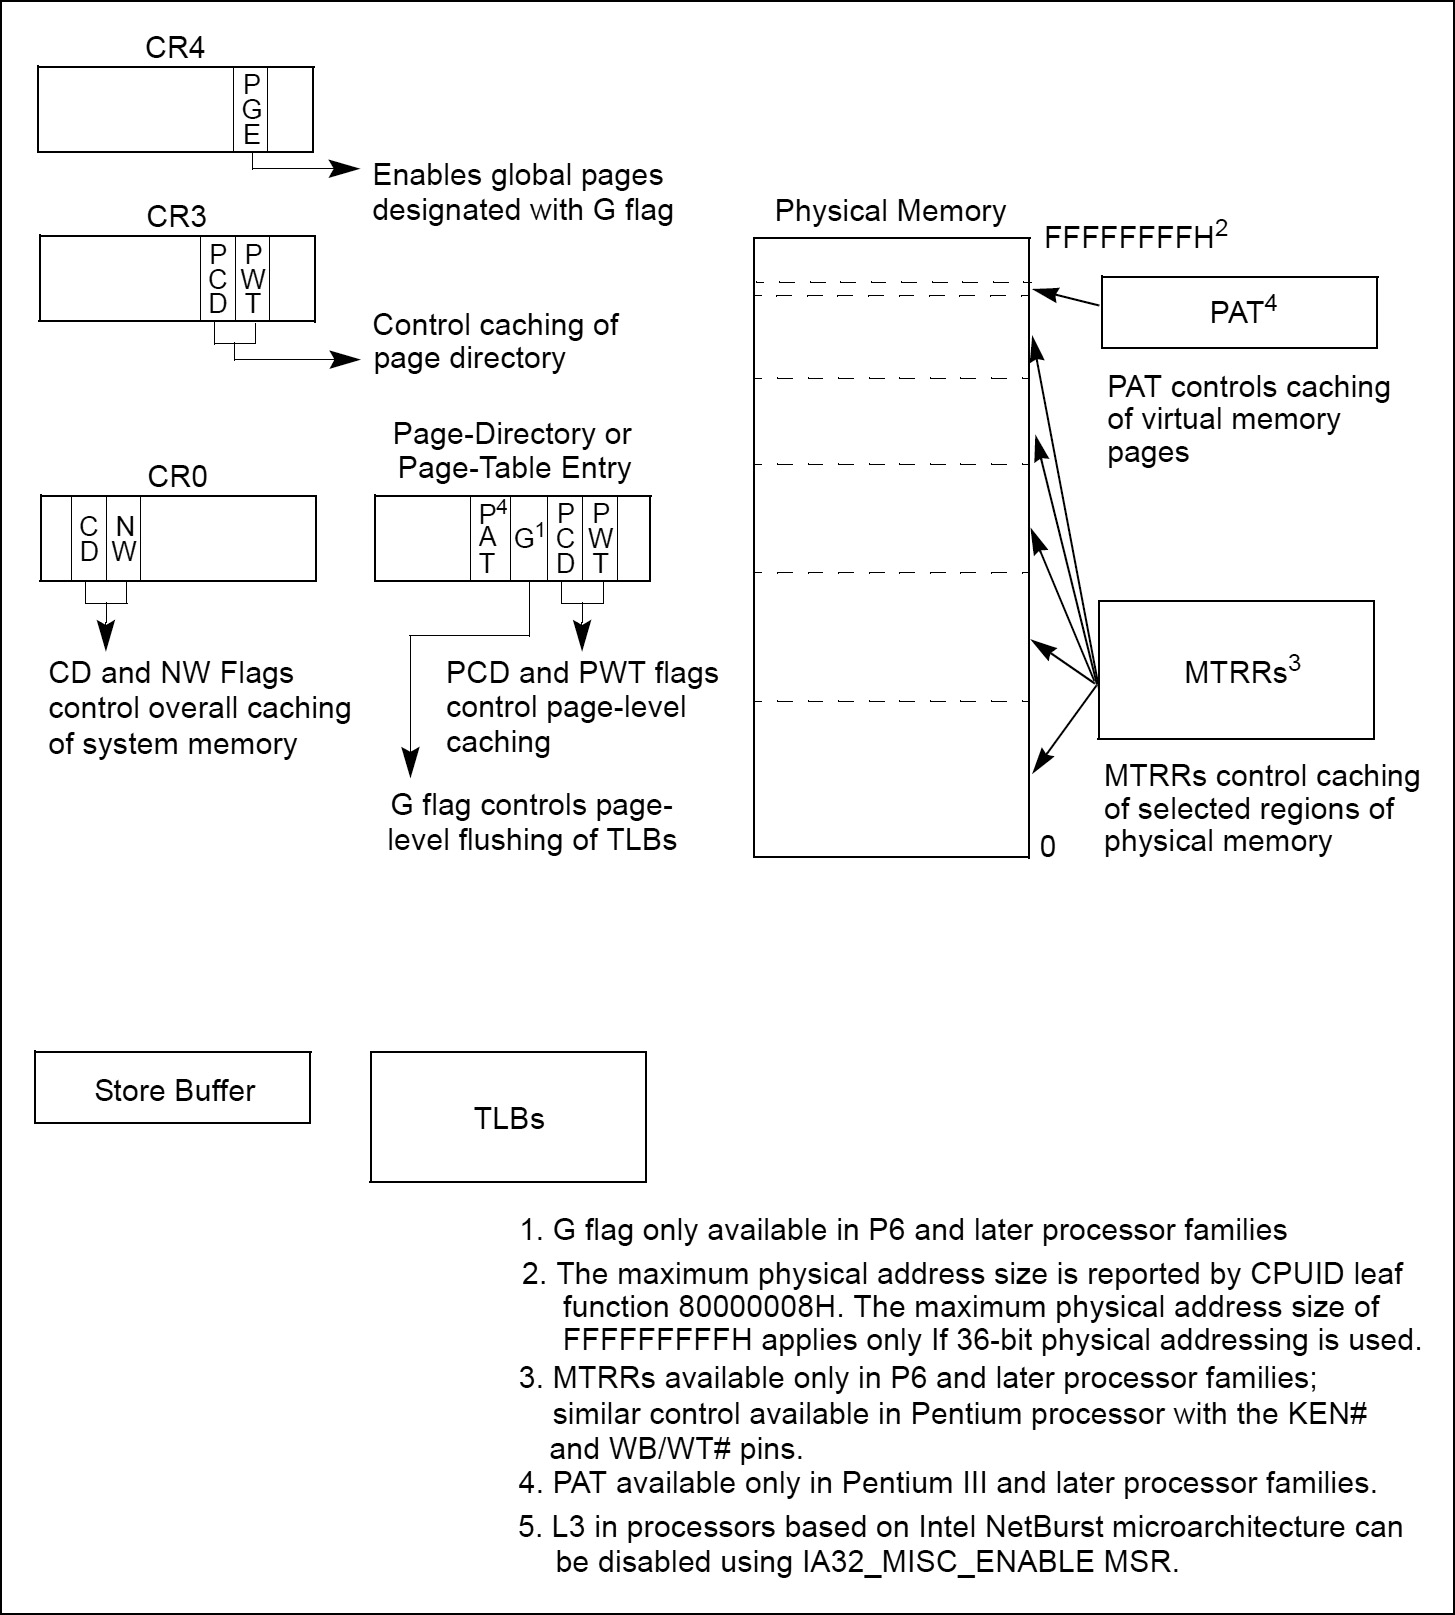


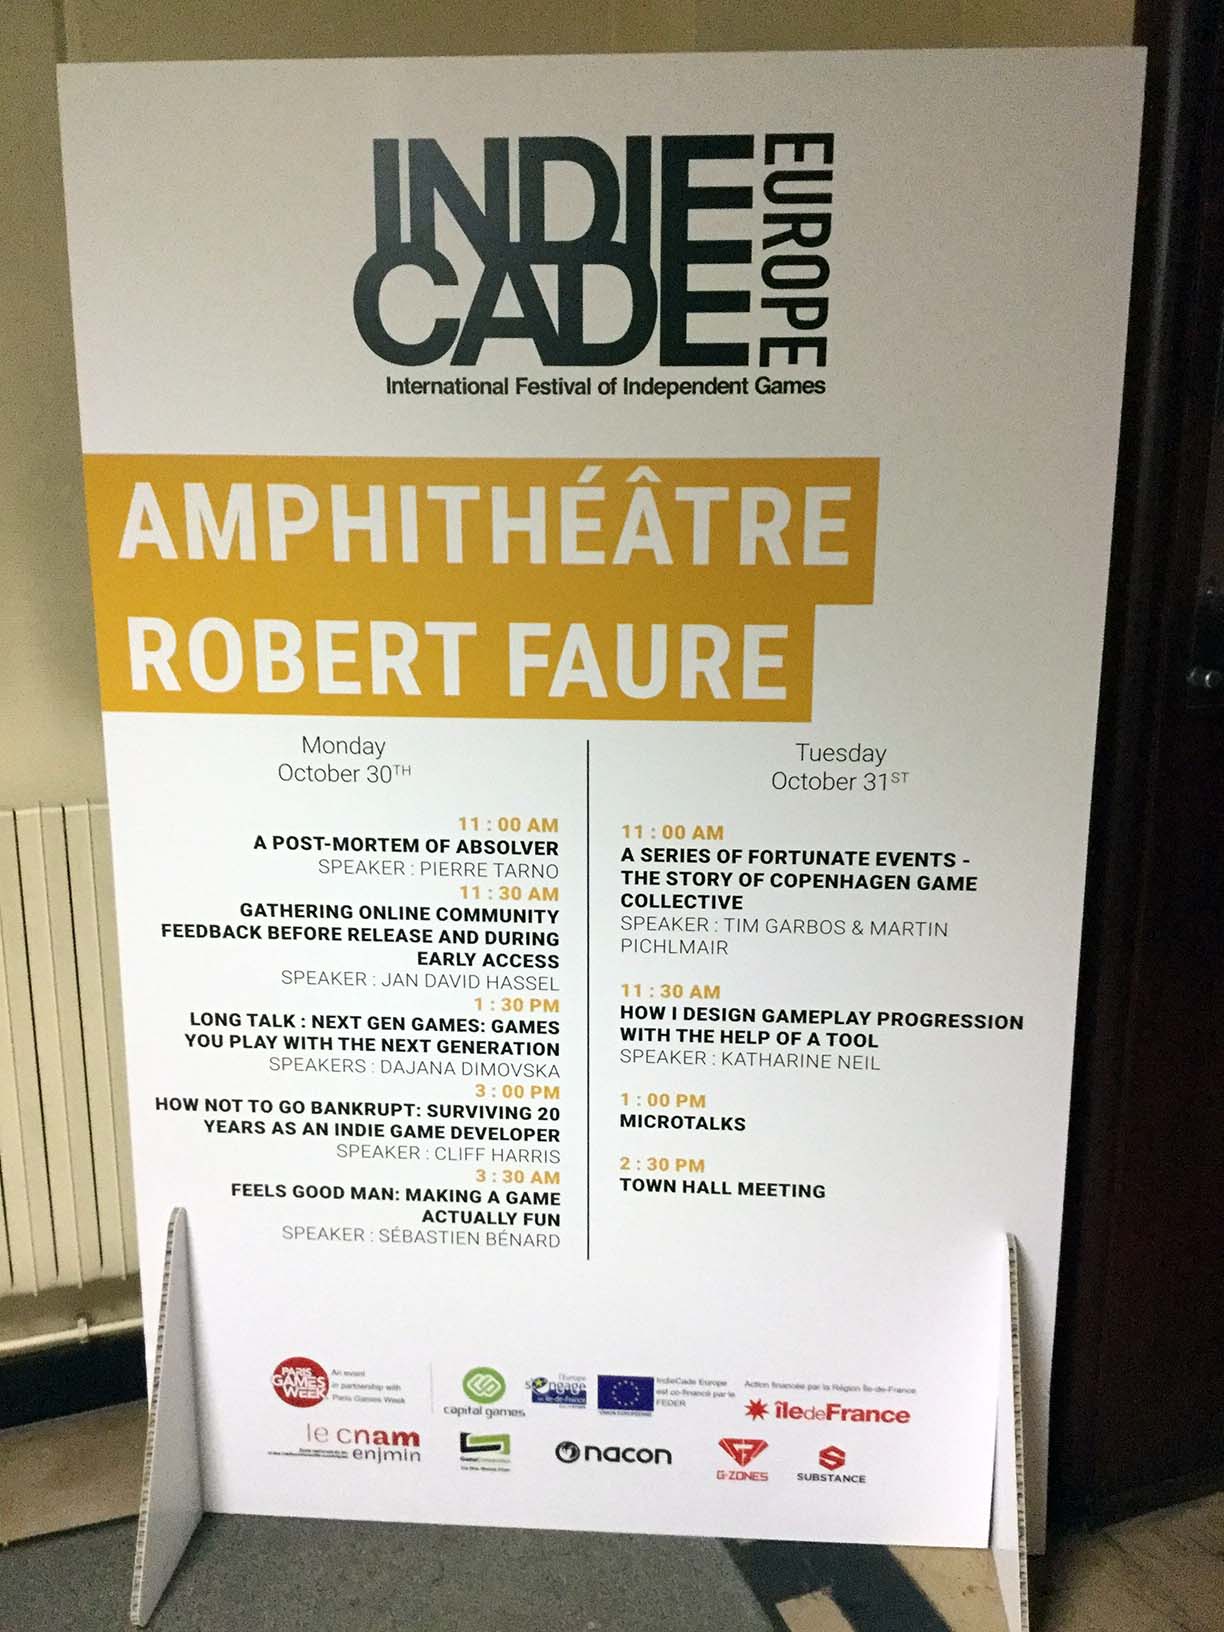

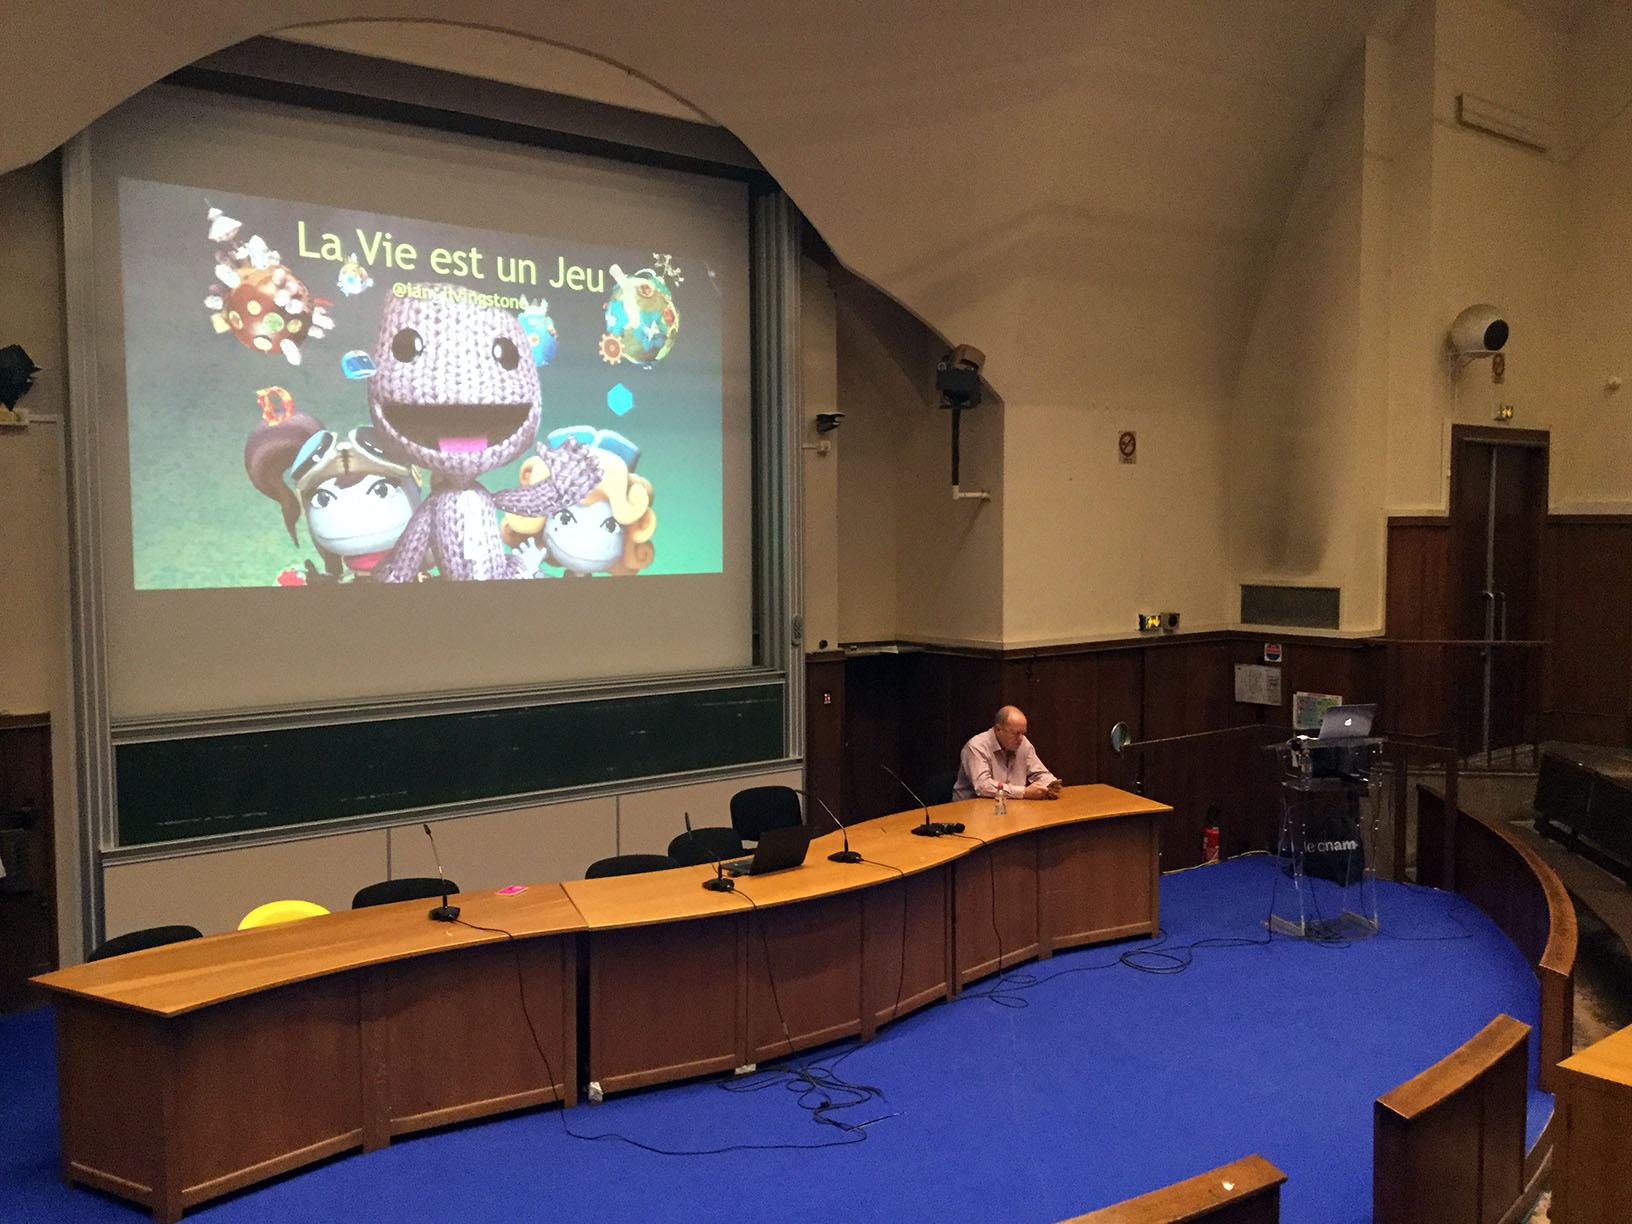


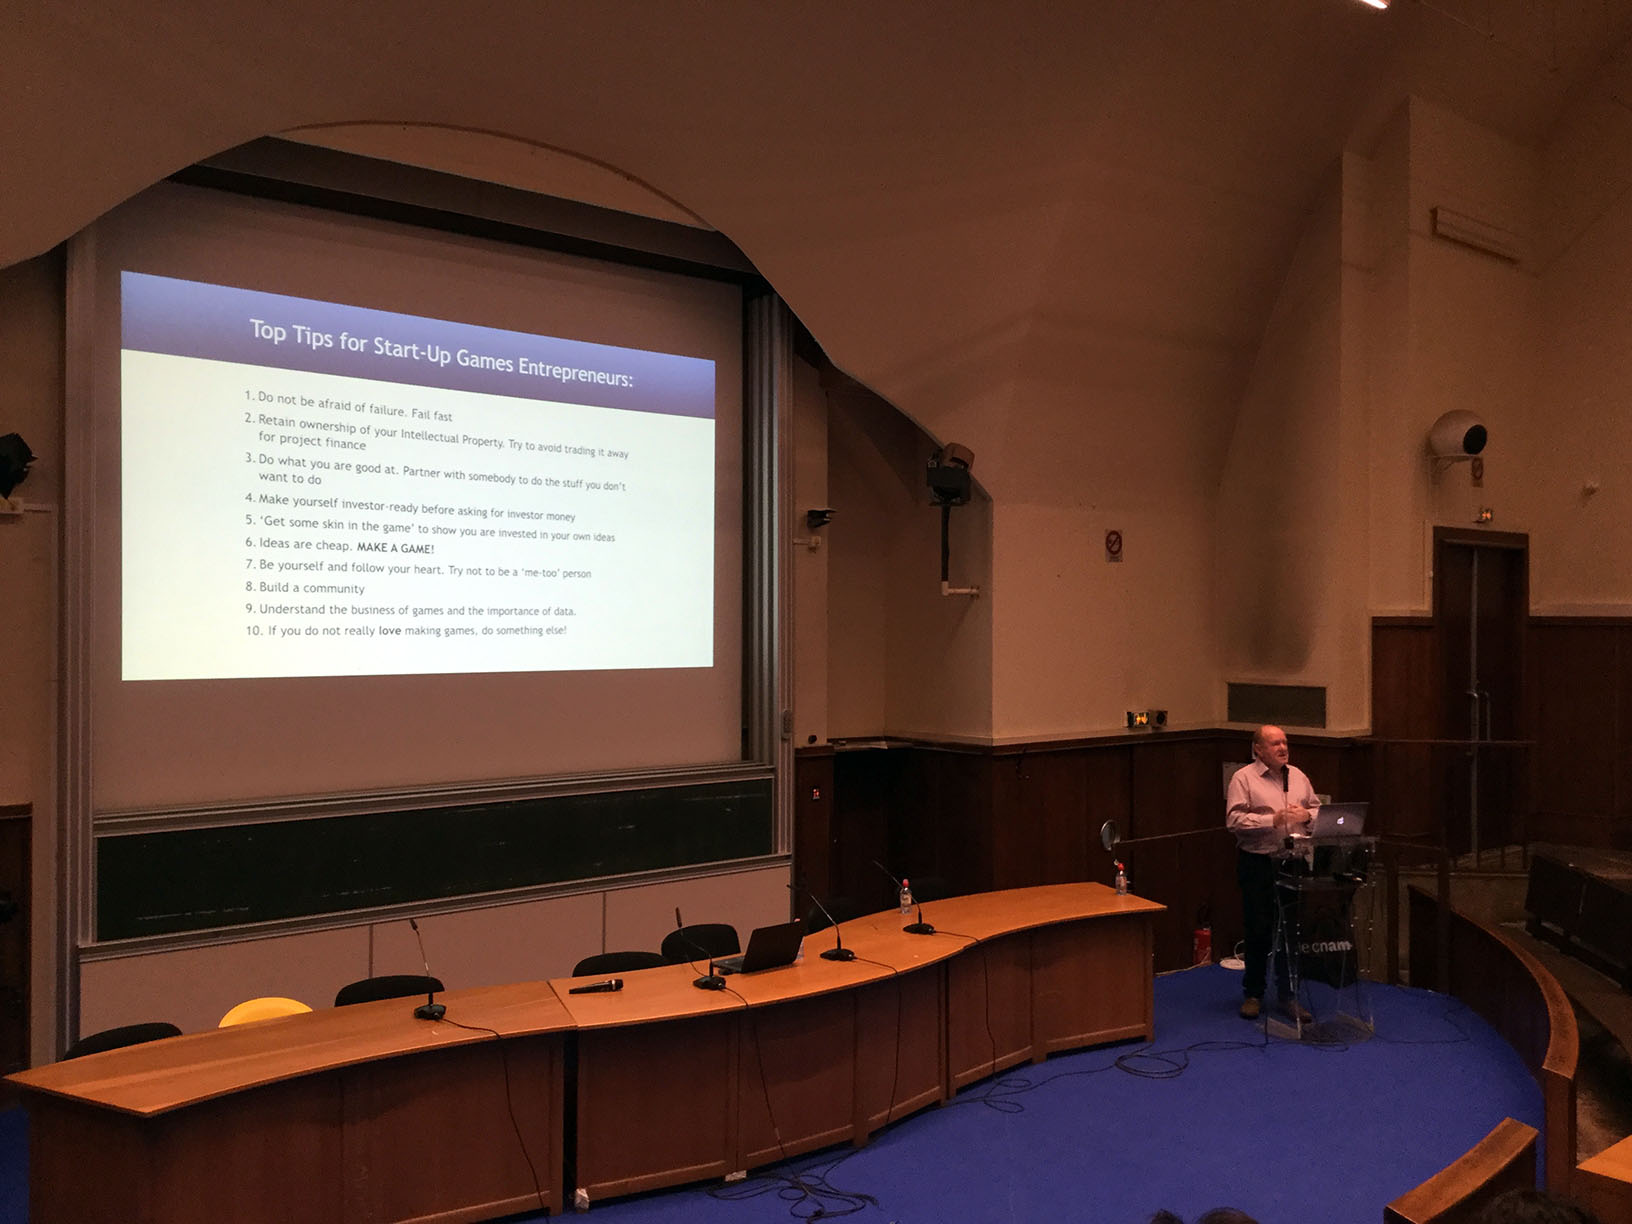

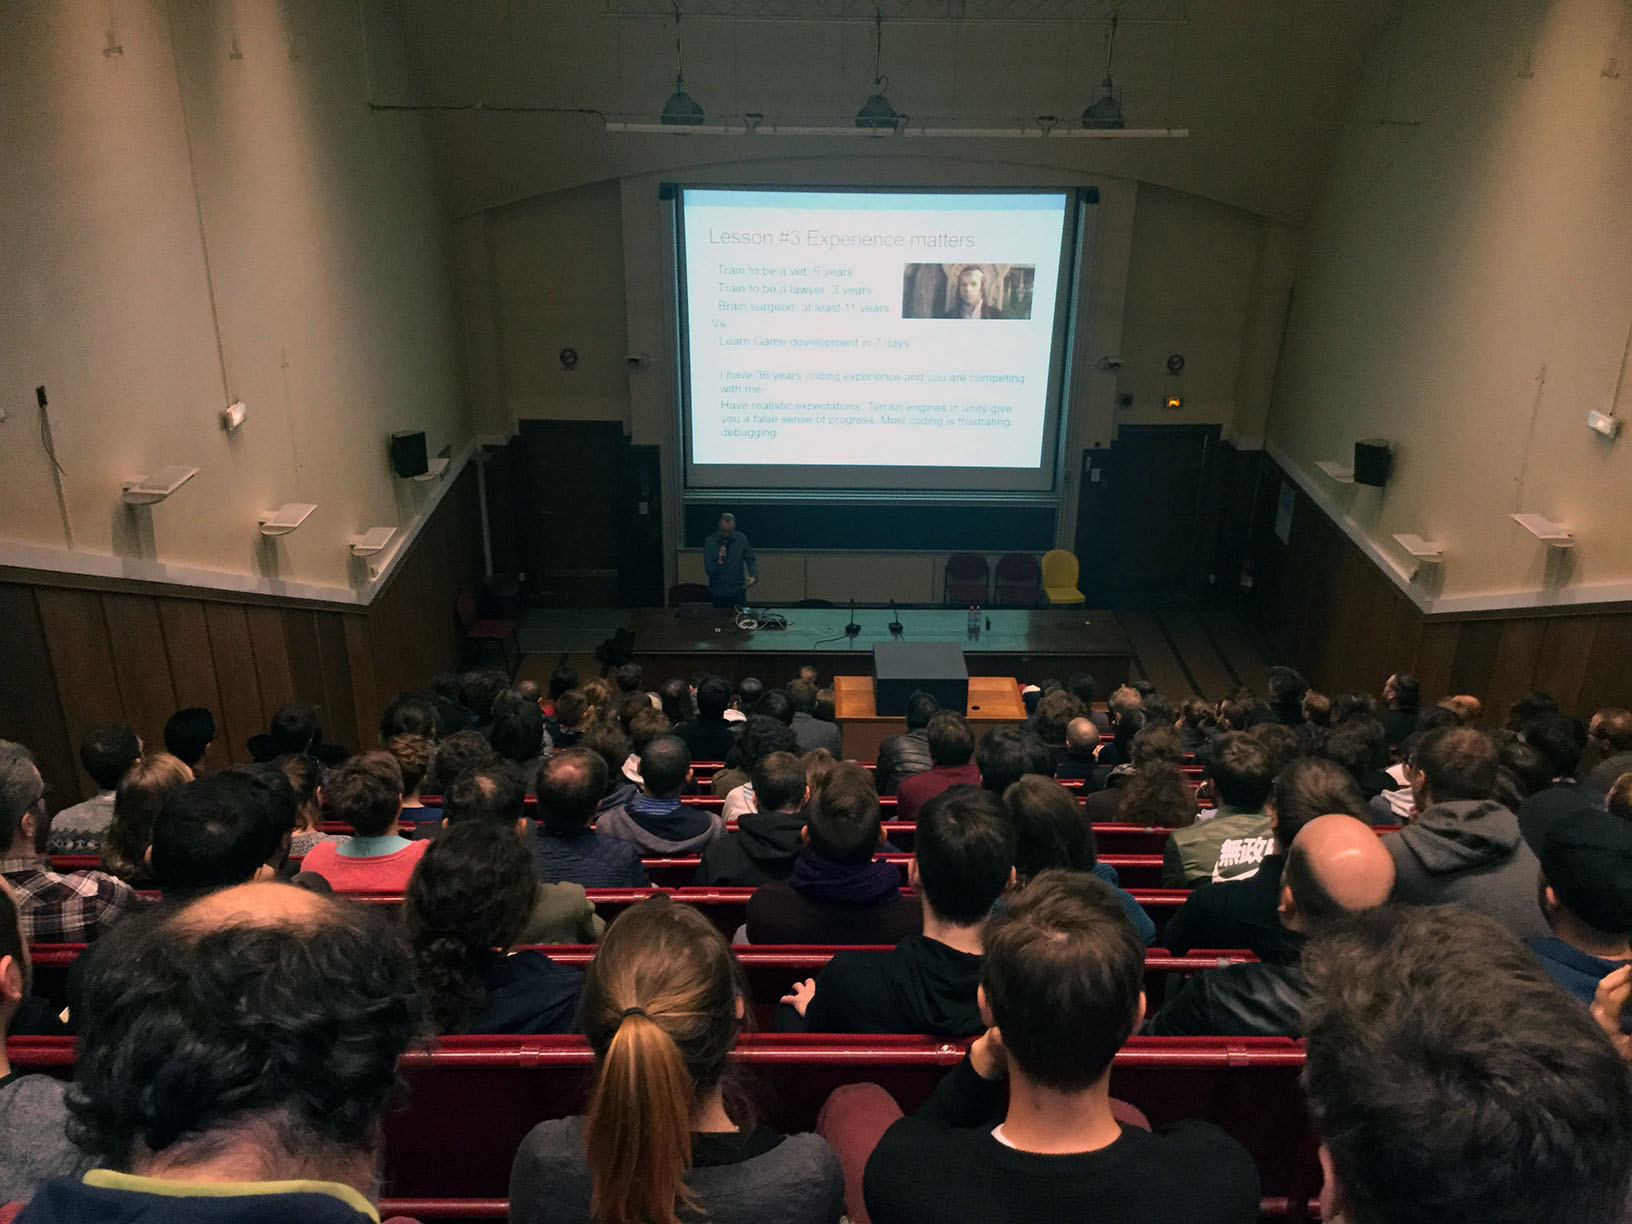

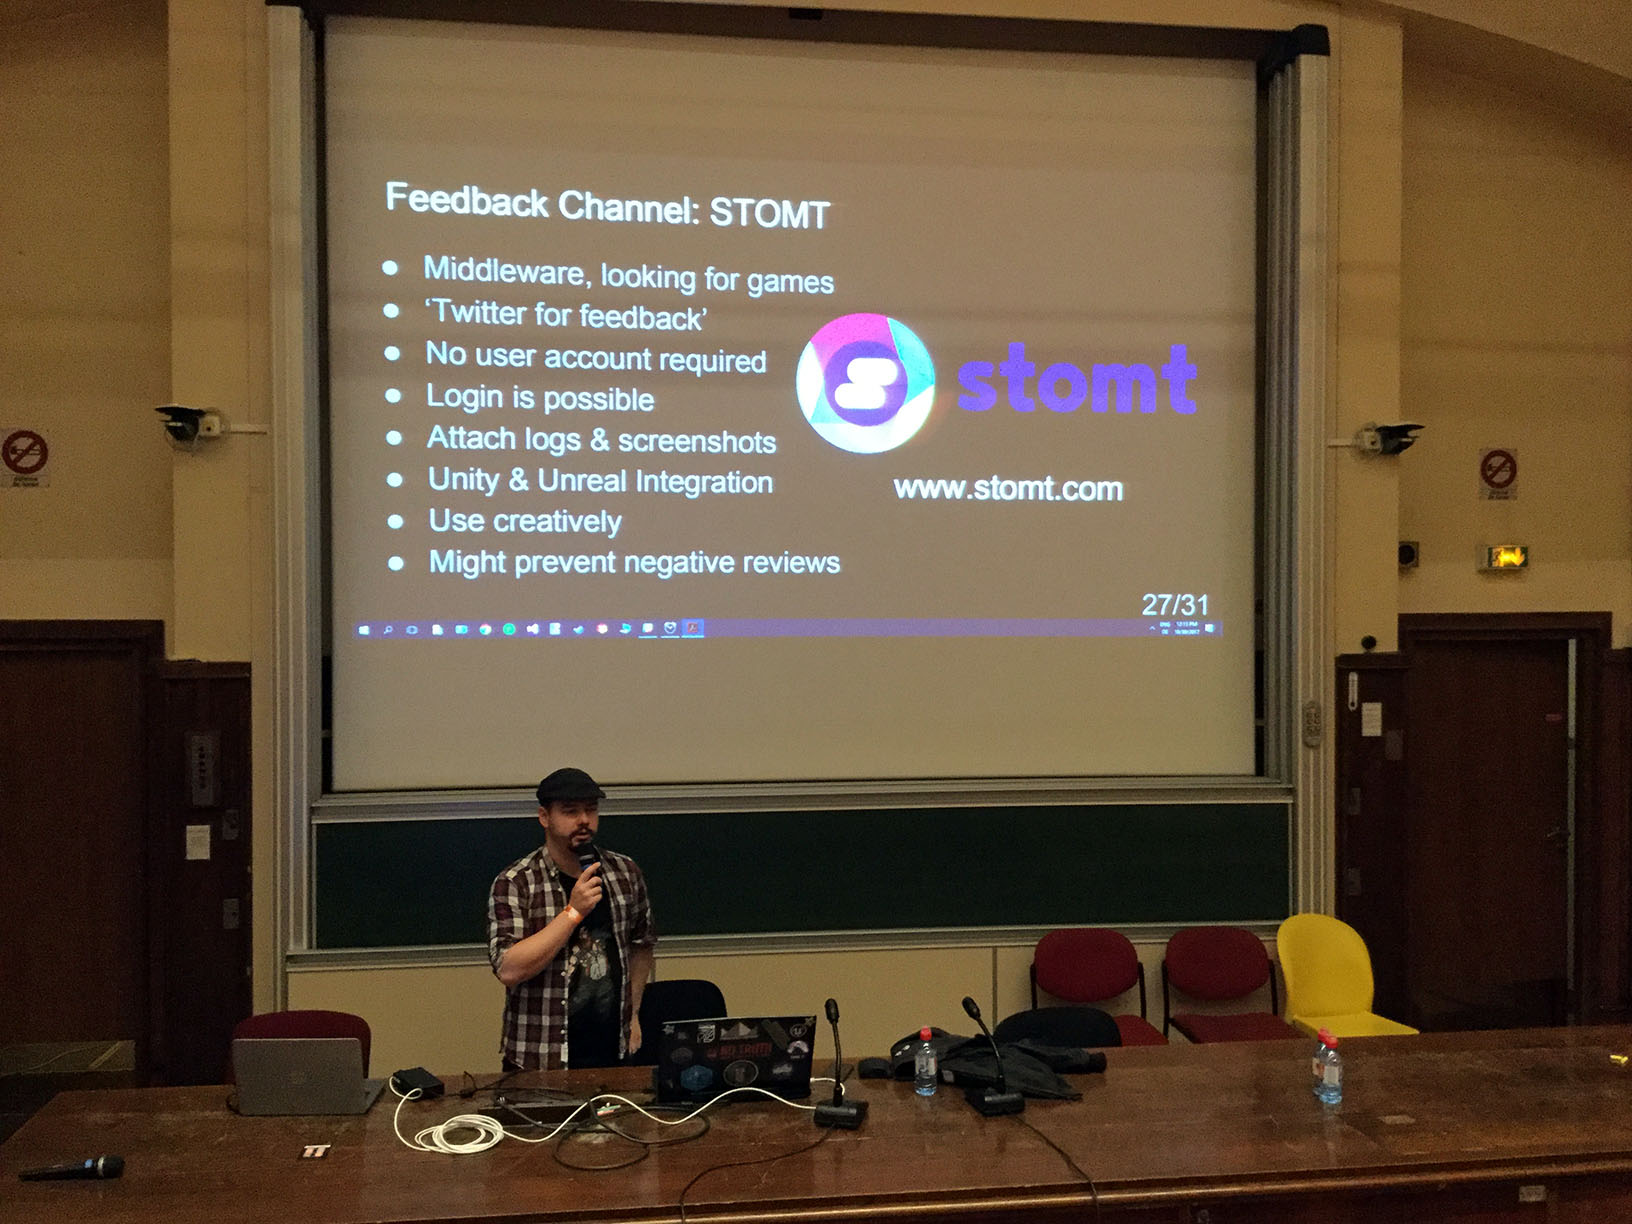
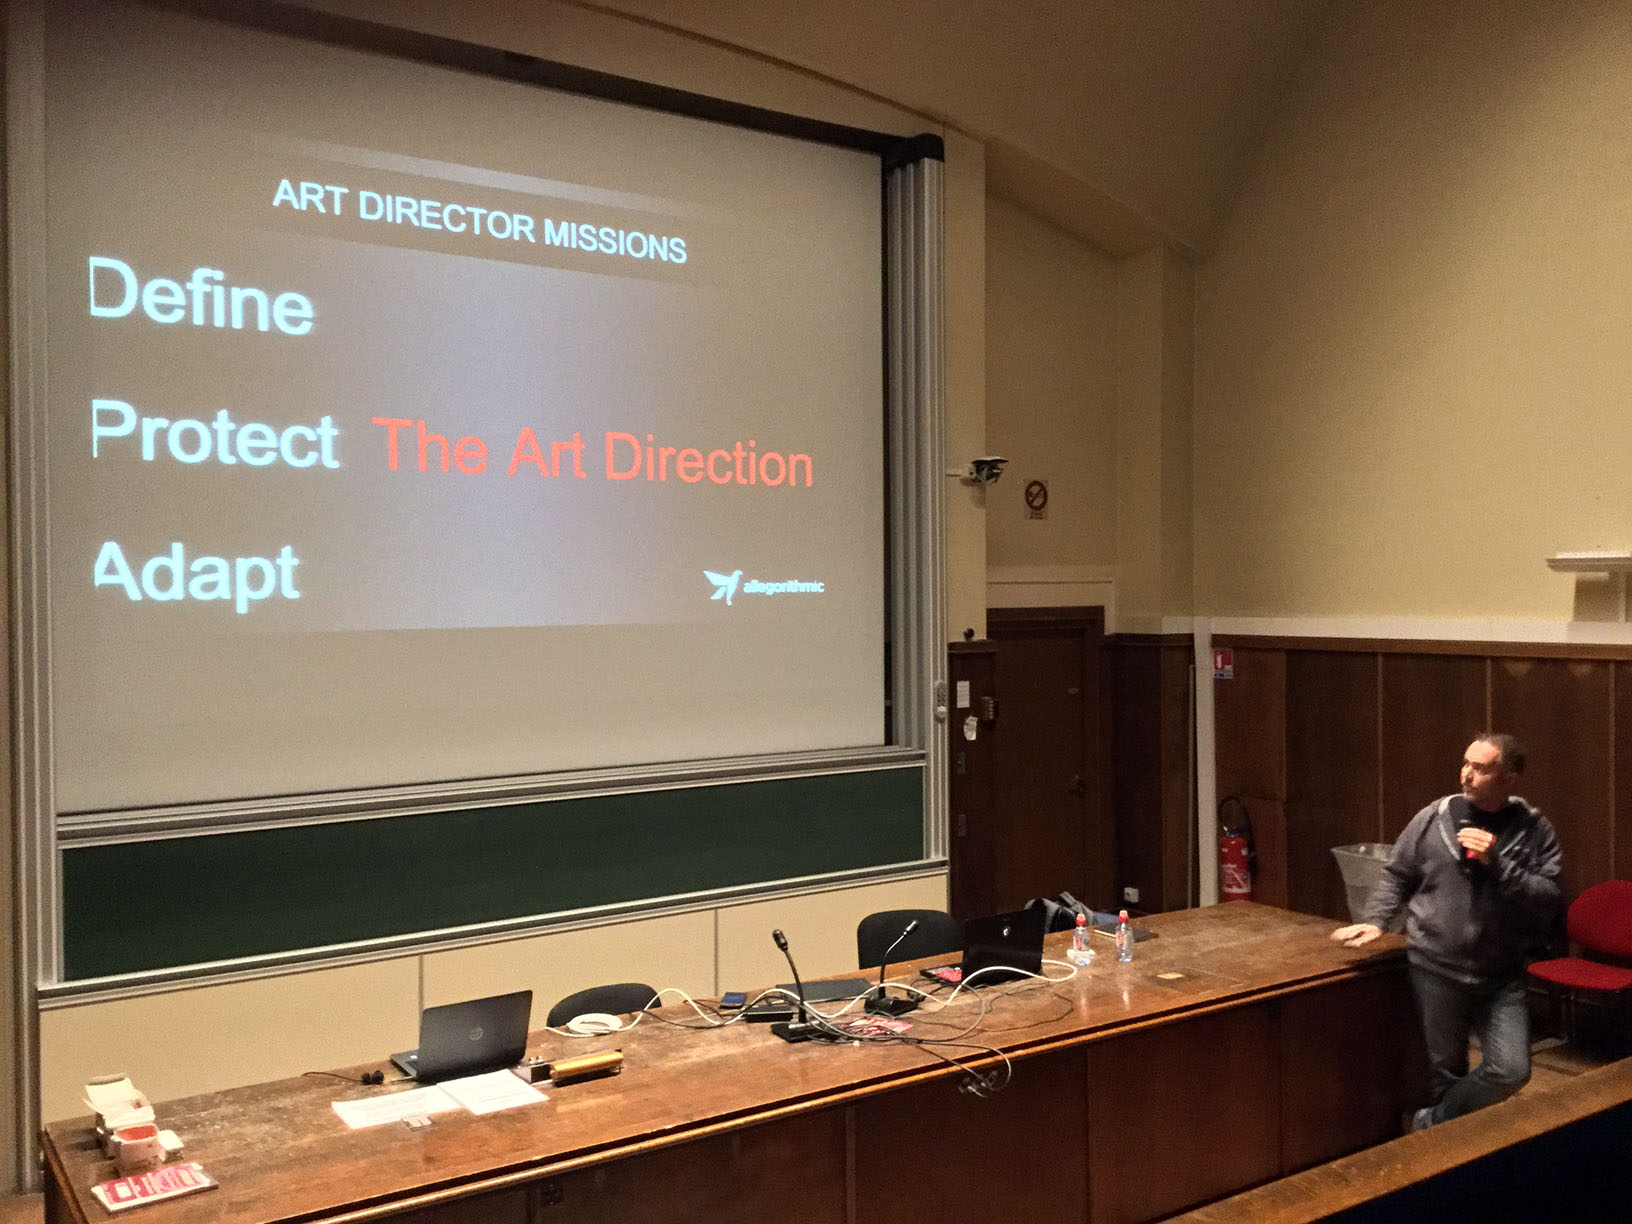

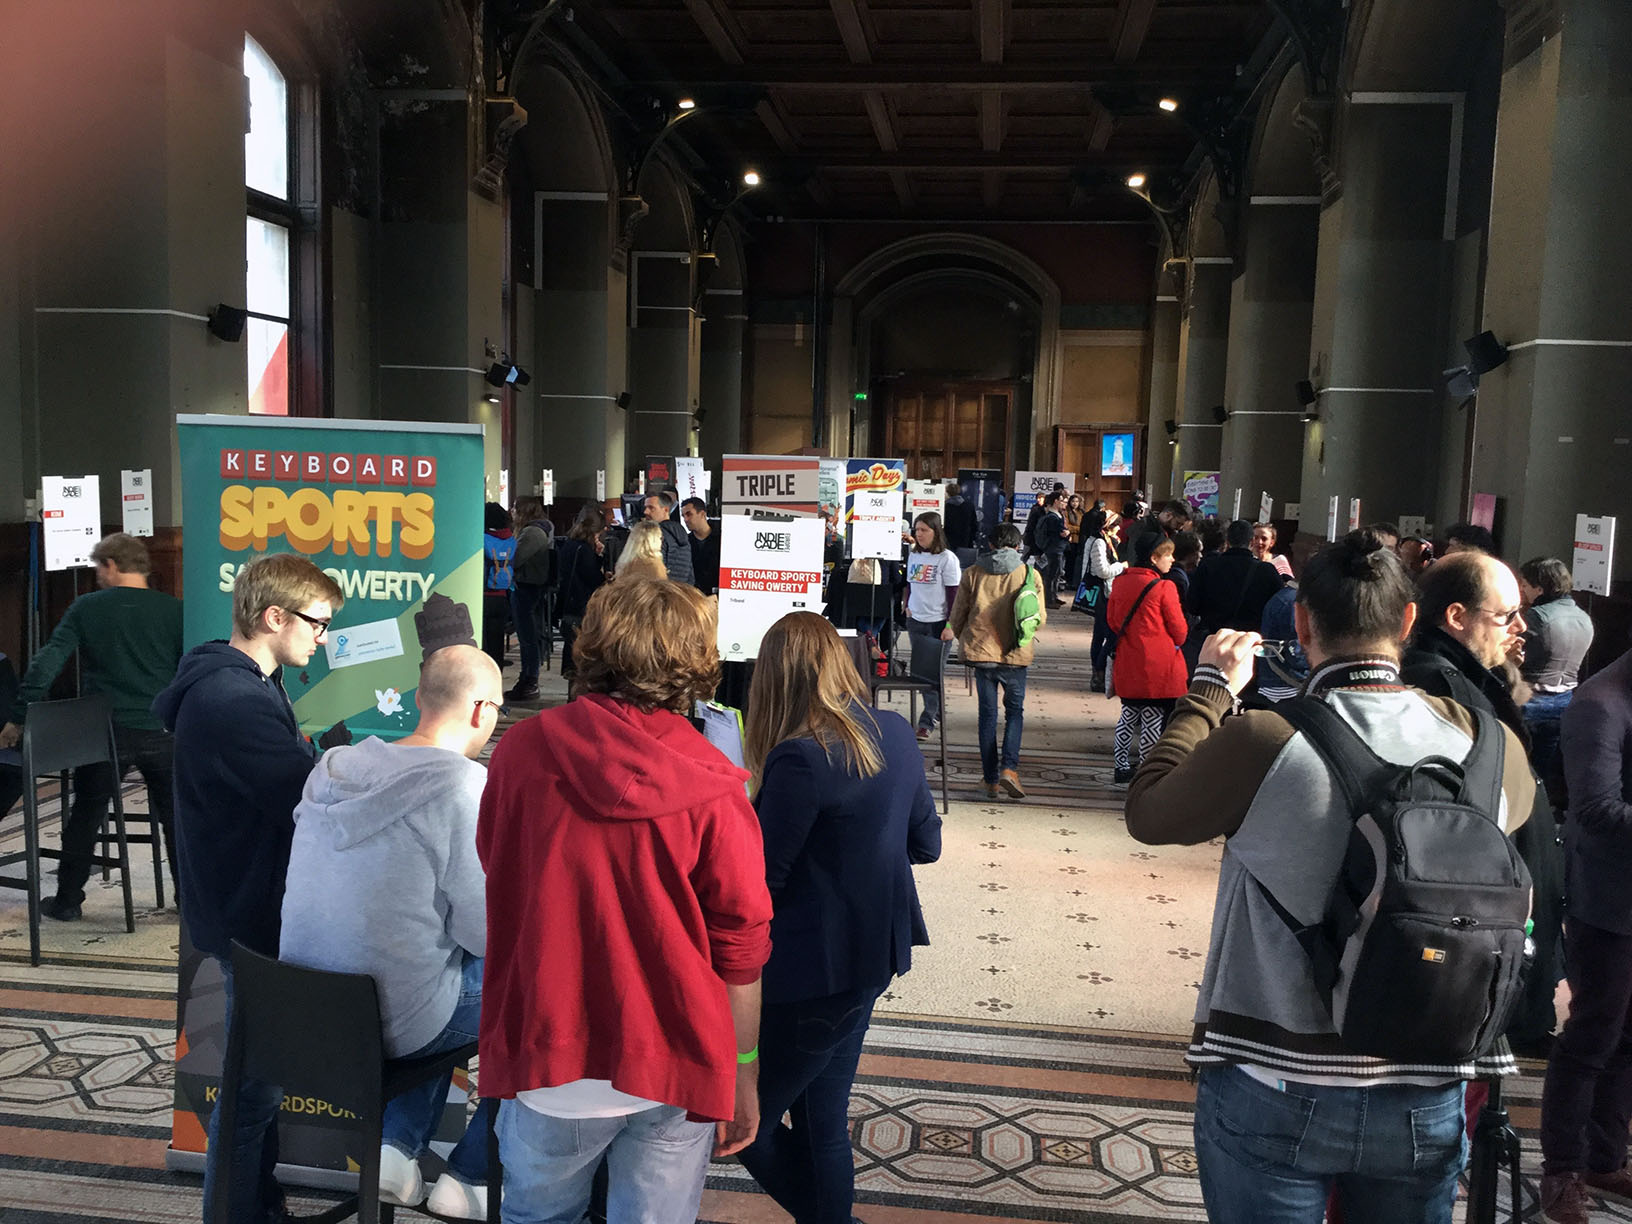
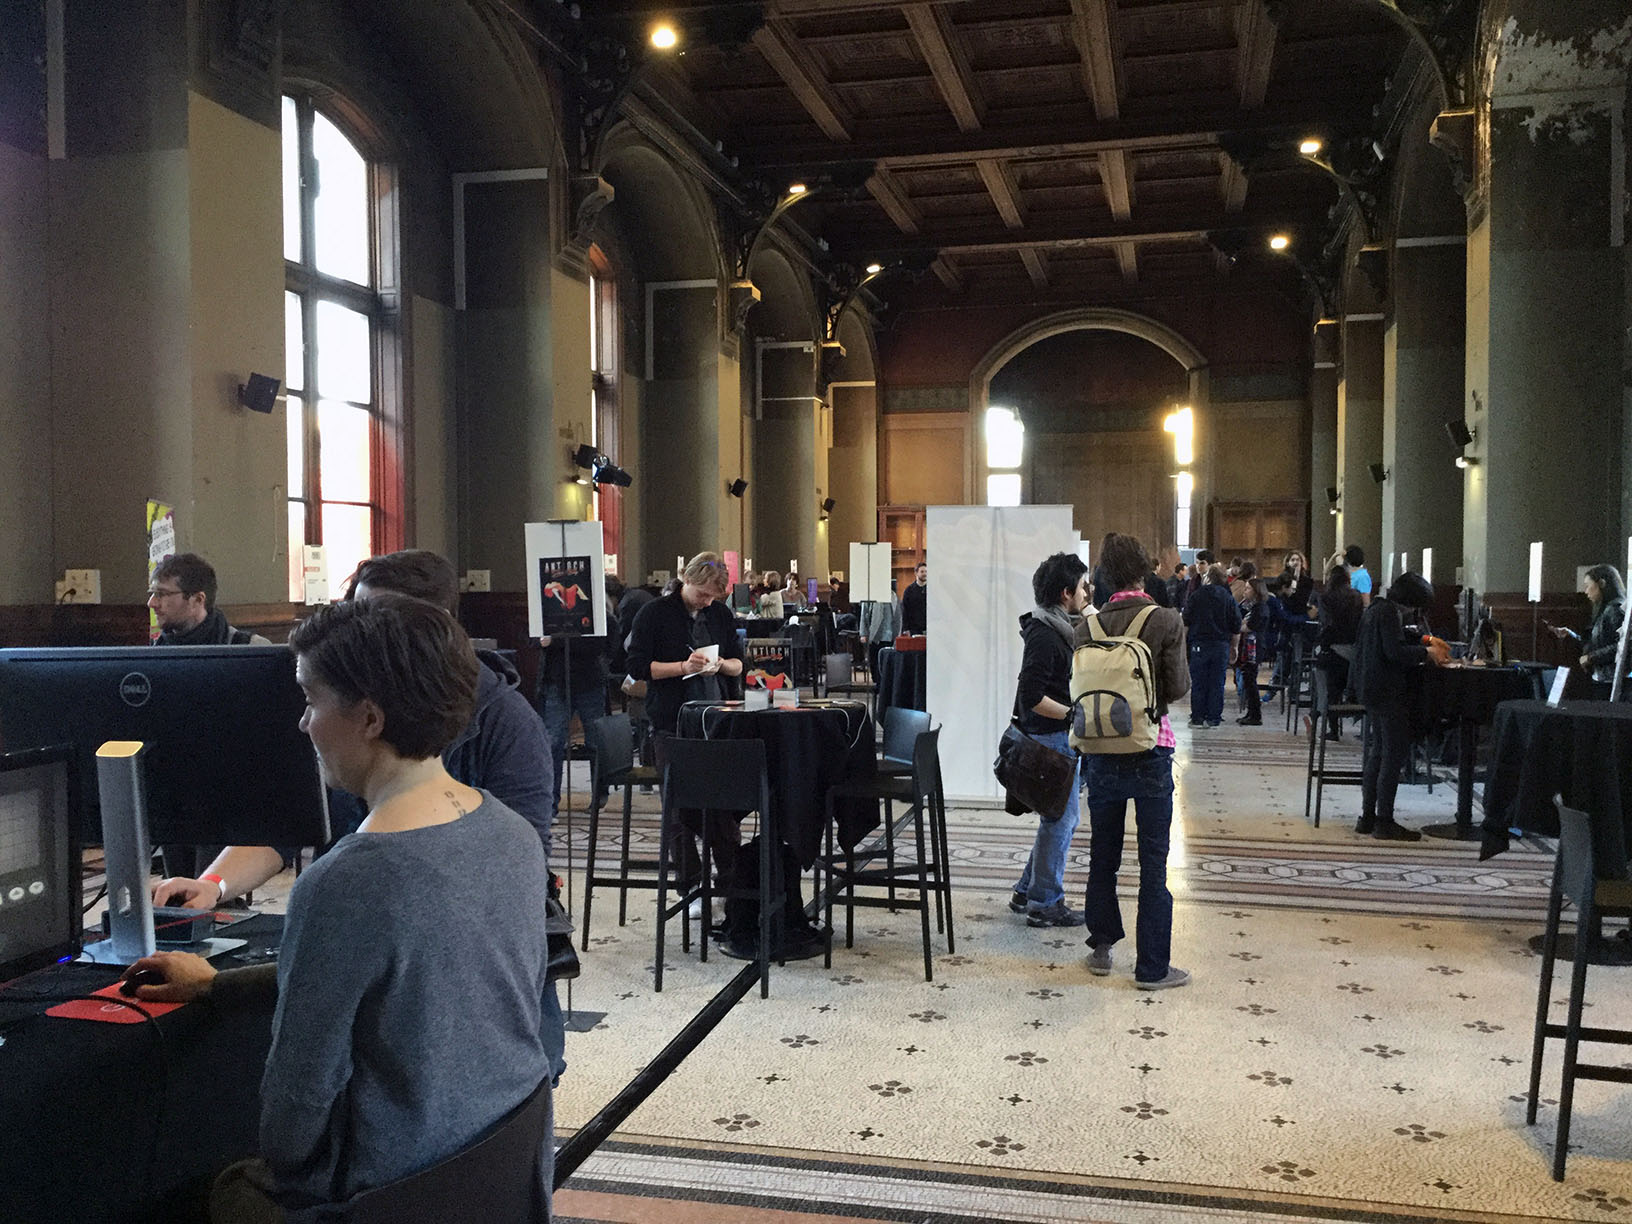

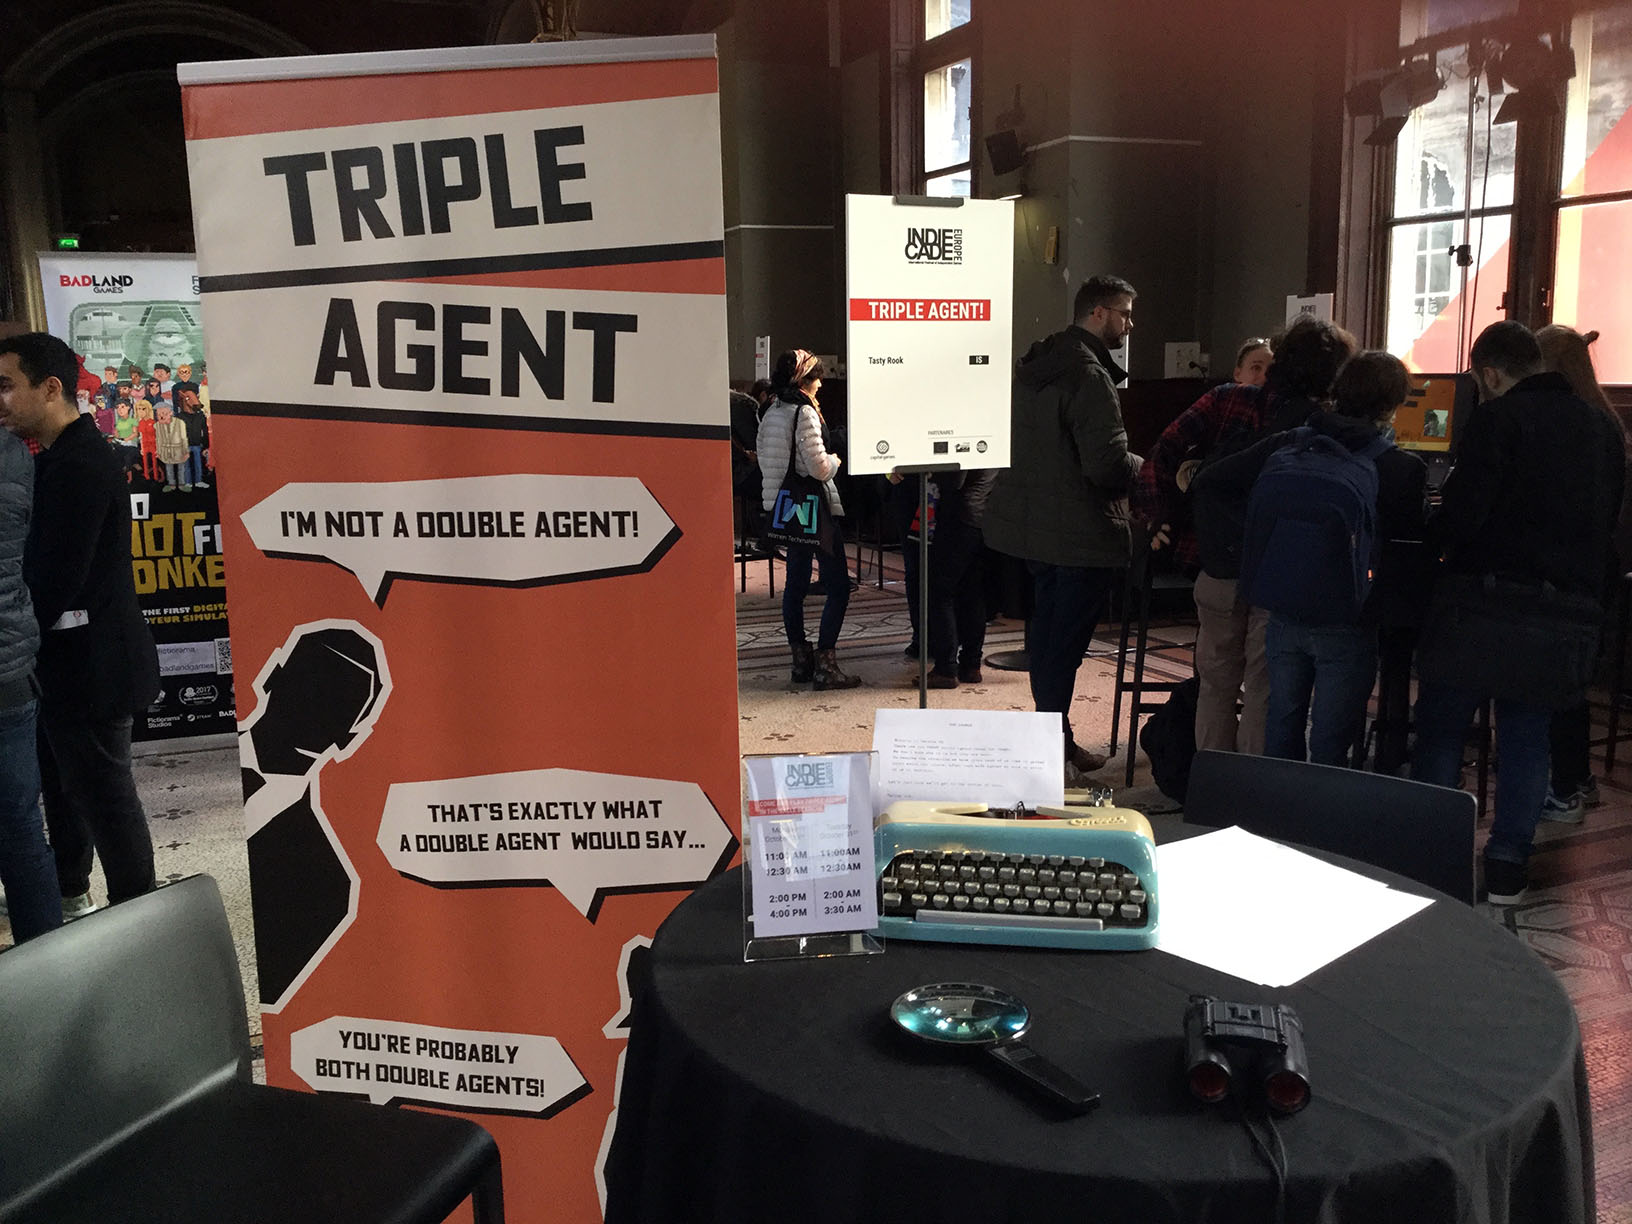

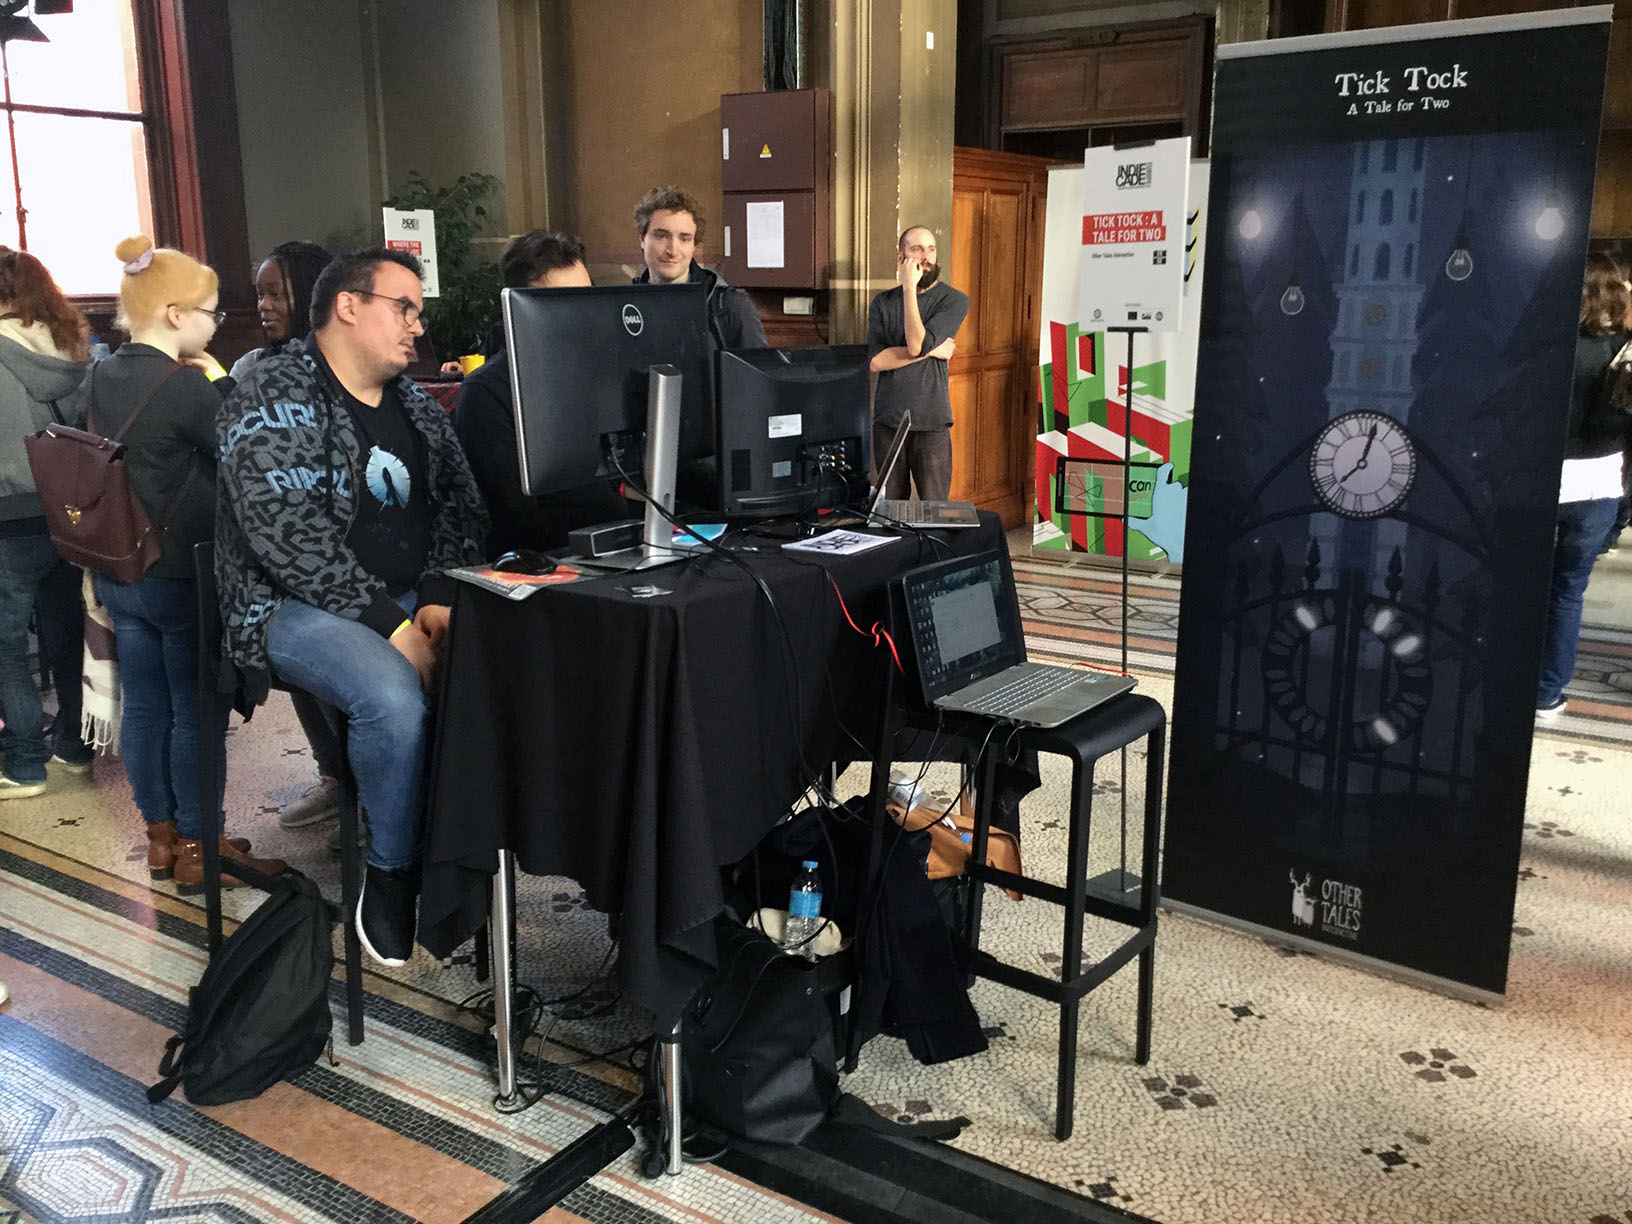
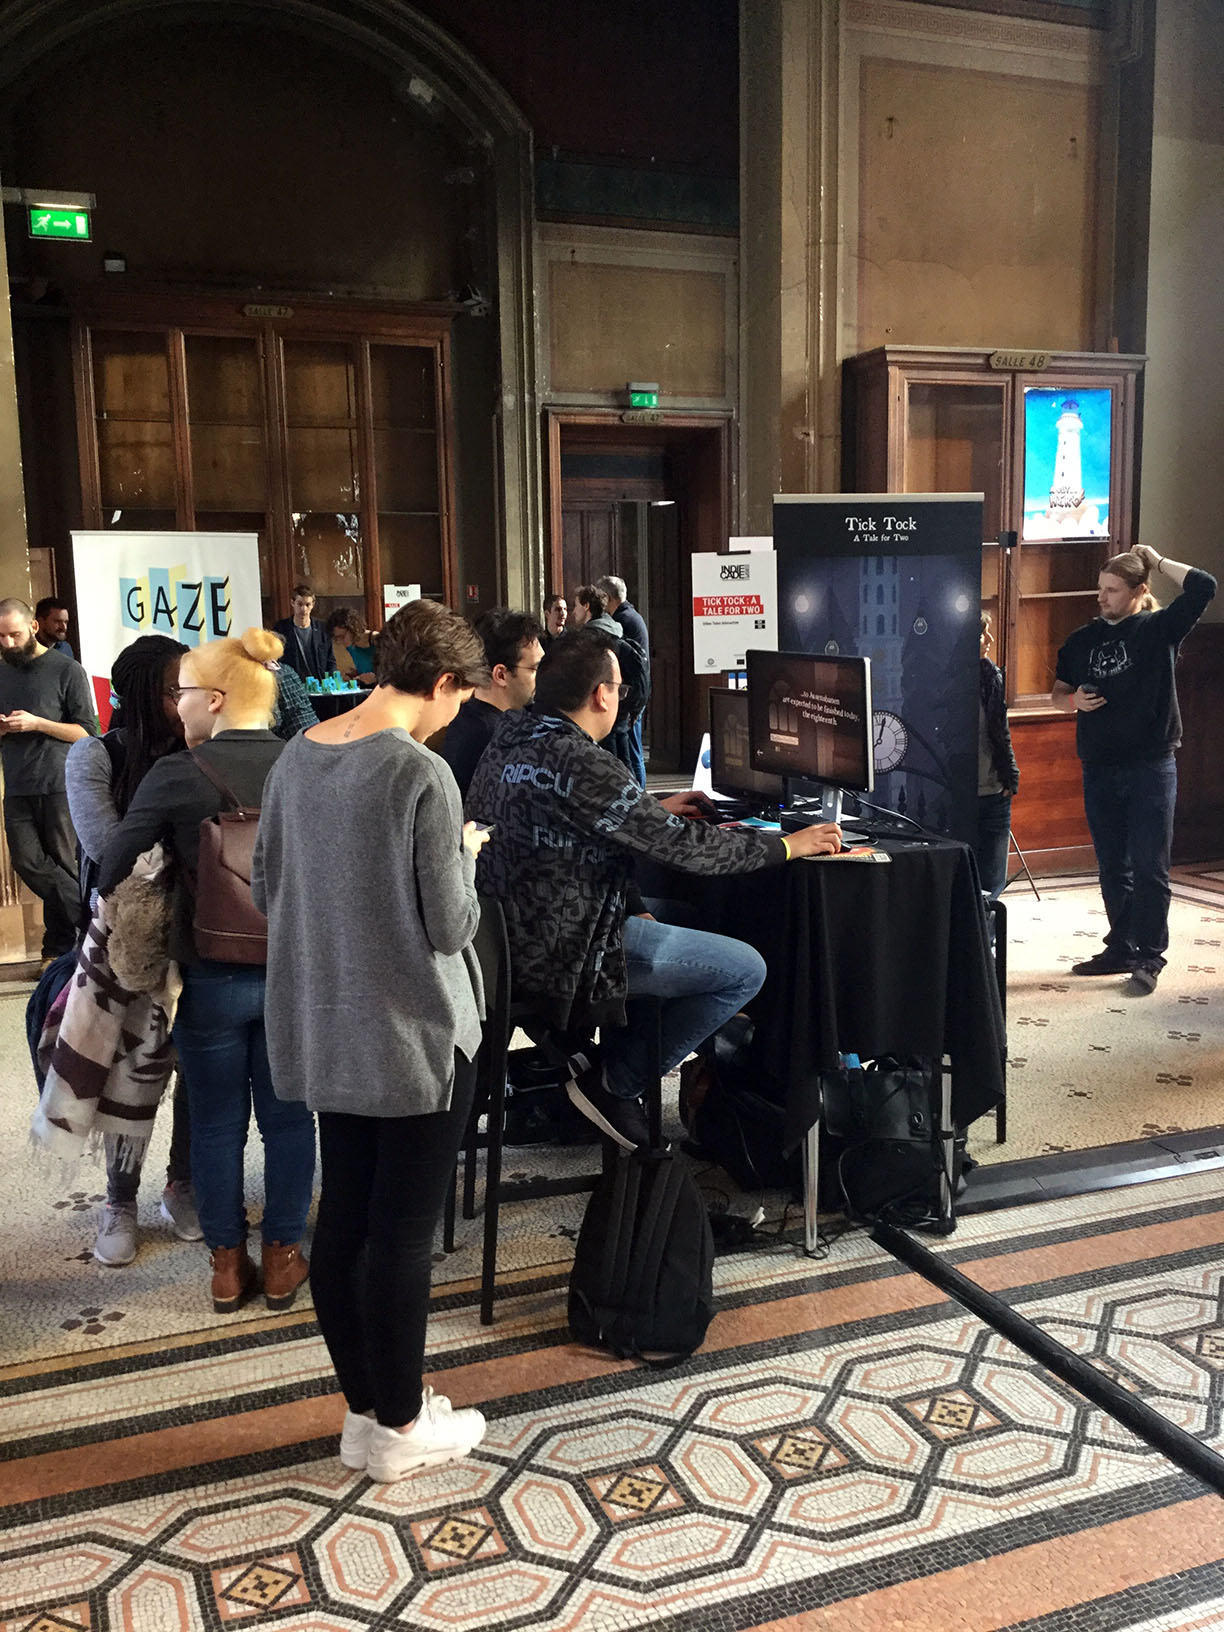

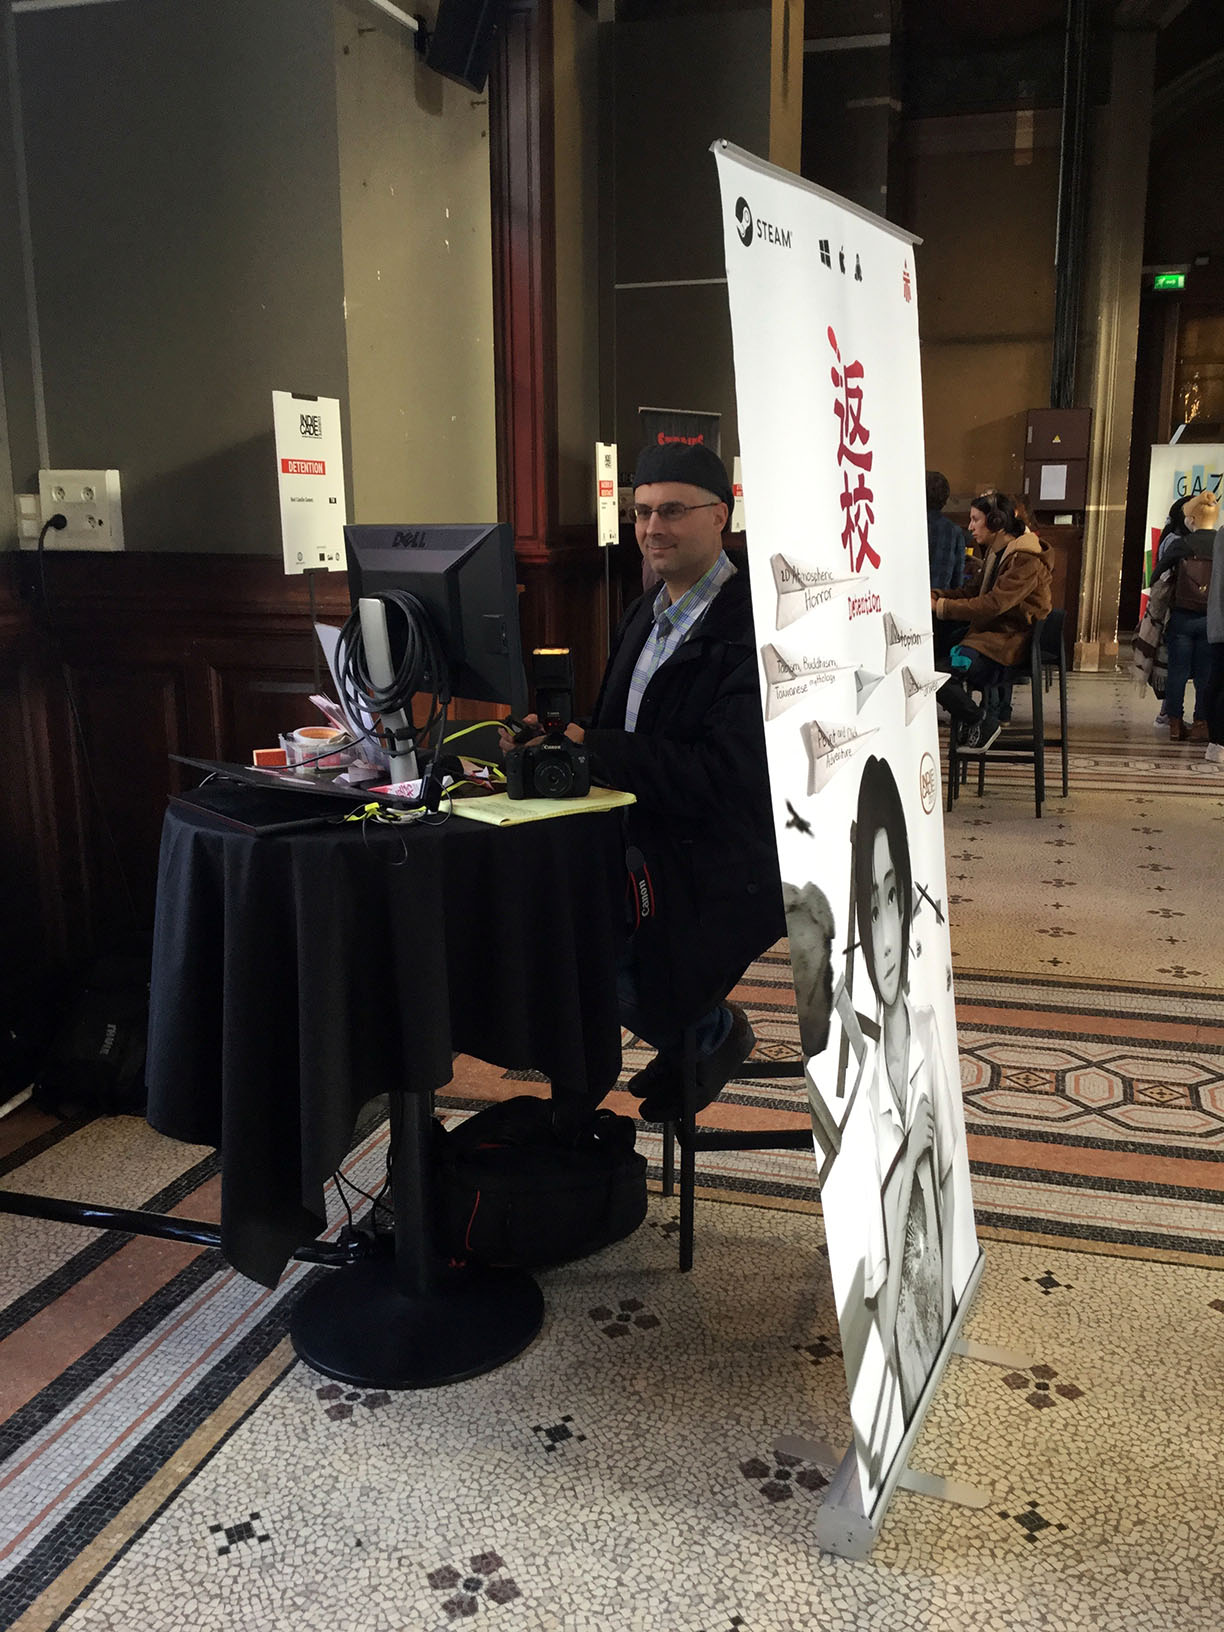


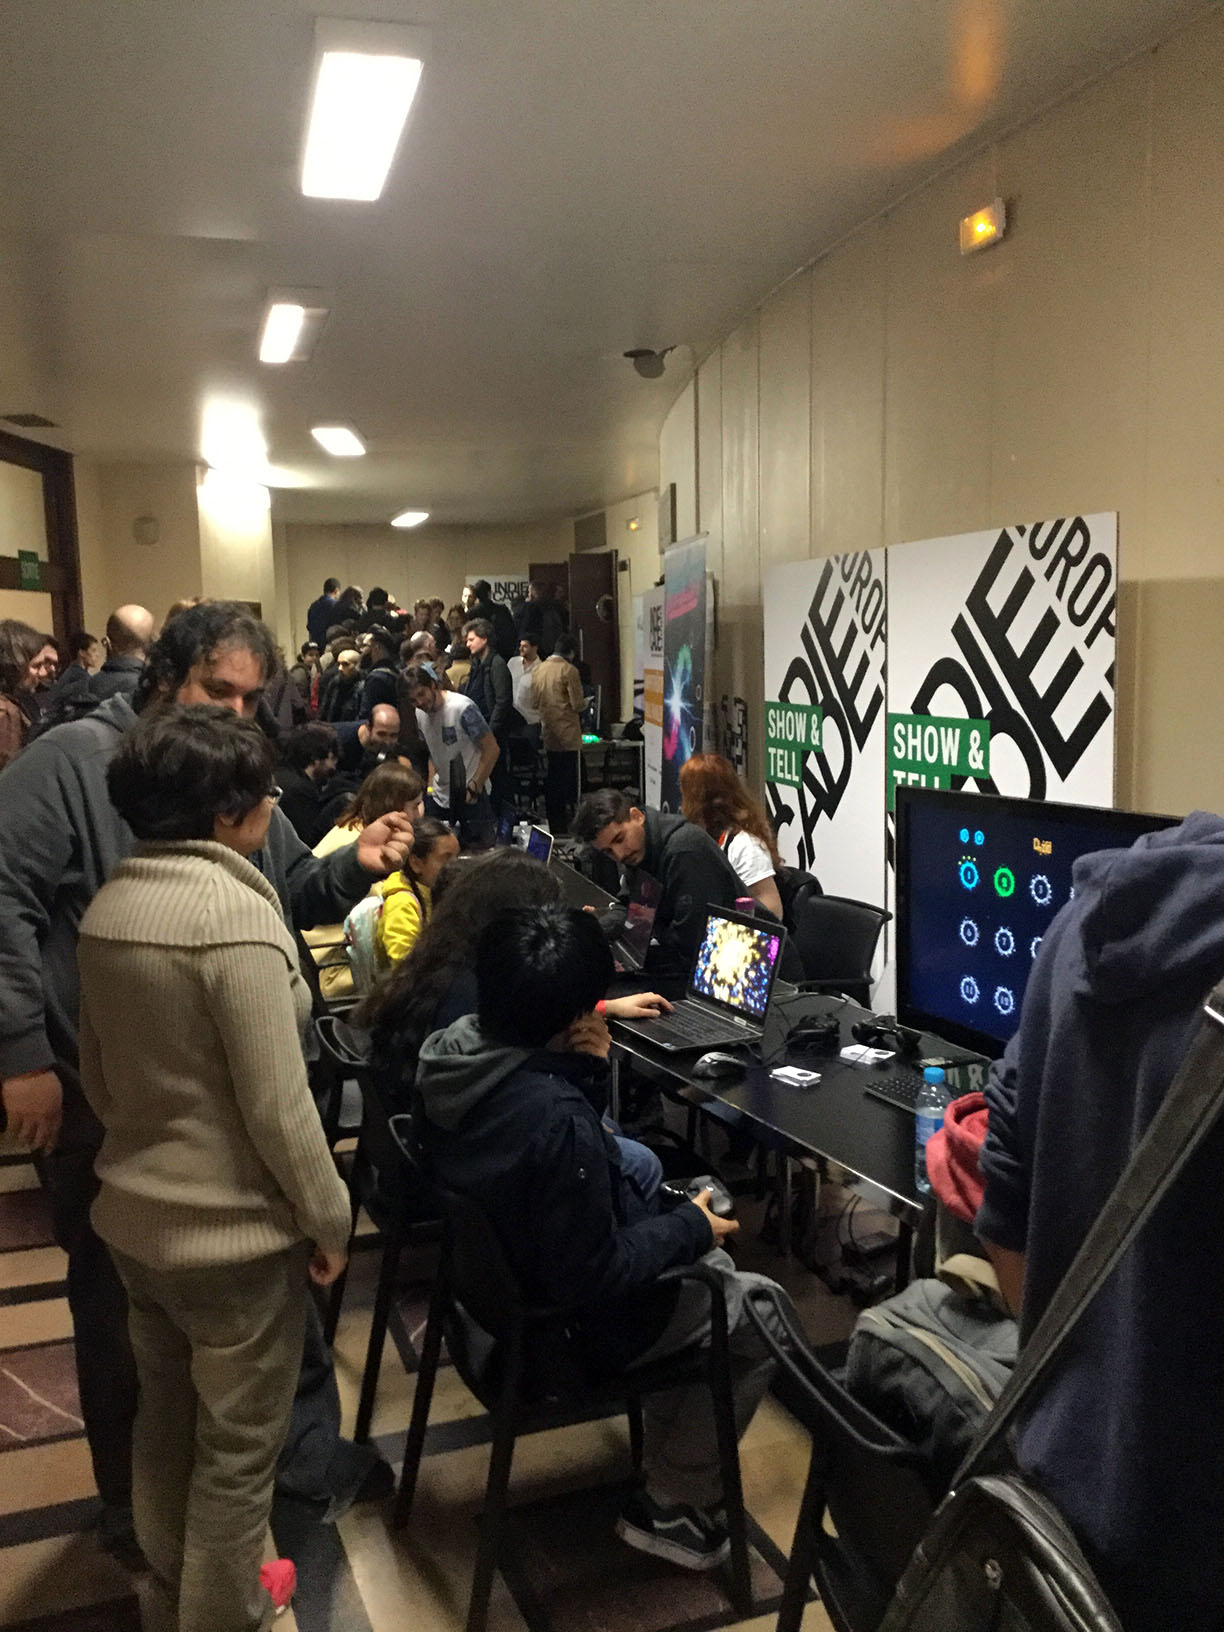
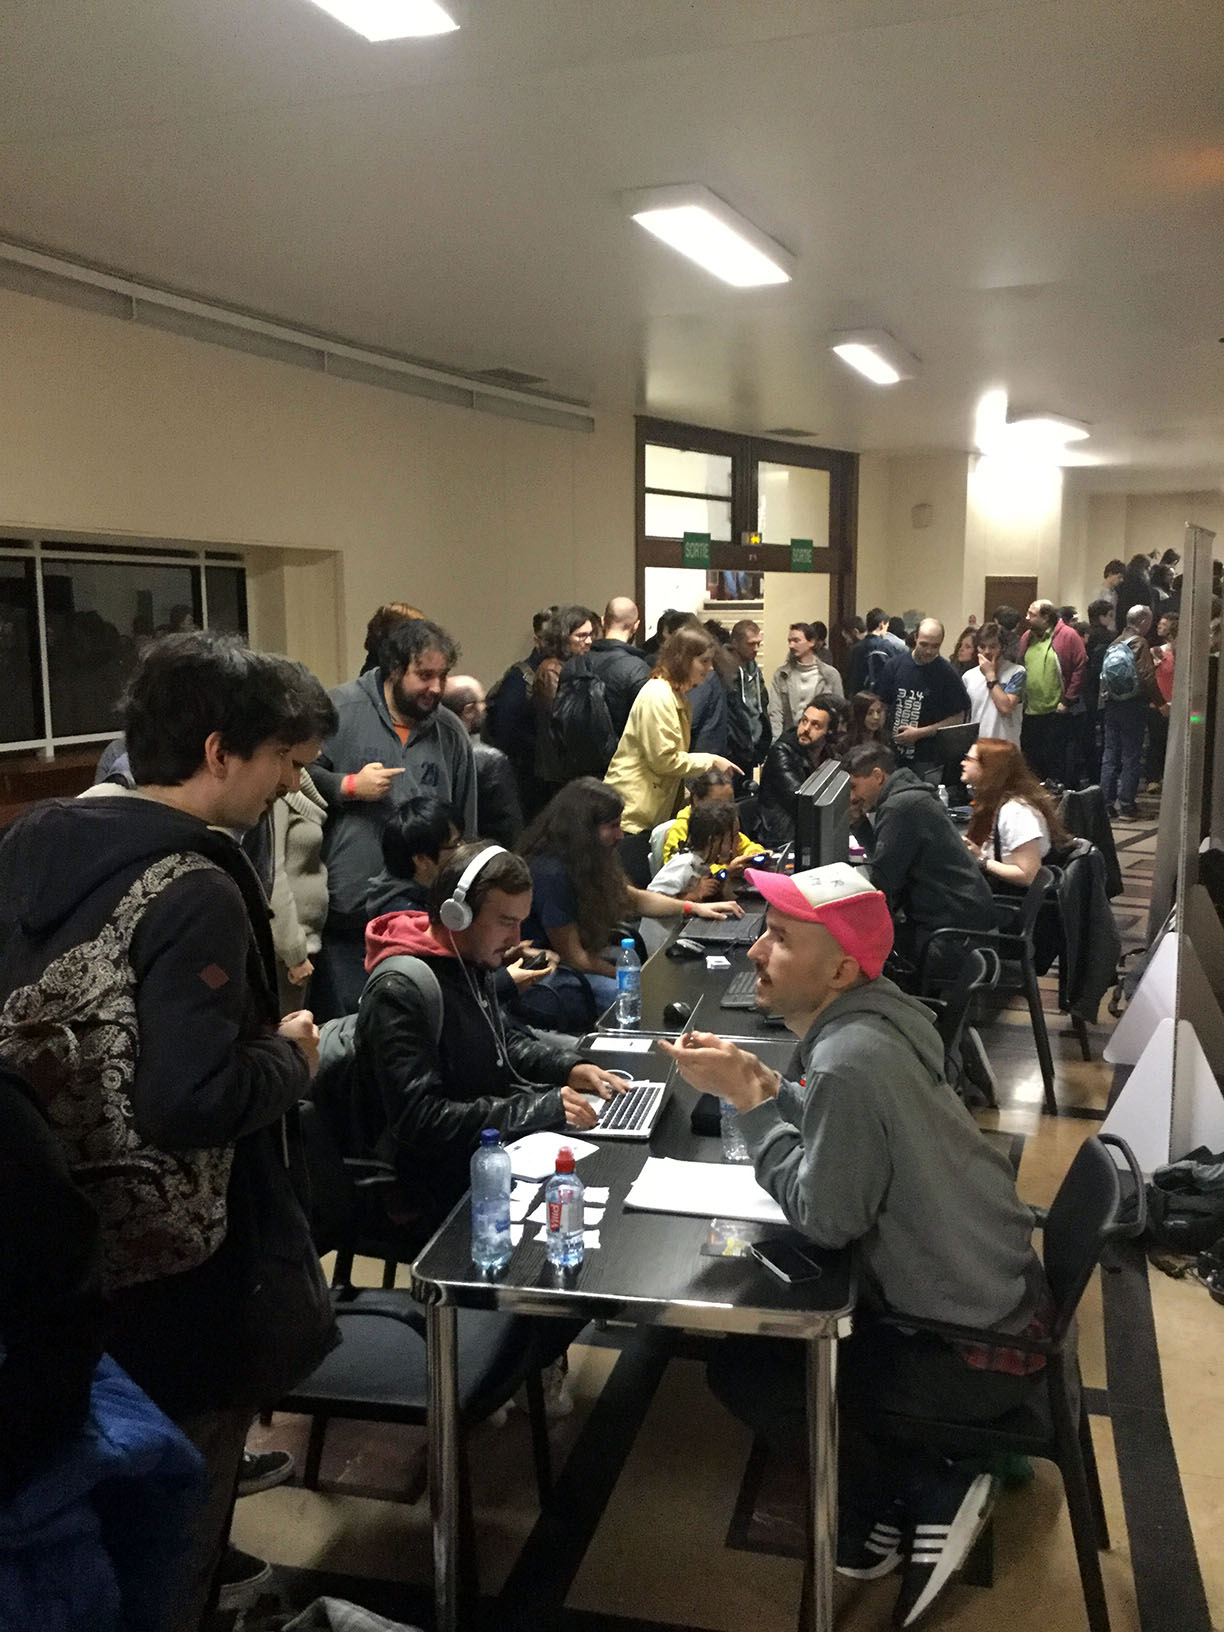
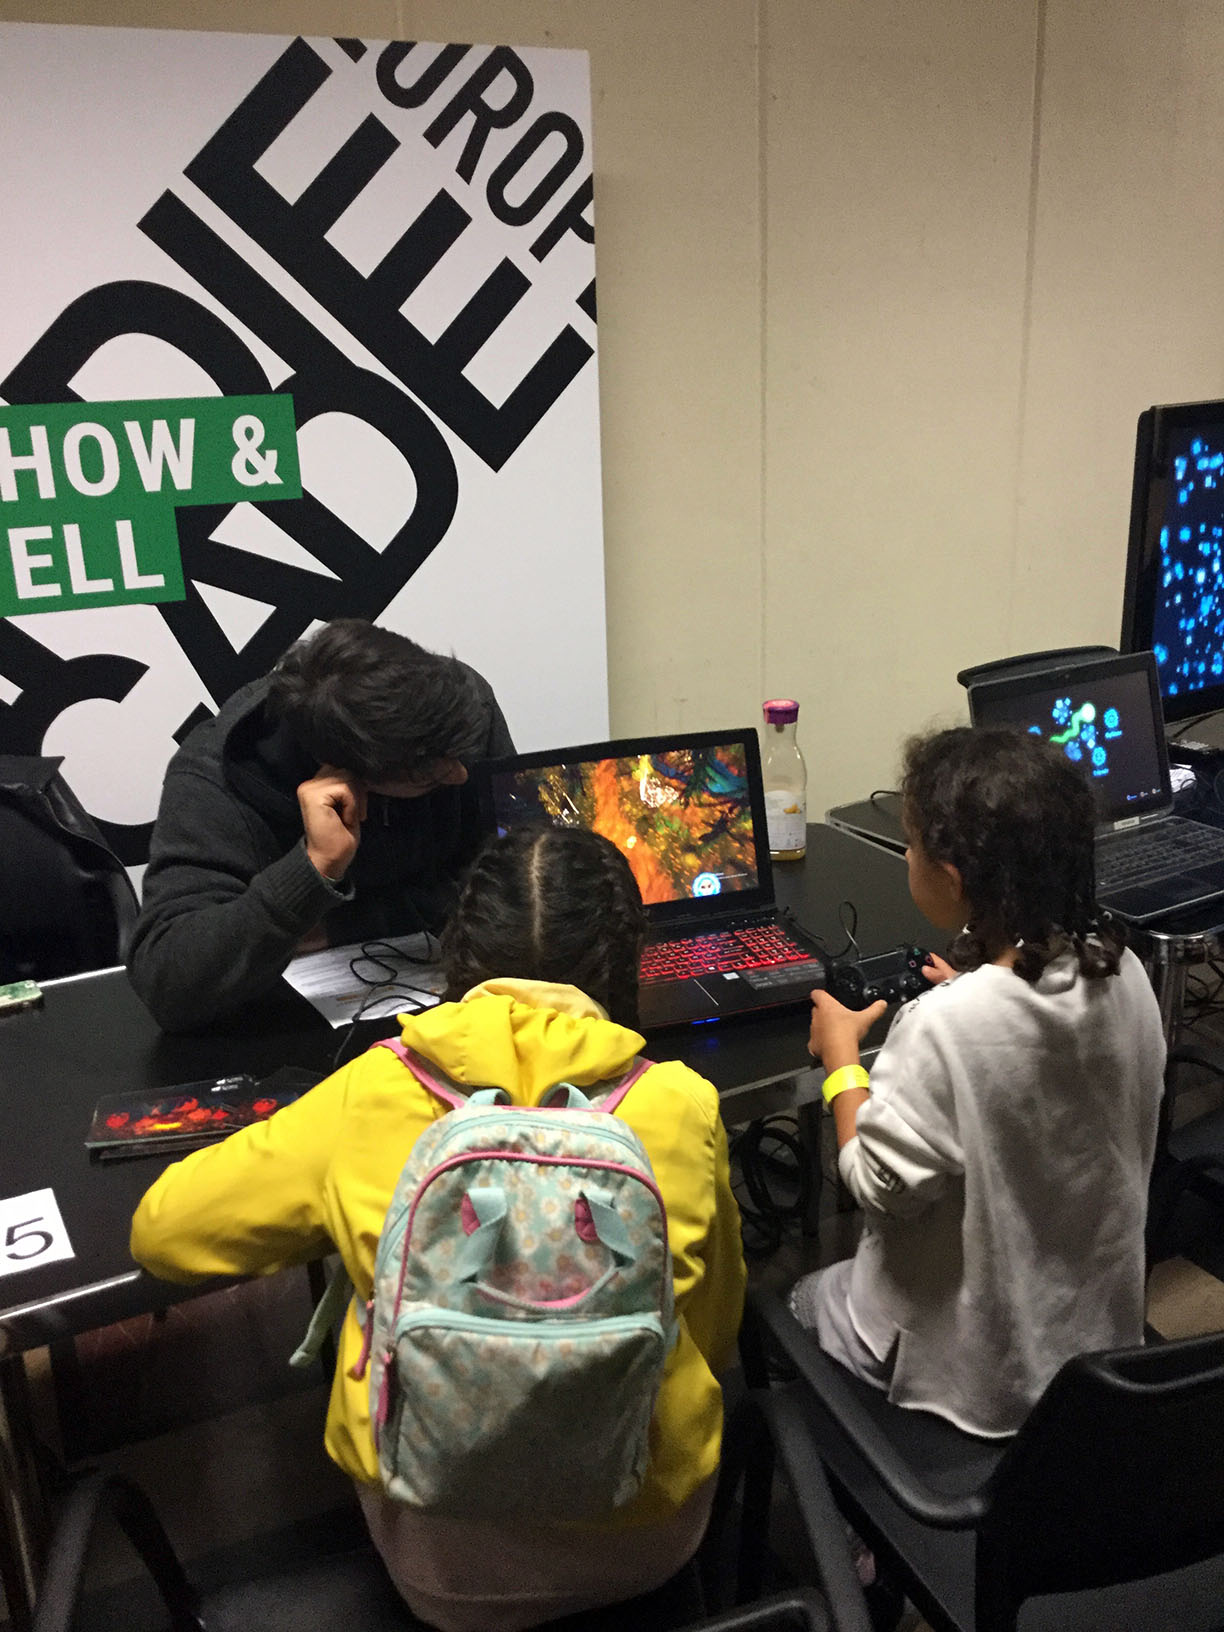
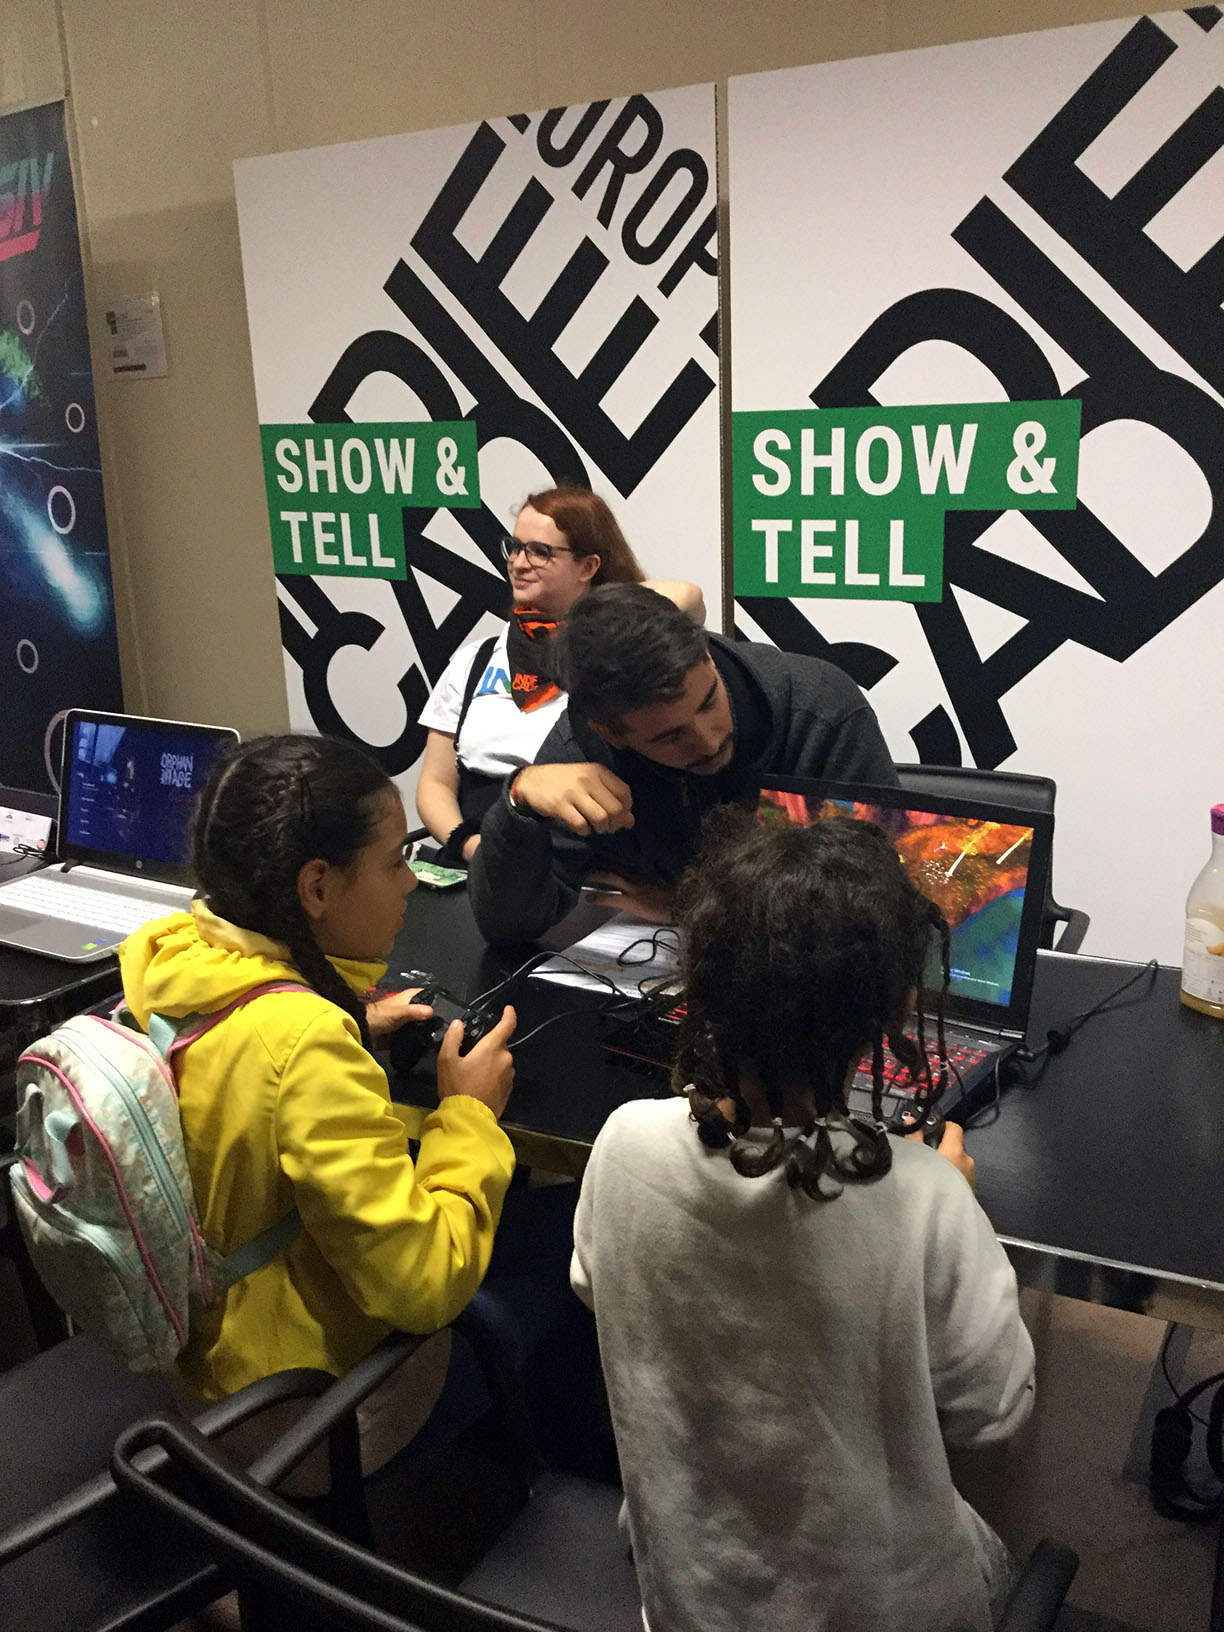
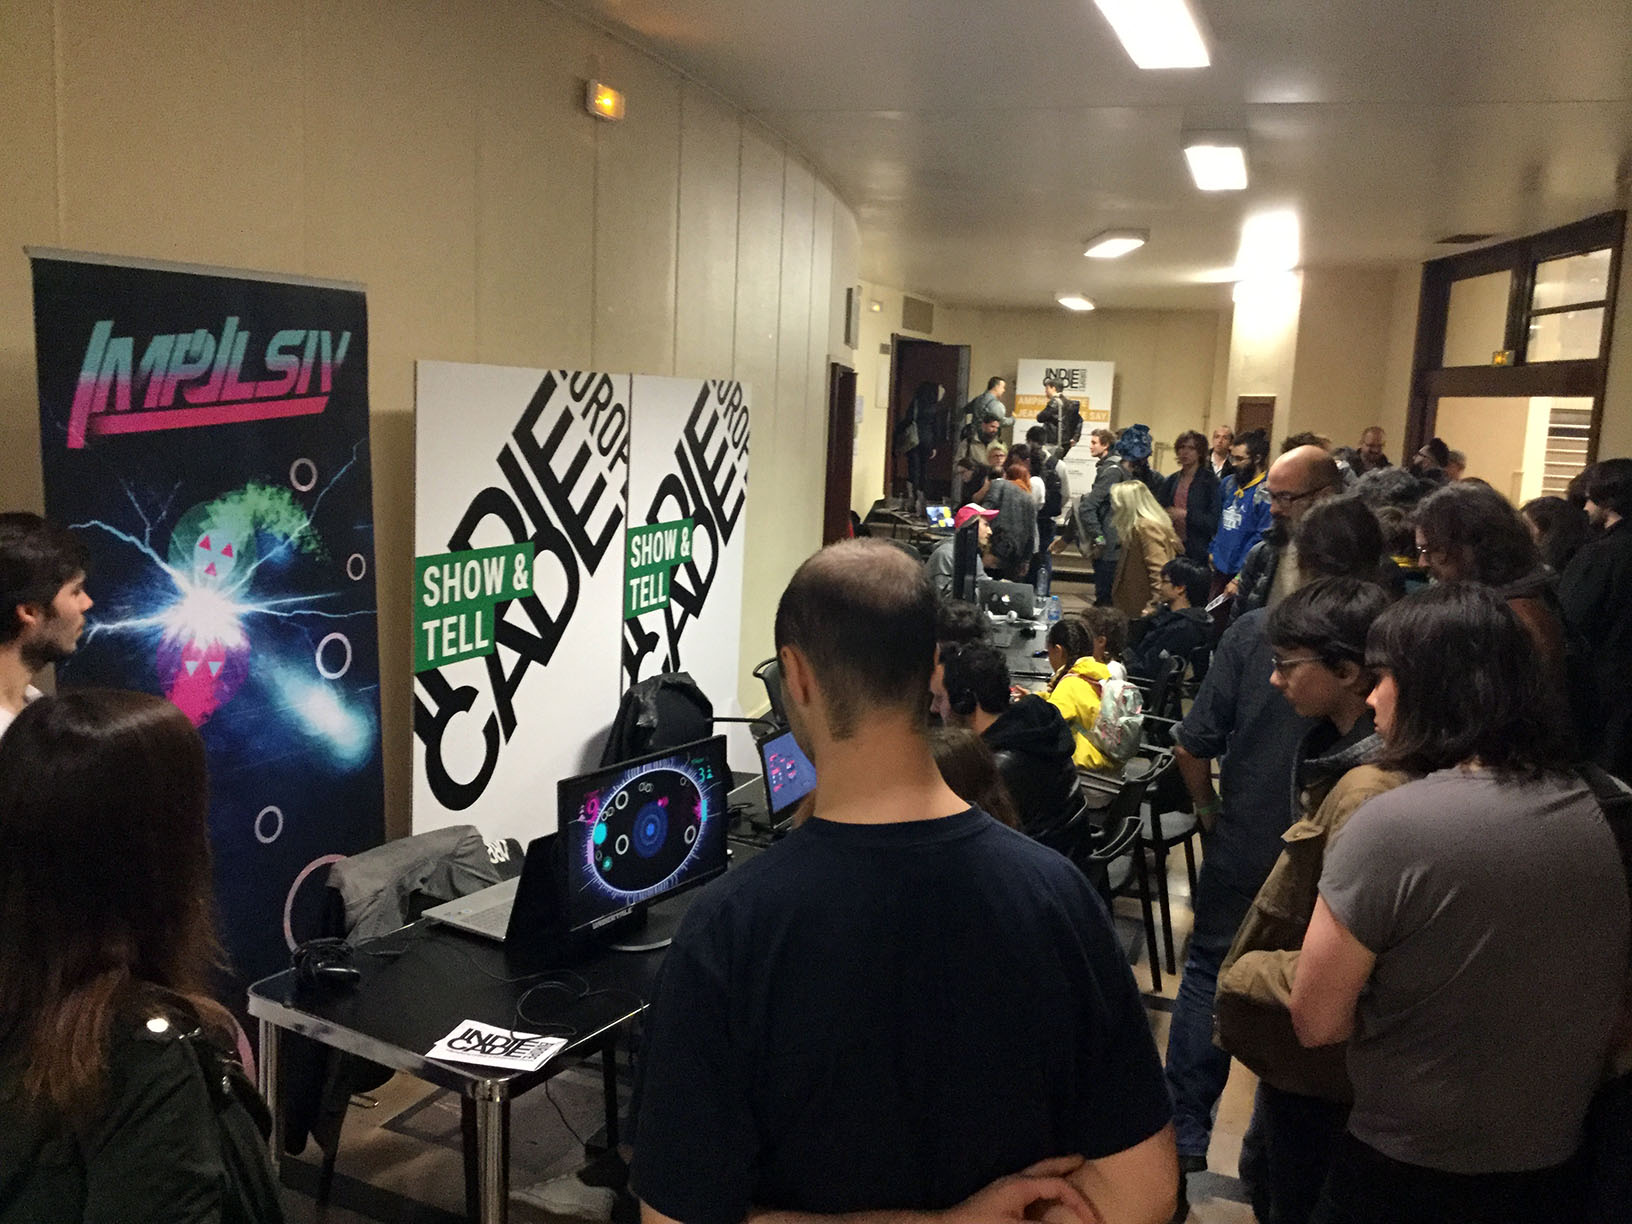
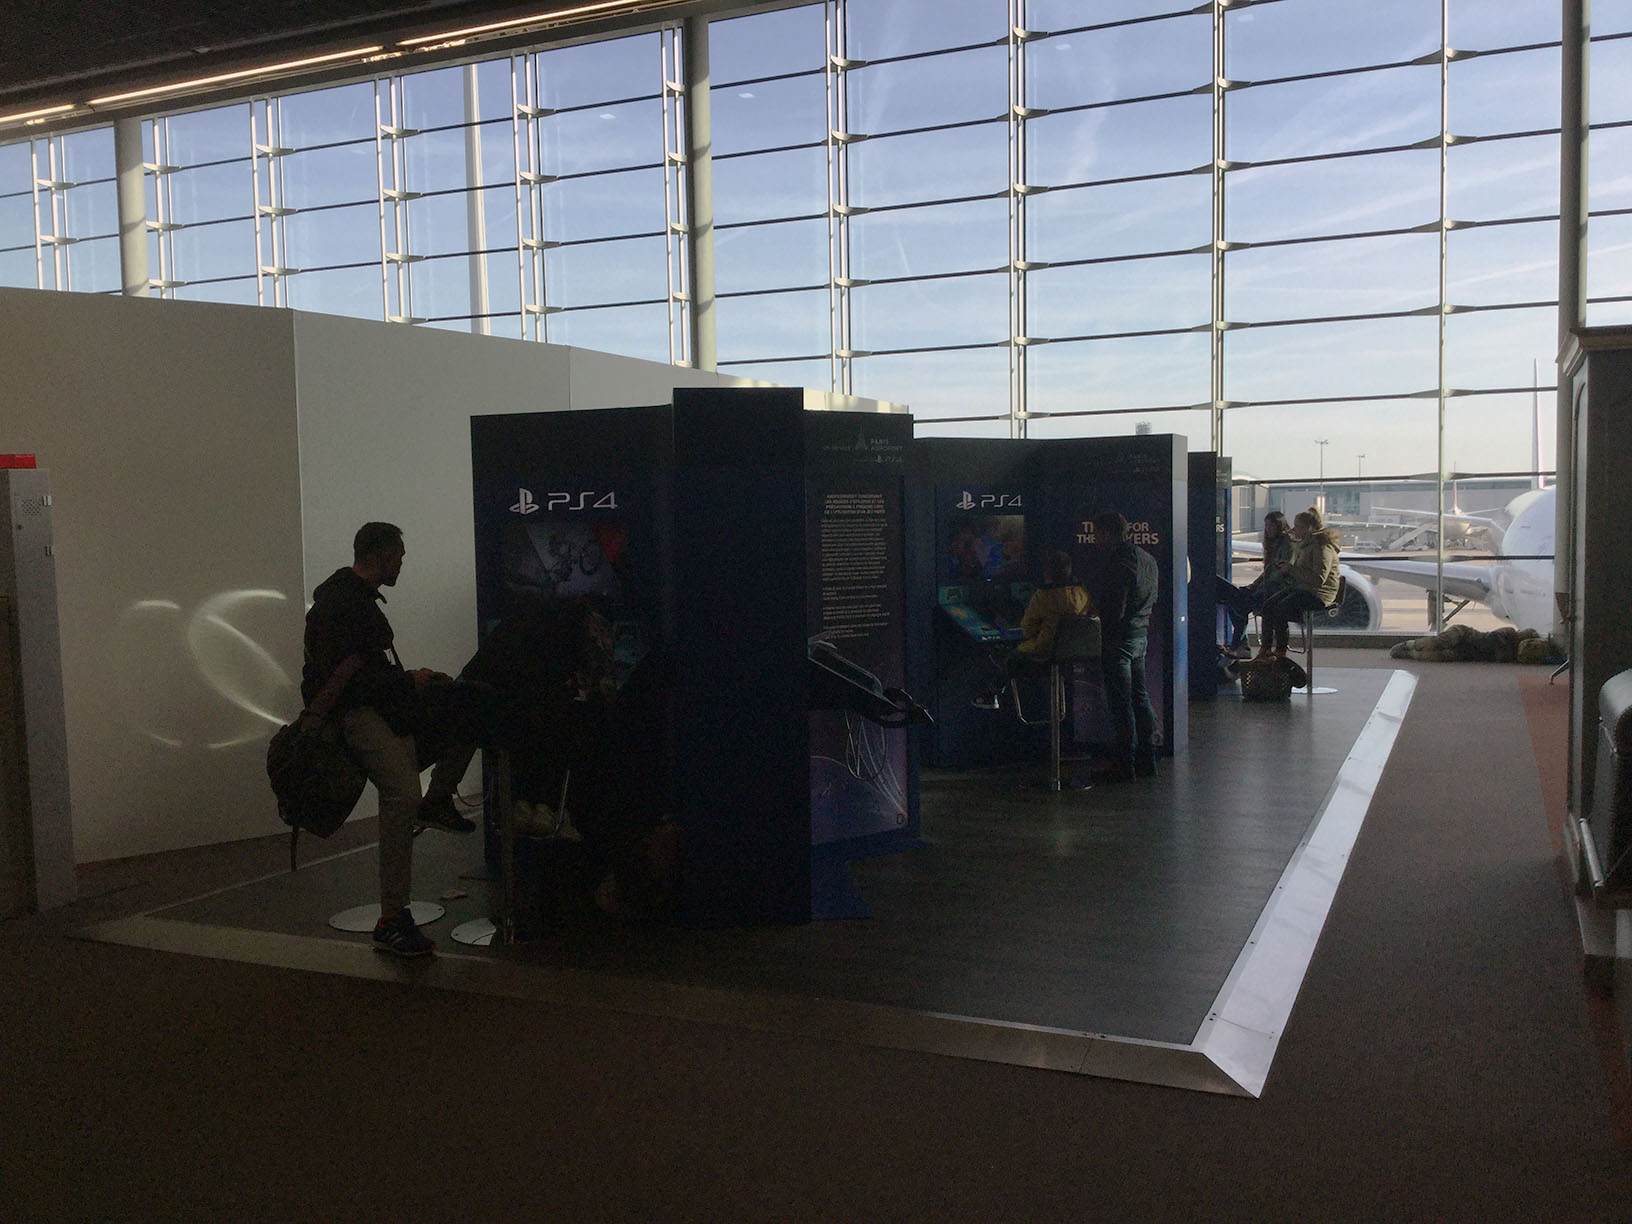
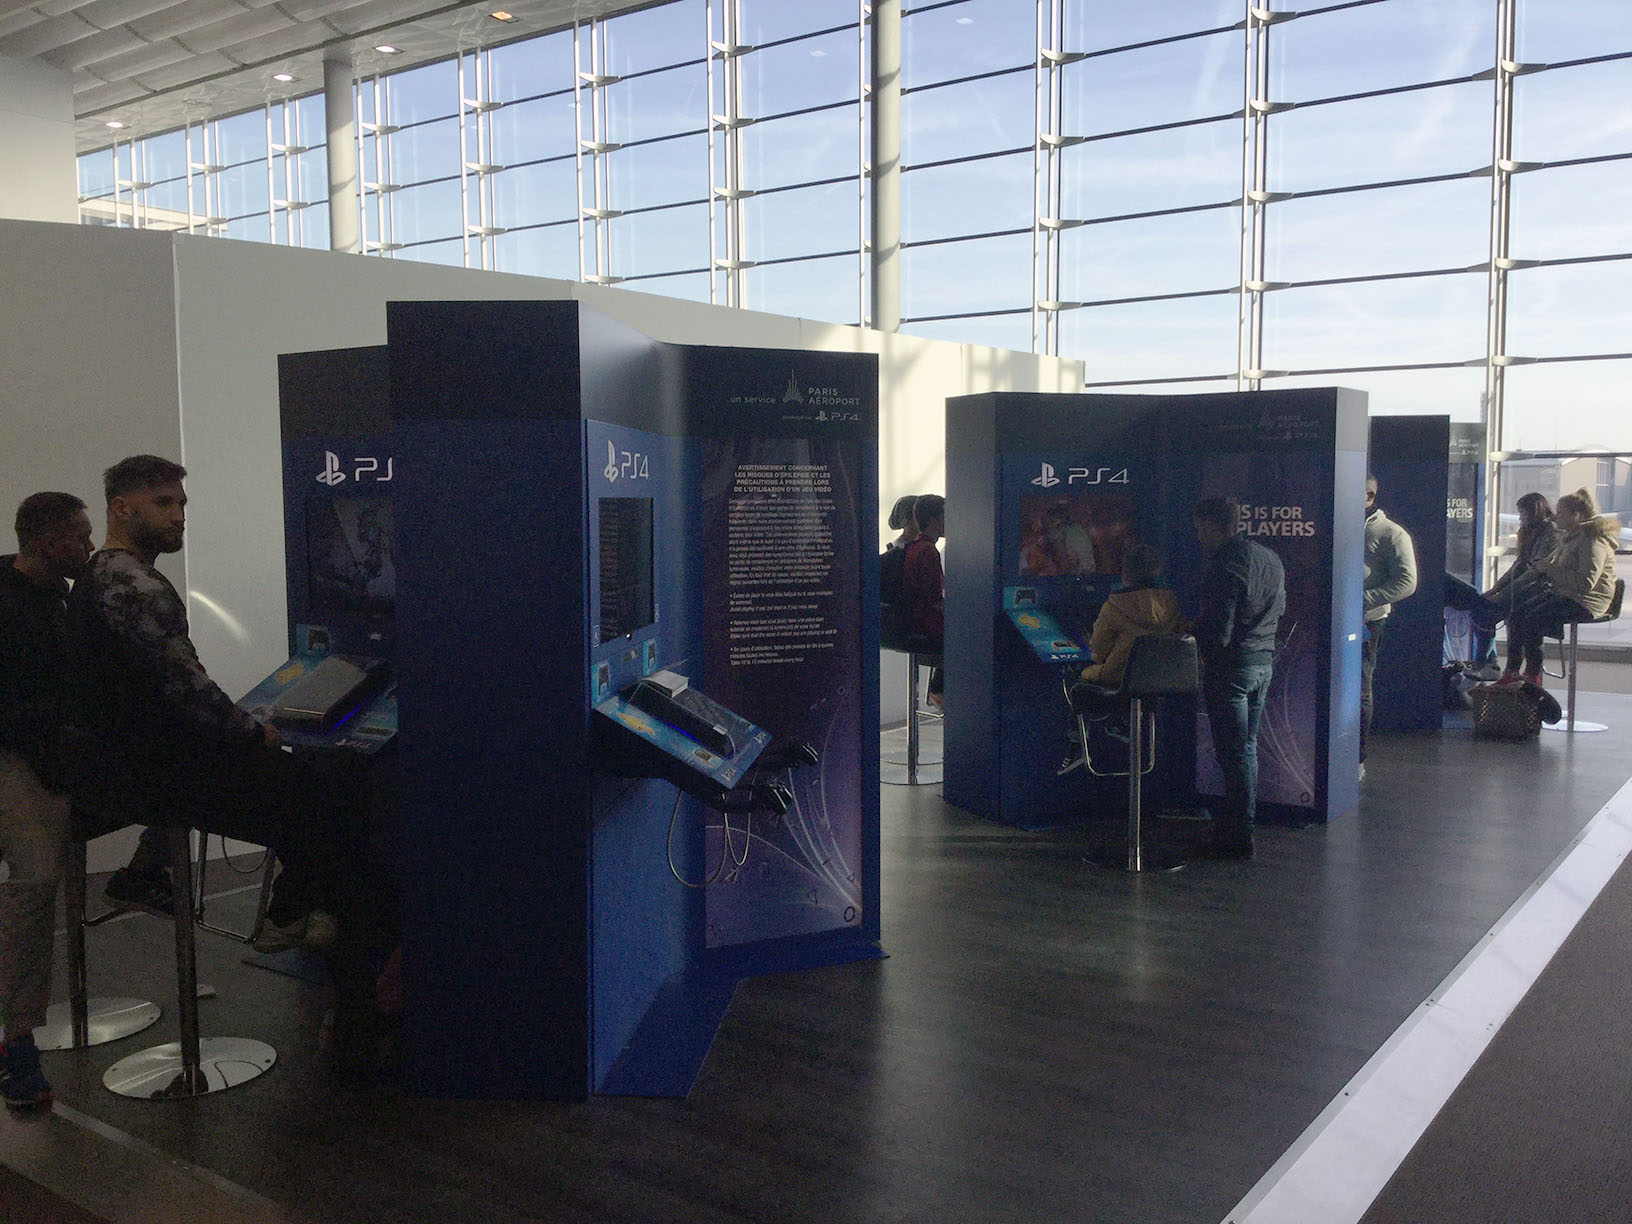

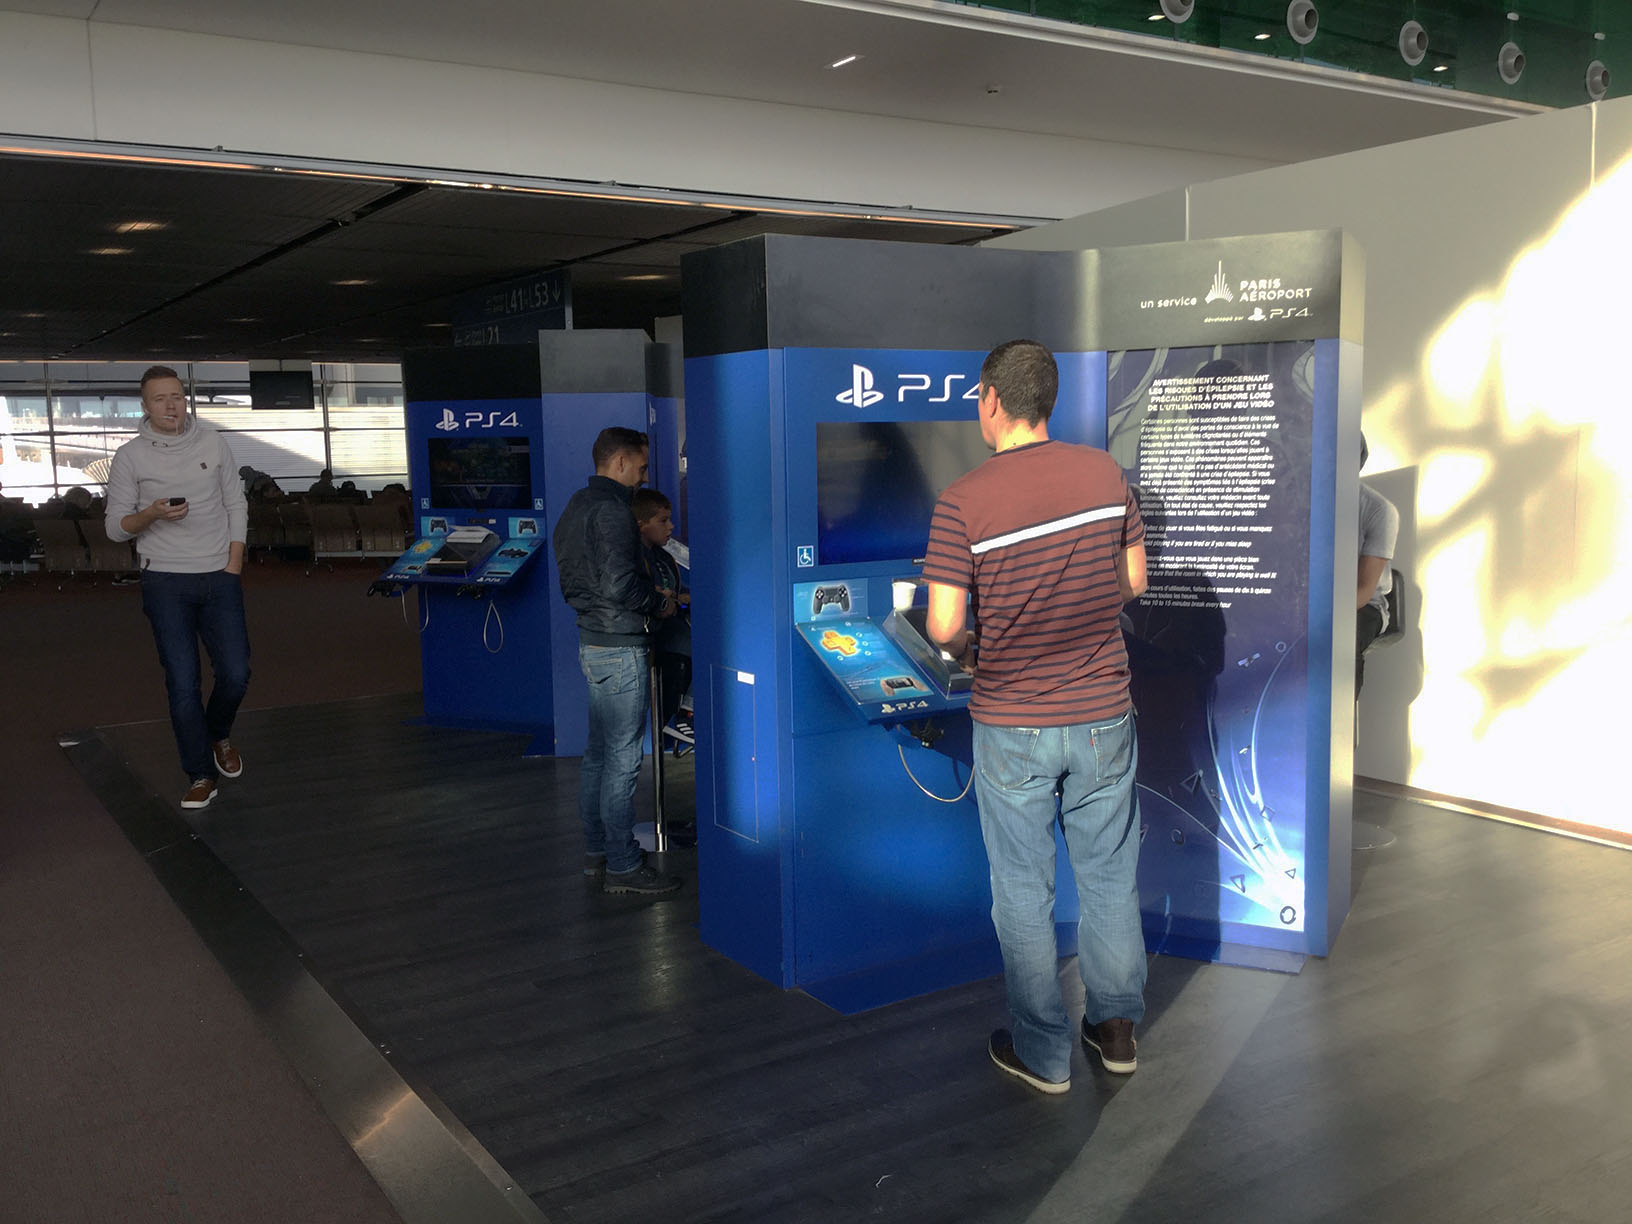


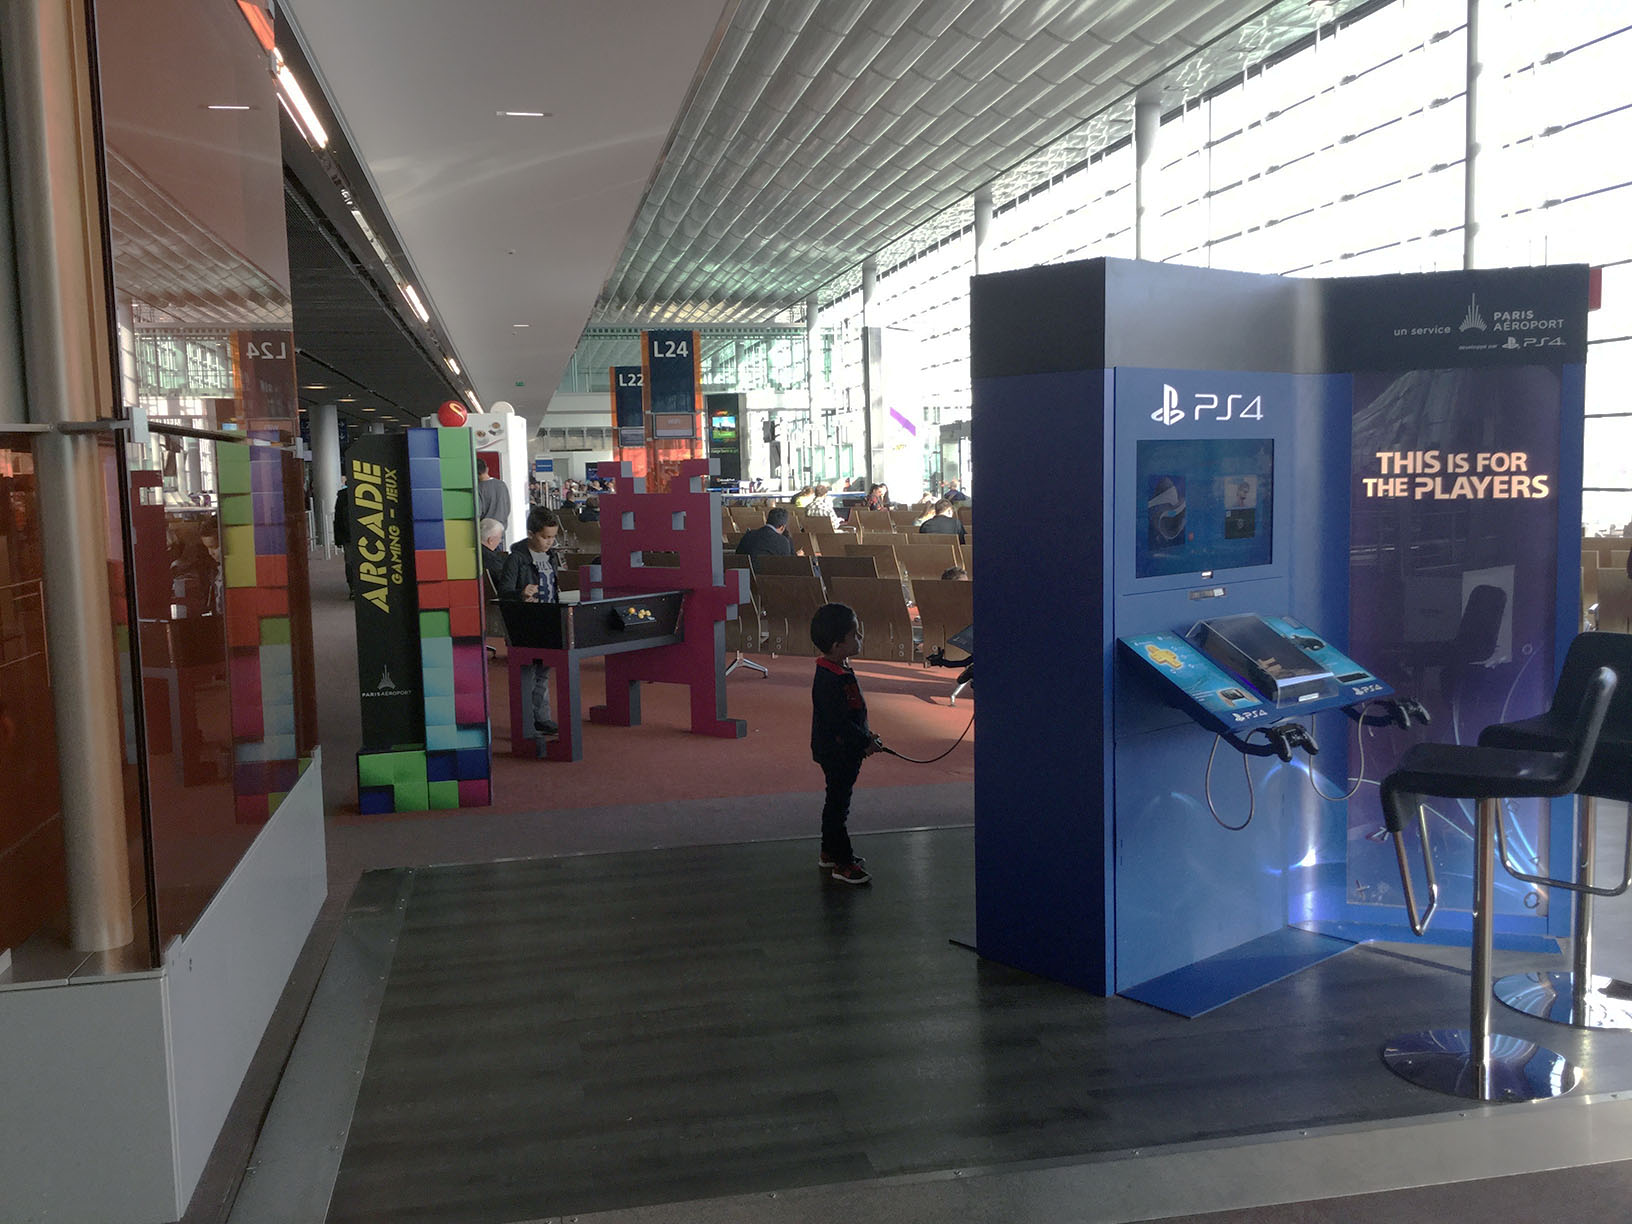
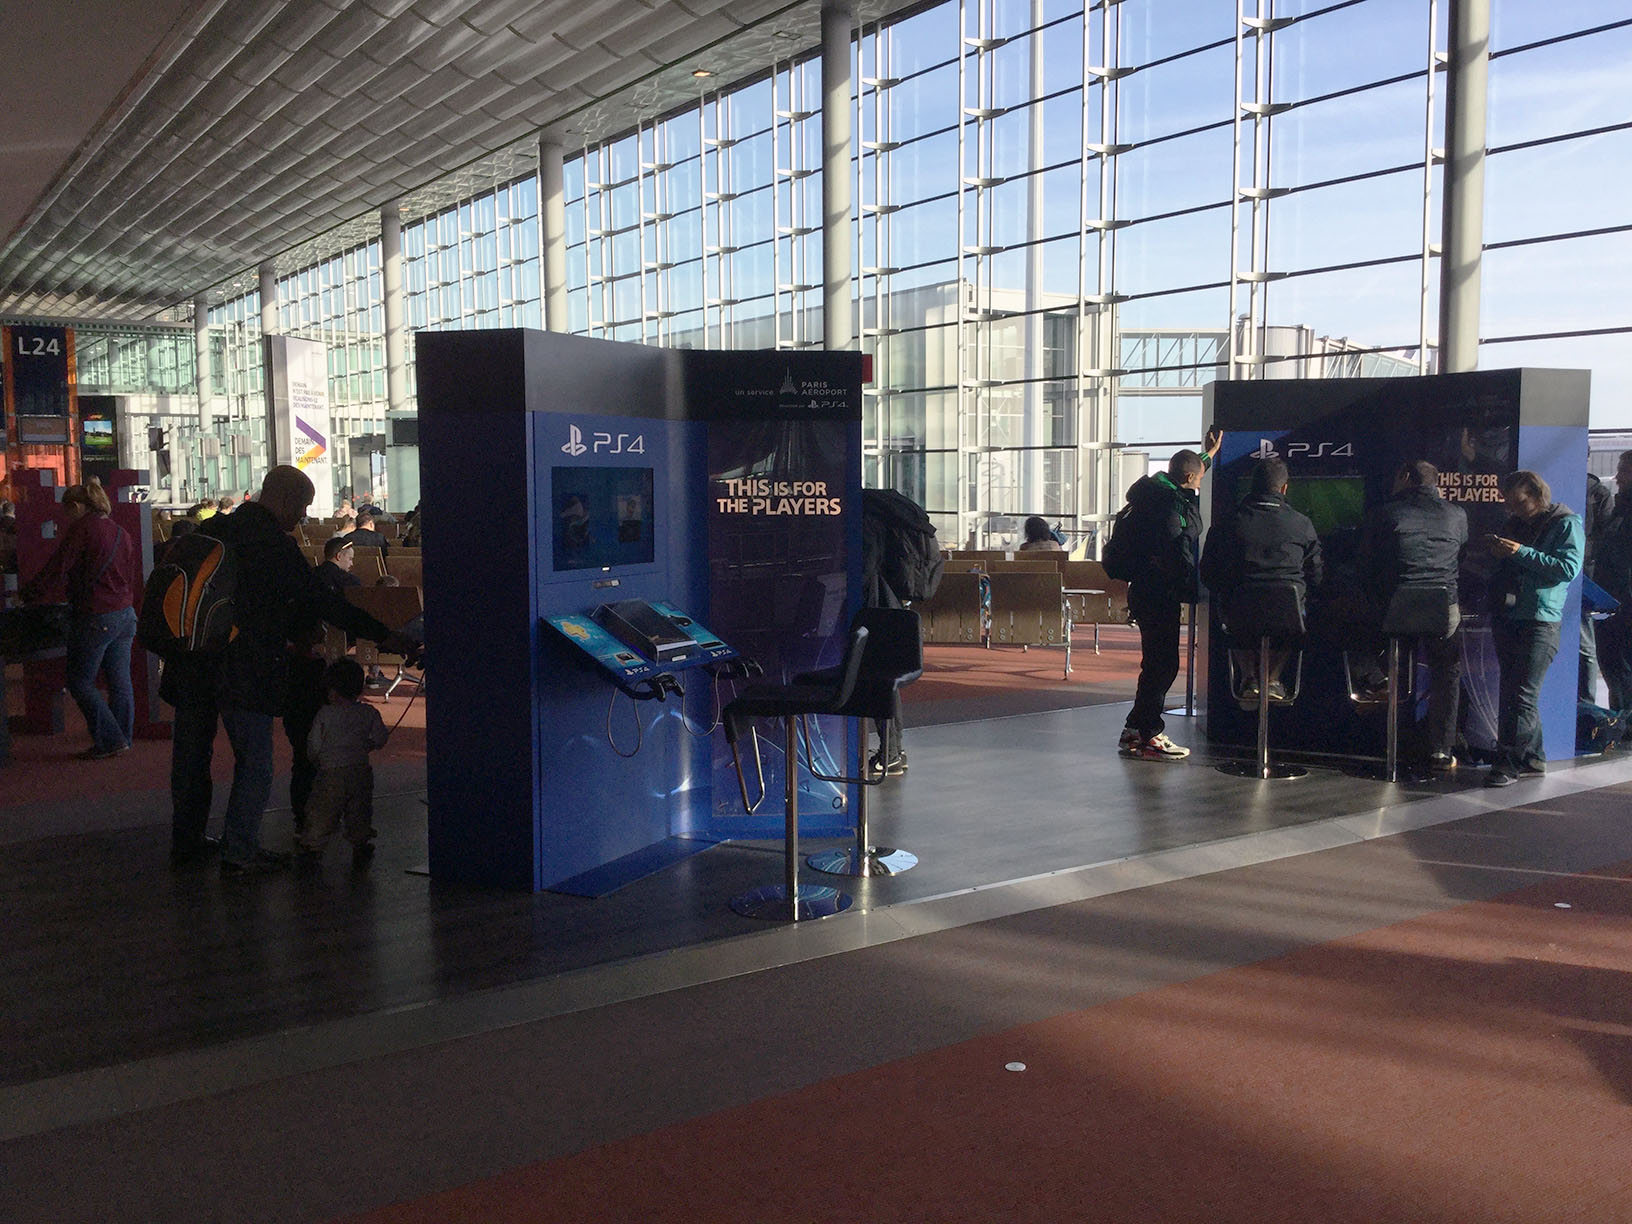


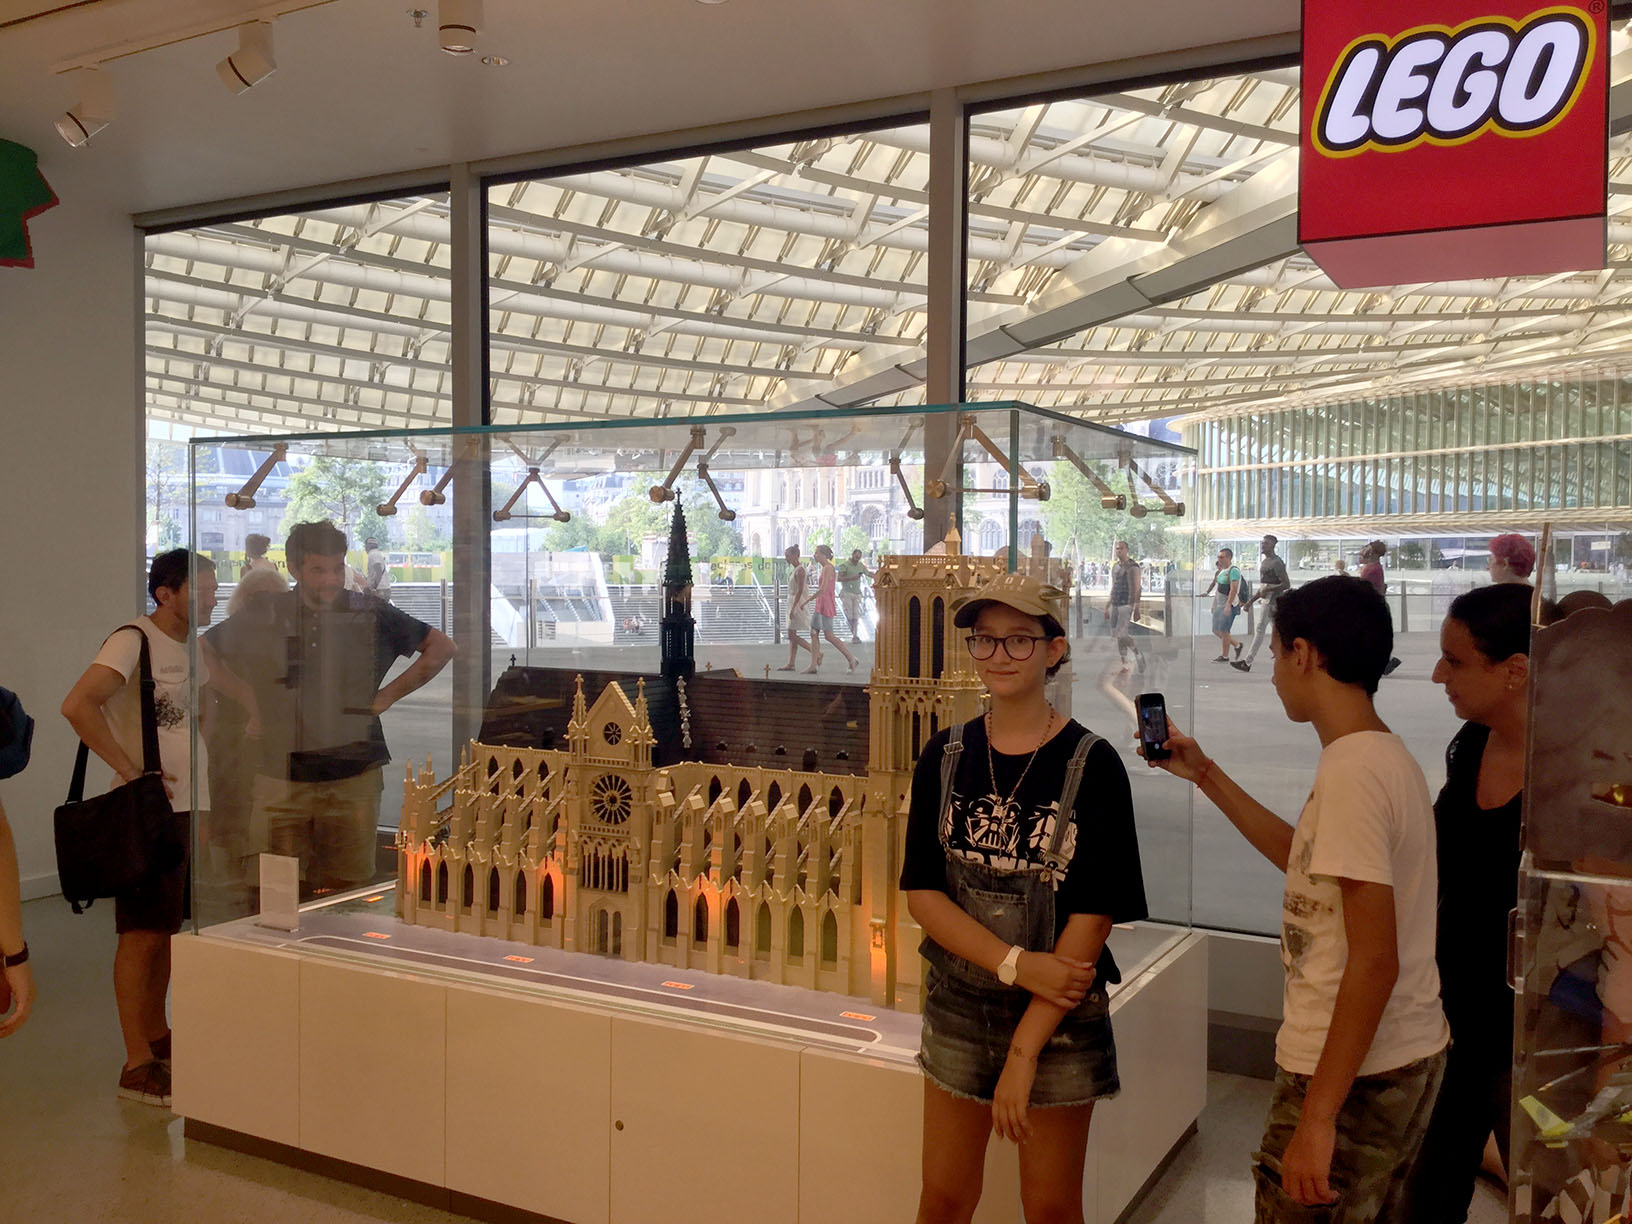


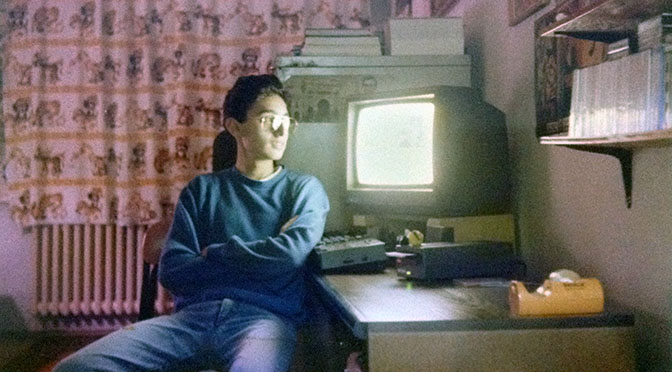
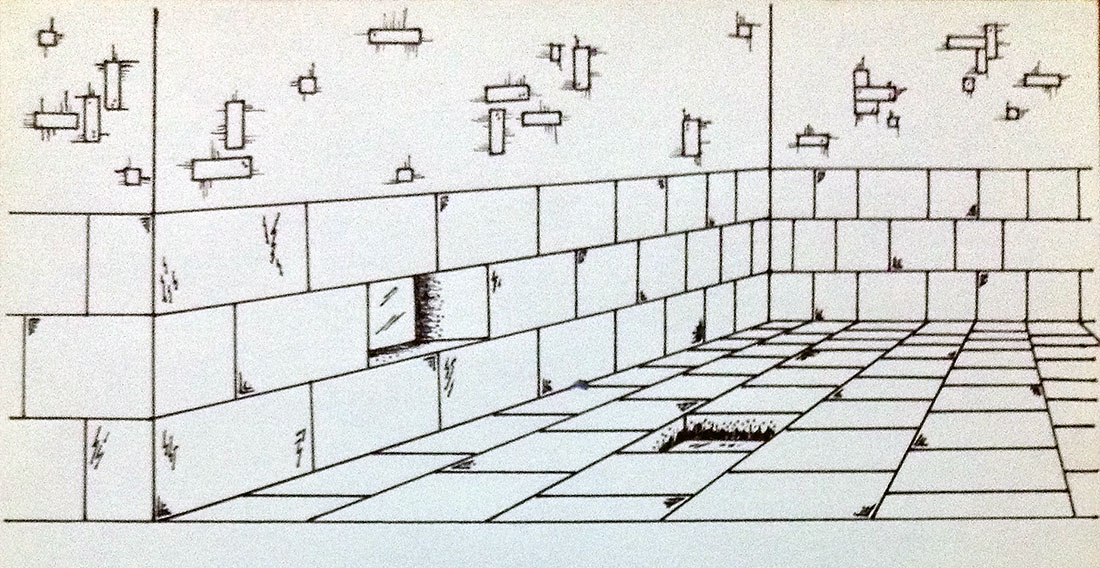
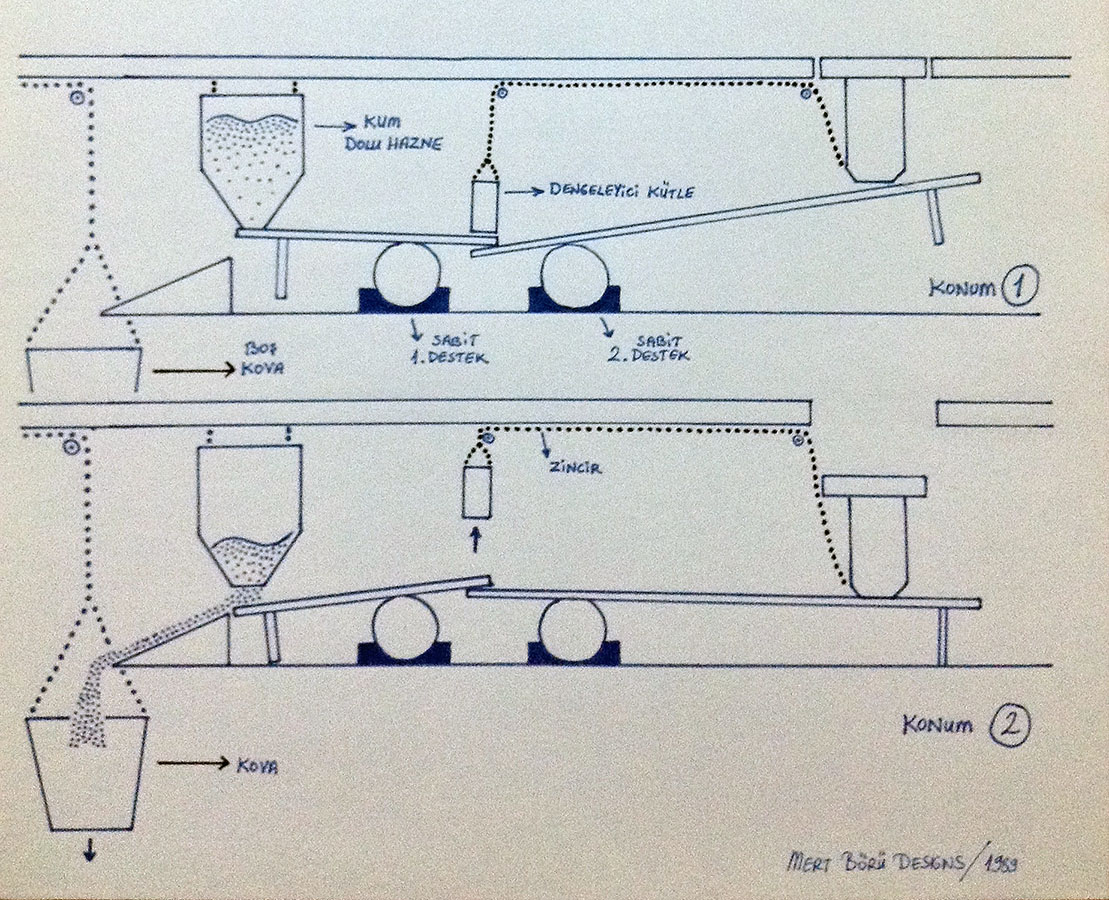
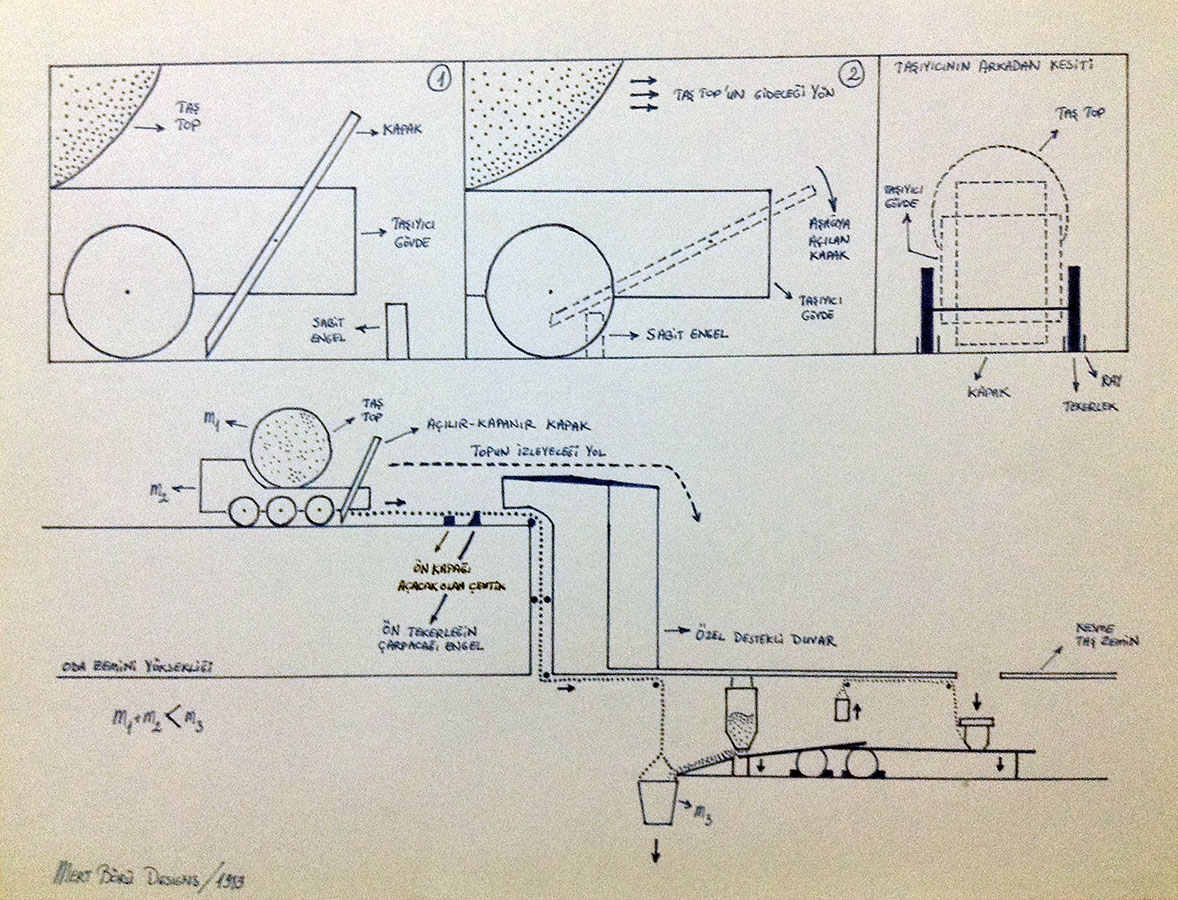

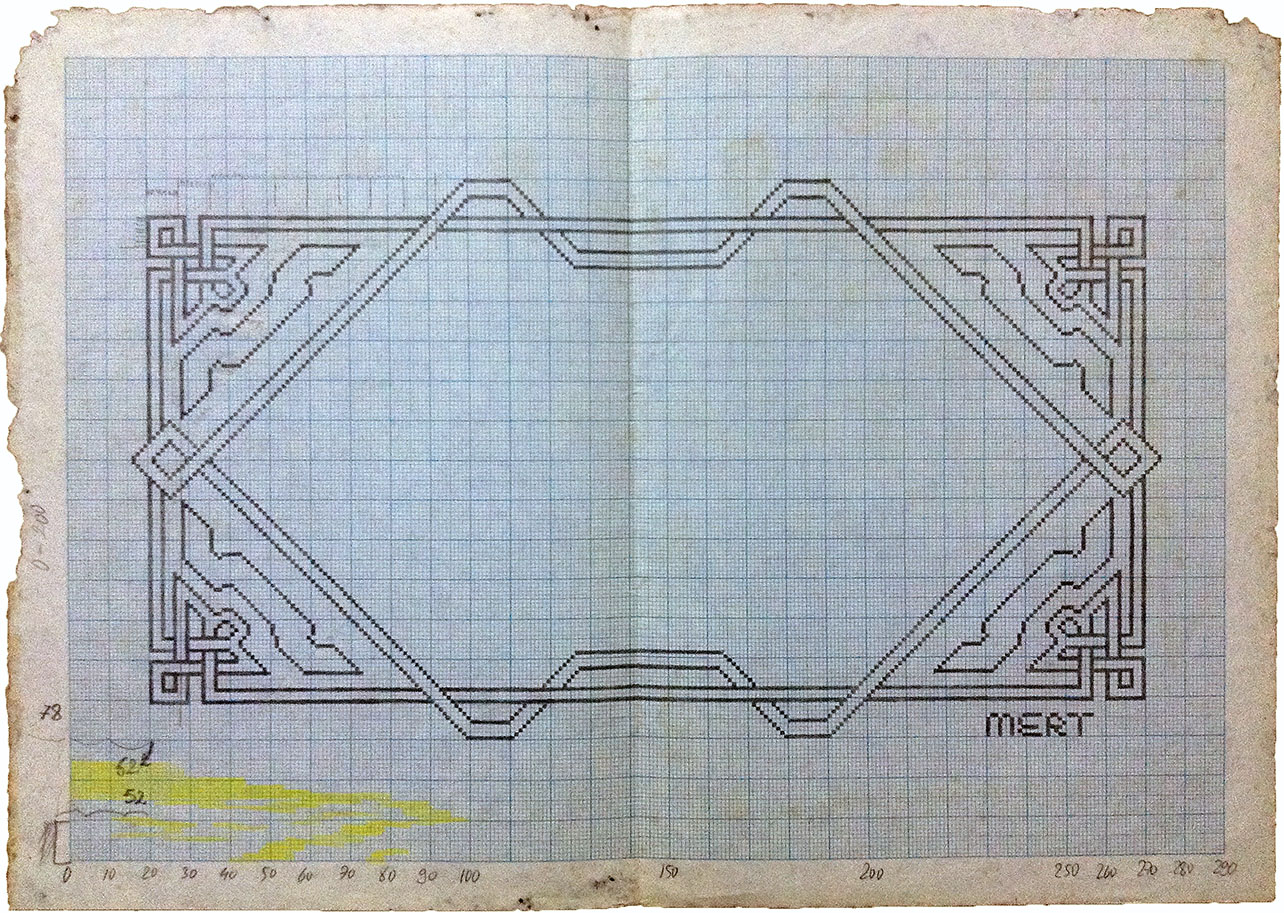
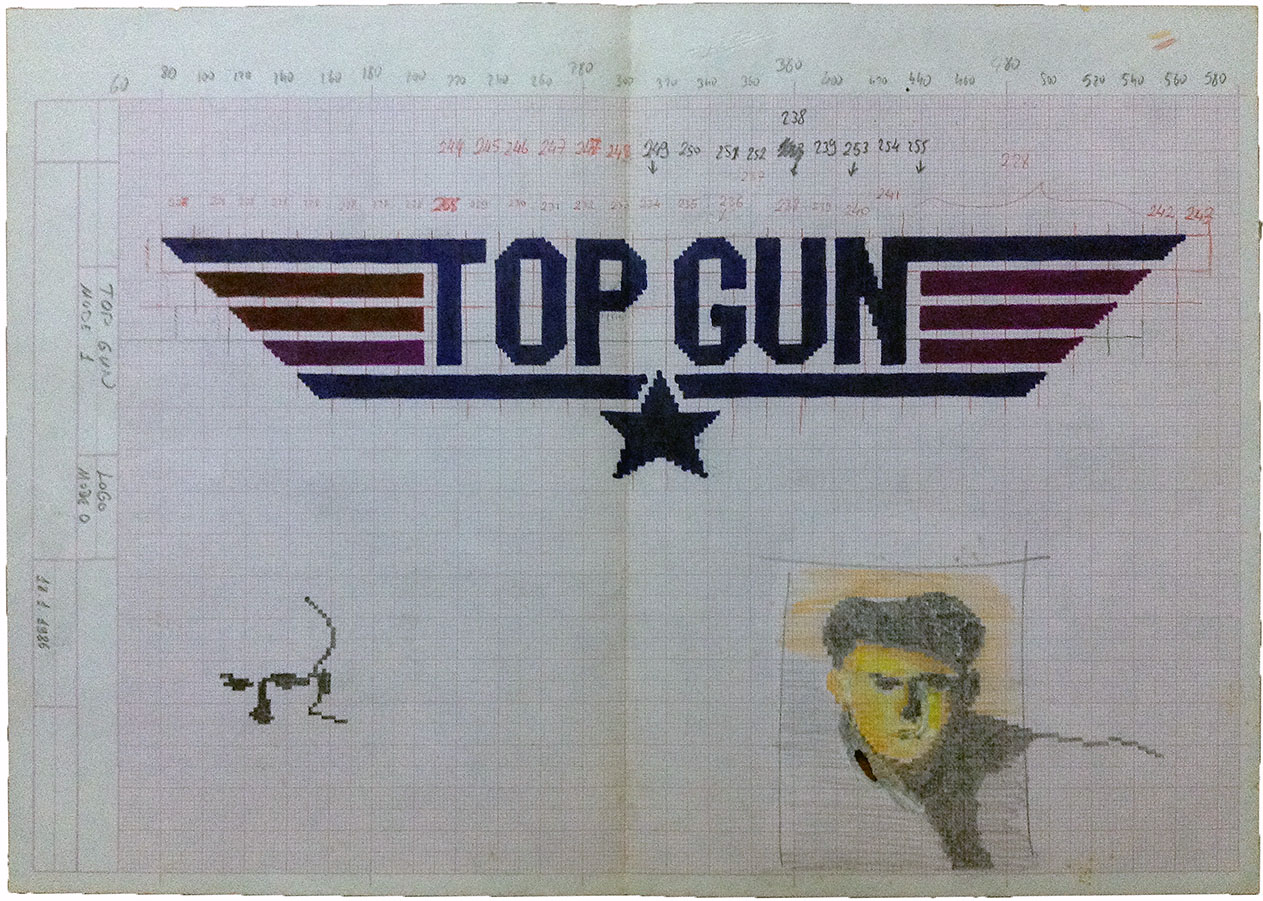
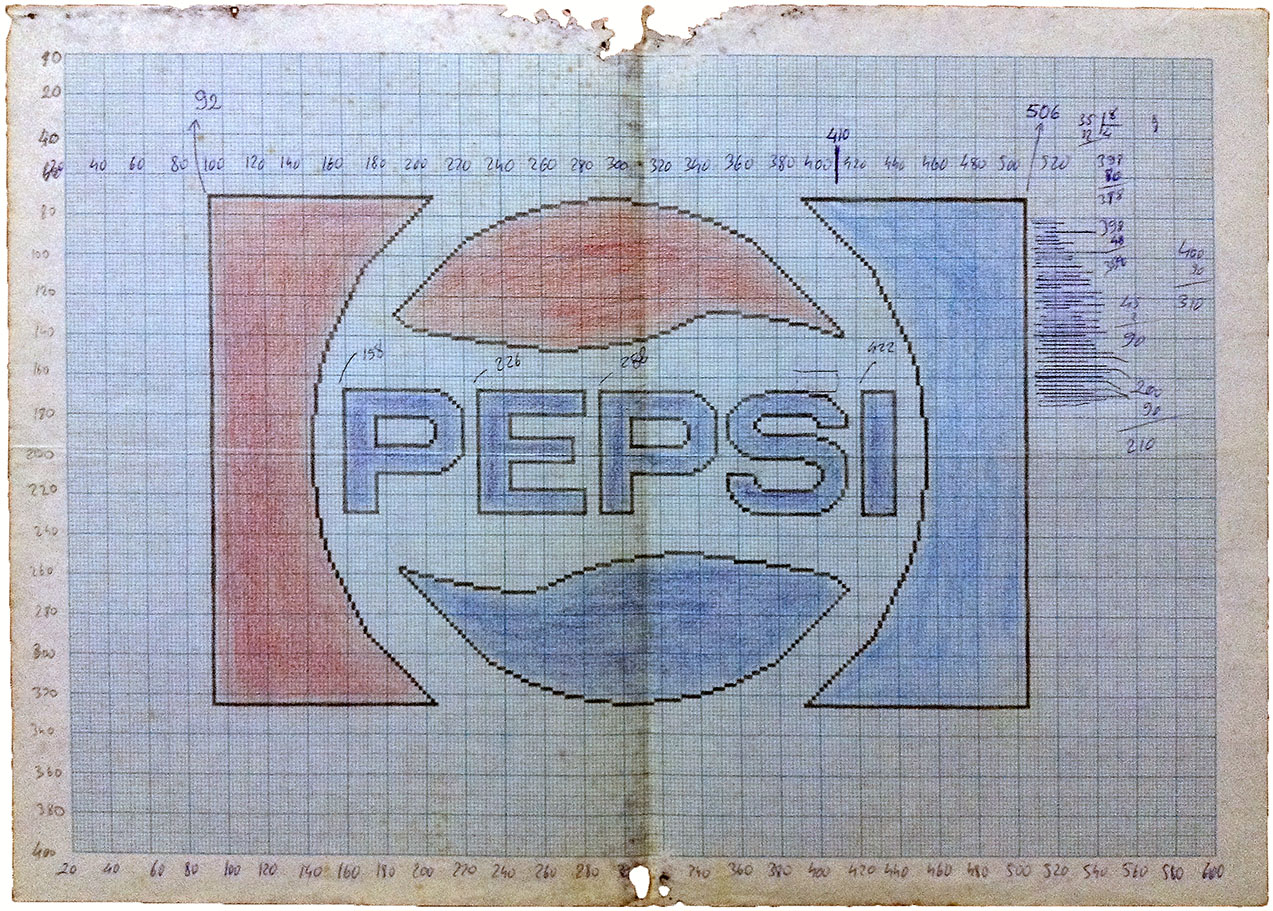
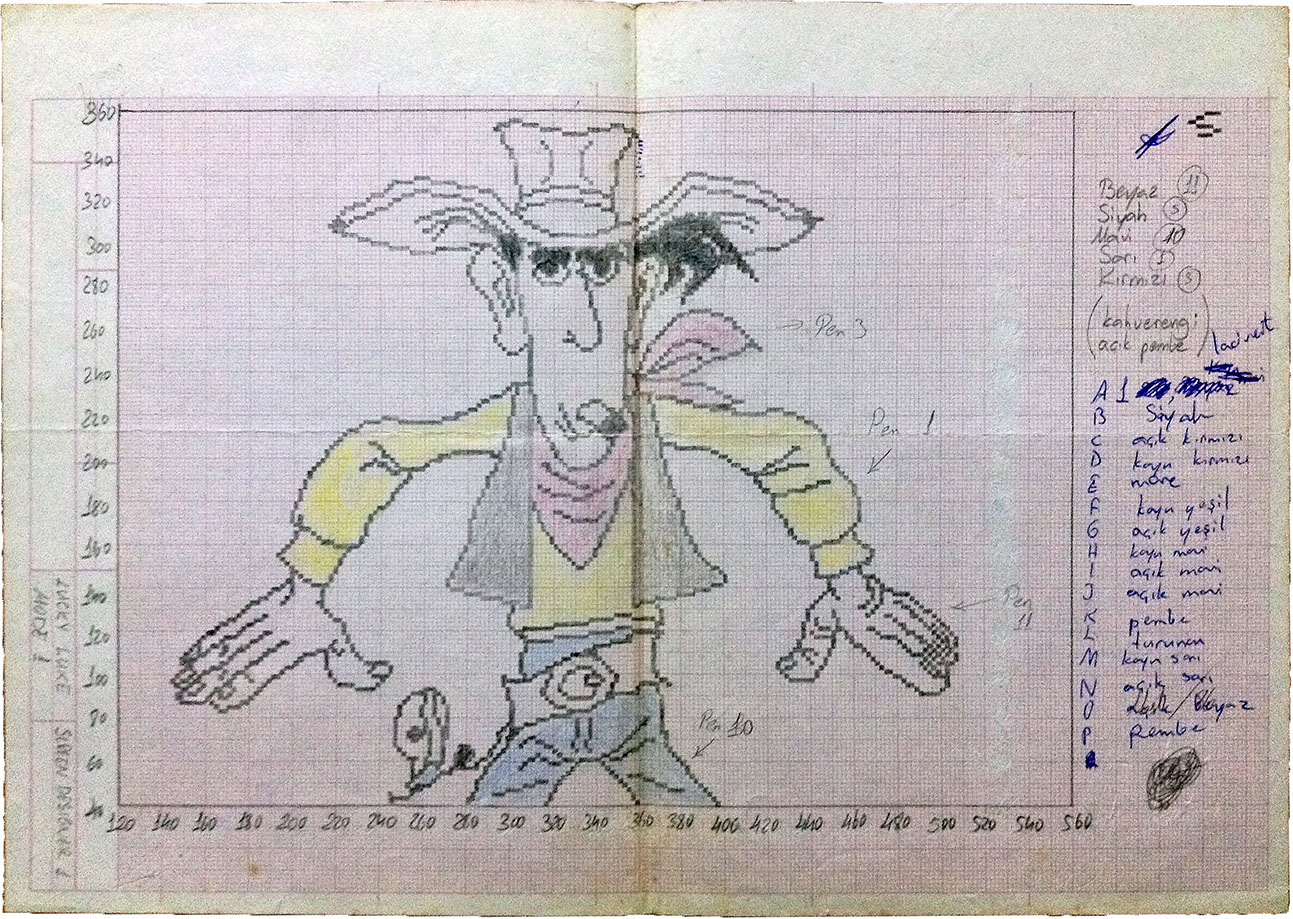
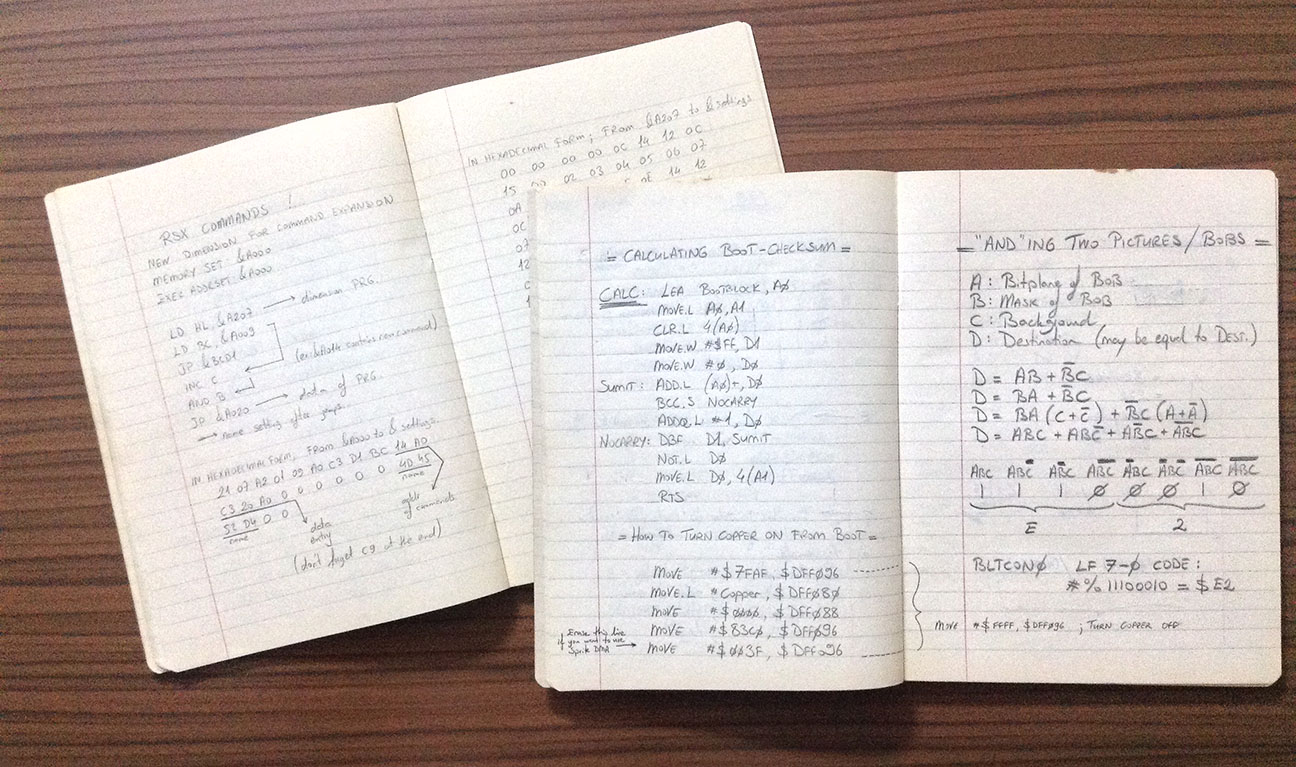
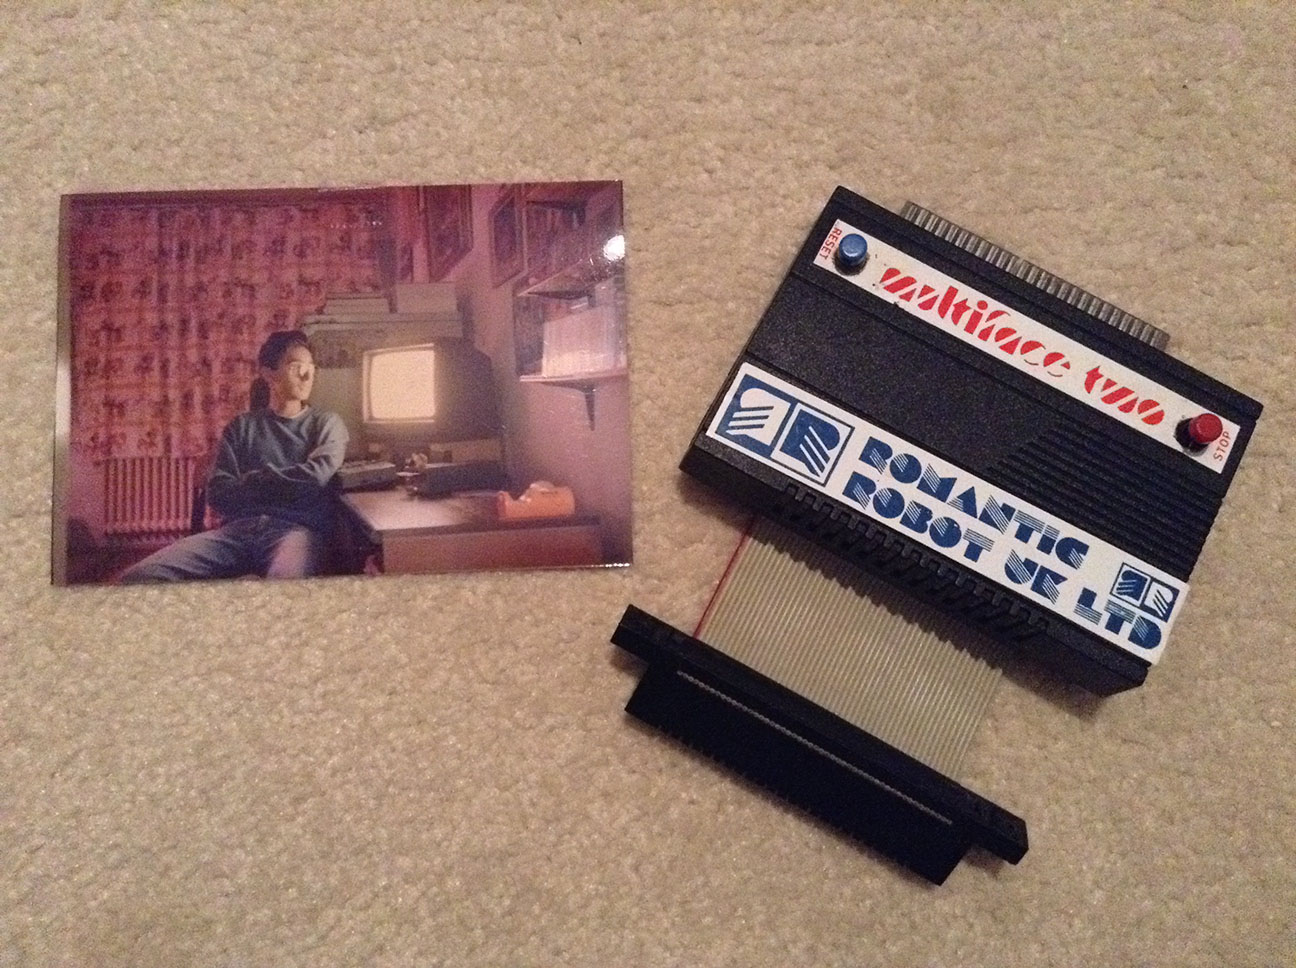
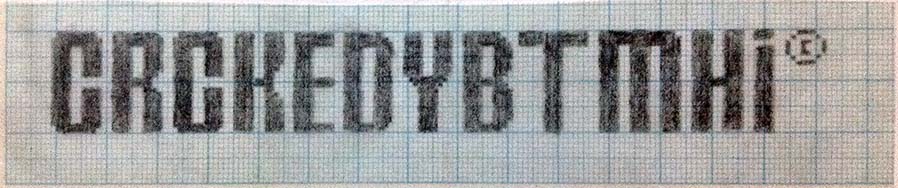


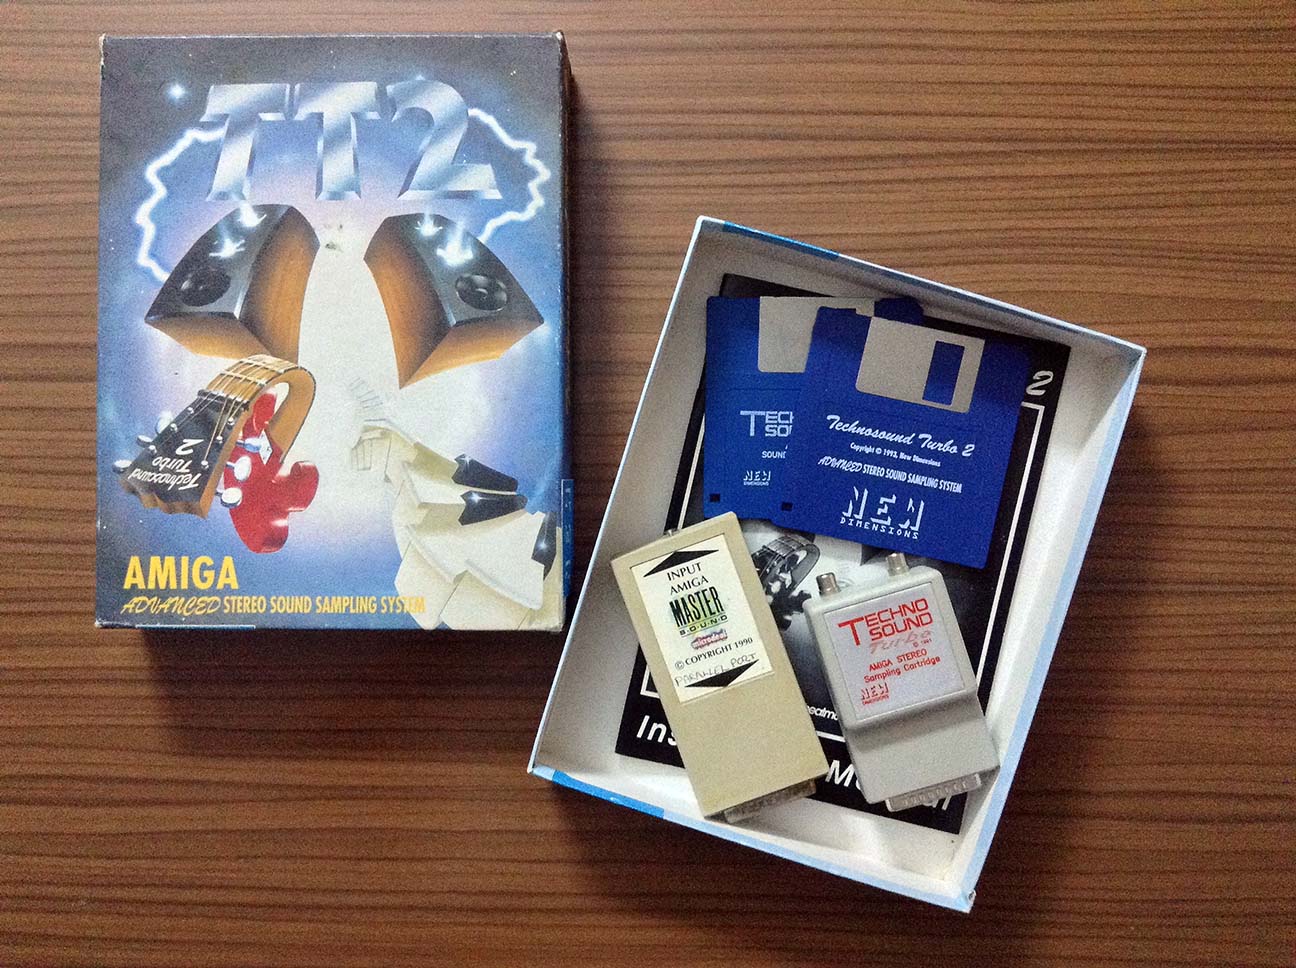


 Even back in 1984, it was a no-brainer process. Before our local post office had a fax machine for hire, I used to contact people by writing business letters and sending them my codes/artwork on